Materials:
Polymorph, 500g
Wire (2mm and 0,65mm)
Fake Leaves
Red Spray Paint
Brown Acrylic Paint (and a brush) – or Spray Paint
Working Time: 4 Hours
Total Cost: 52,44 Euros
This is the cost for the basic materials if you have none of these at home, however, there will be plenty left over for future projects – especially the expensive polymorph.
Gathering Materials For Thranduil’s Crown
When I did a complete rewatch of The Hobbit and Lord of the Rings early in 2021, my cosplayer brain did the expected thing and decided to cosplay Thranduil. The robe seemed doable, the armour scared me too much to start with, so I decided to try my luck with Thranduil’s Mirkwood crown. After looking at all the reference photos I could find and browsing a few tutorials of people who had already done this, I decided to use Polymorph. I had never worked with it before and I was incredibly eager to try as it seemed the cheapest and easiest solution. Polymorph, wire for the base and brown acrylic paint was easy to find on Amazon. However, the leaves proved to be an issue. I looked left and right and just couldn’t find anything resembling the red leaves sort of woven into Thranduil’s crown.
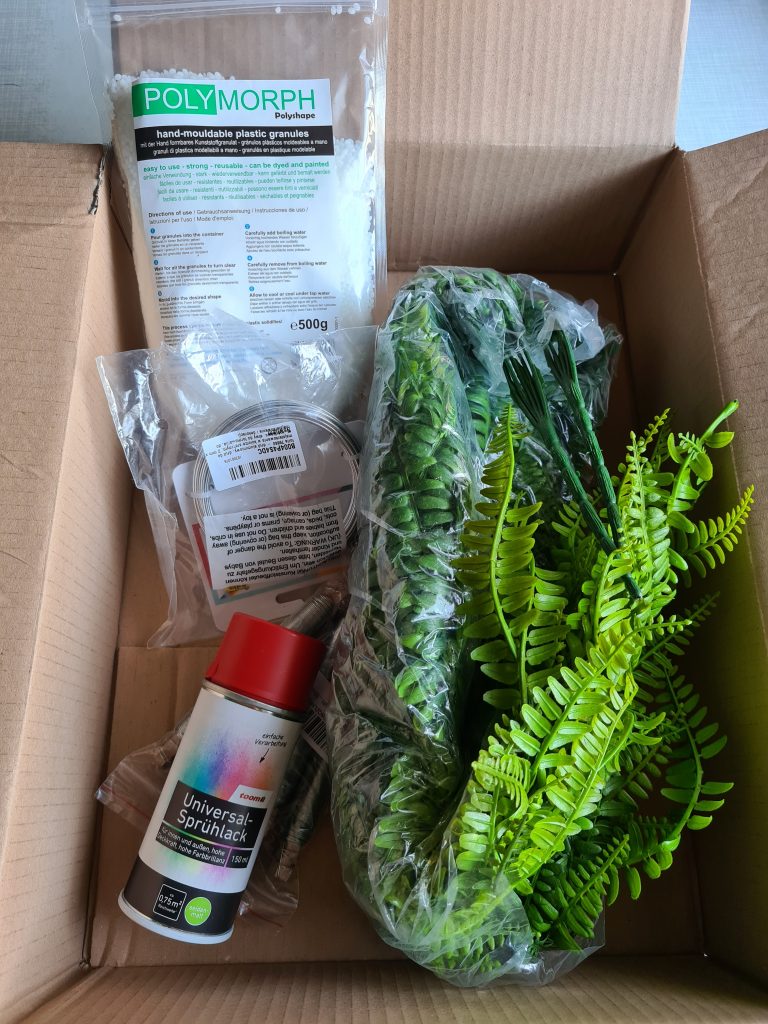
I read somewhere that his crown symbolises Mirkwood forest with the brown tree trunks and leaves coloured according to season, so I decided to look for green leaves instead and found them. Once I had added red spray paint to my cart, as well, I had all the materials I needed to get started on Thranduil’s Mirkwood crown.
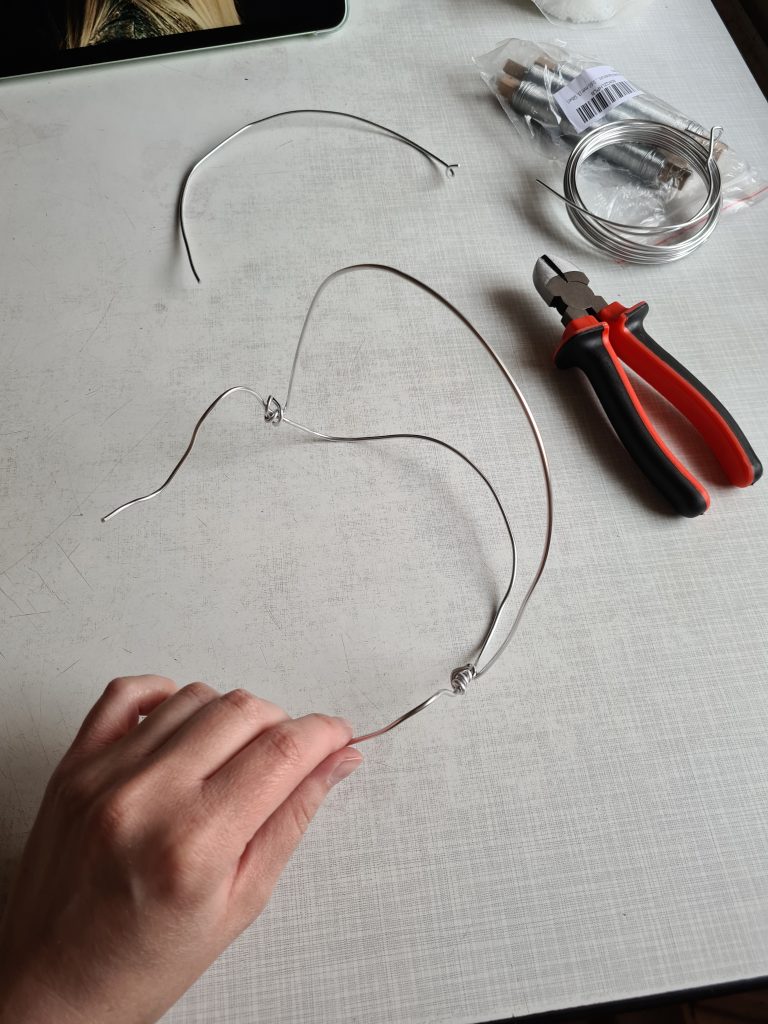
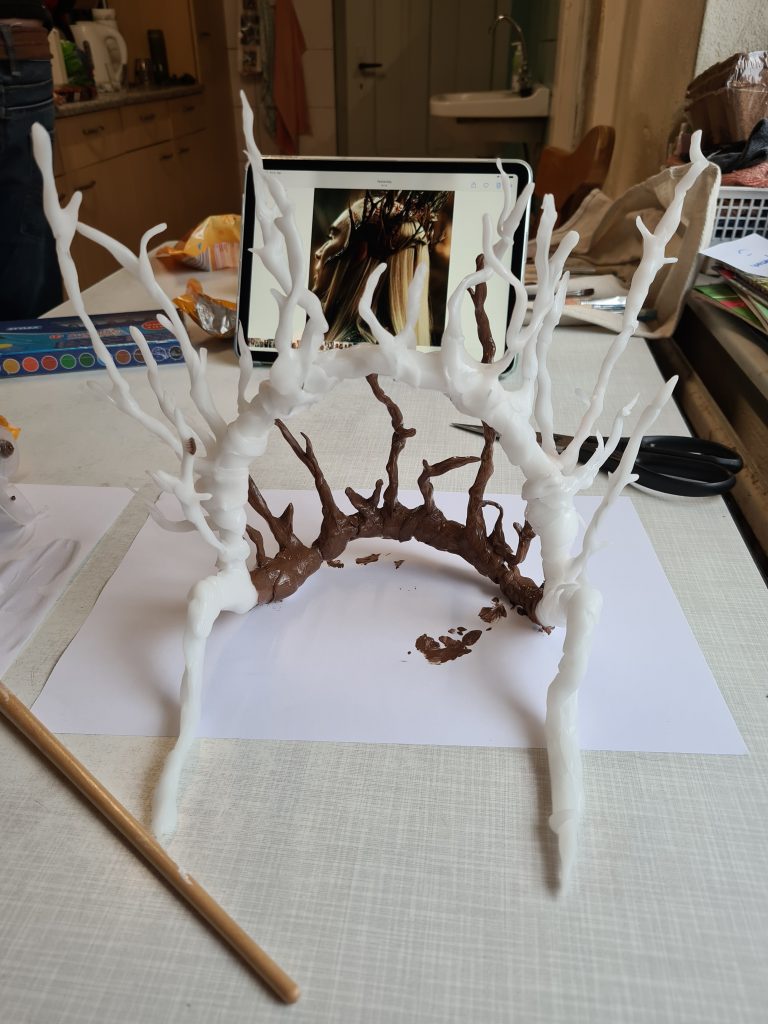
Making A Base For My Mirkwood Crown
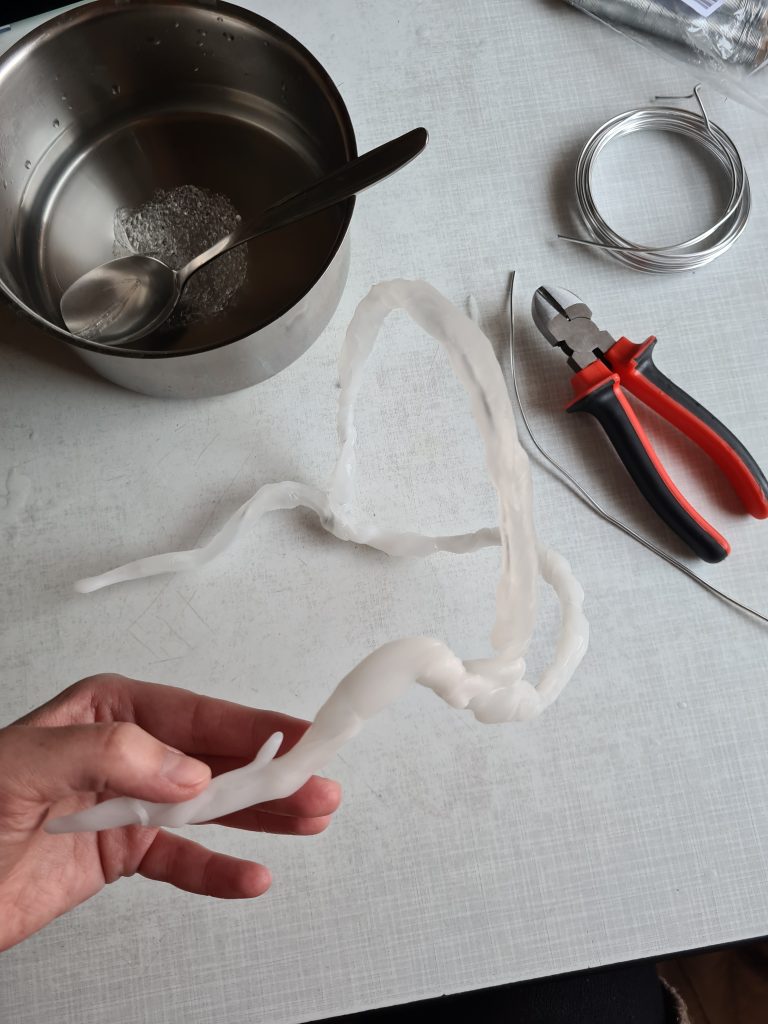
Thranduil’s crown looks like it’s made out of wood with a bunch of entwined twigs. Unlike regular crowns, it goes around the back of the head and over the ears, so I started by forming a base out of the stronger 2mm wire. Once I’d made sure it fit around my head and held up by my ears, I got working on the polymorph. If you’re like me and have never used it before, read the instructions carefully and nothing should go wrong as the use is pretty straightforward. All you need to do is boil some water and then pour some of the polymorph grain into the bowl with the hot water. The polymorph will melt and become a mass that’s very easy to form with your hands. But be careful: Since boiling water is, well, boiling hot, it’s better to use a spoon to fish it out of the water. The water also cools down quite quickly and the polymorph hardens, so it’s good to keep the kettle nearby. While the material is still hot and formable, however, it’s very easy to wrap around the wire and shape it into something that looks like a twig. The good thing about polymorph is also that if you mess up, you can just melt it once more and try again.
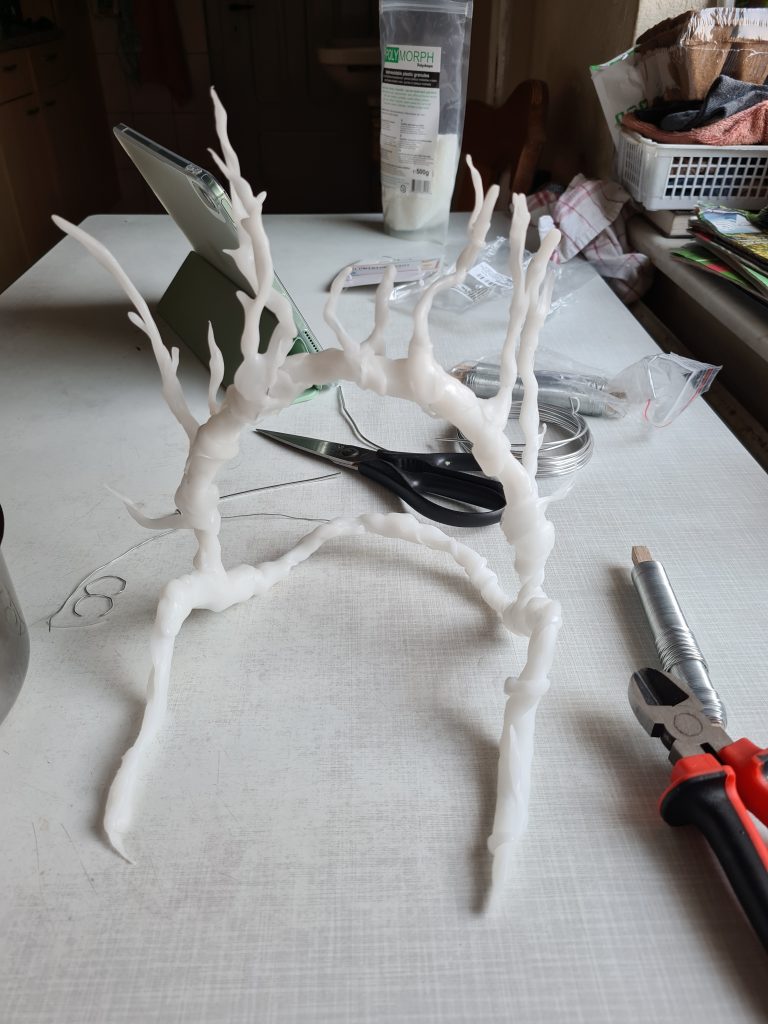
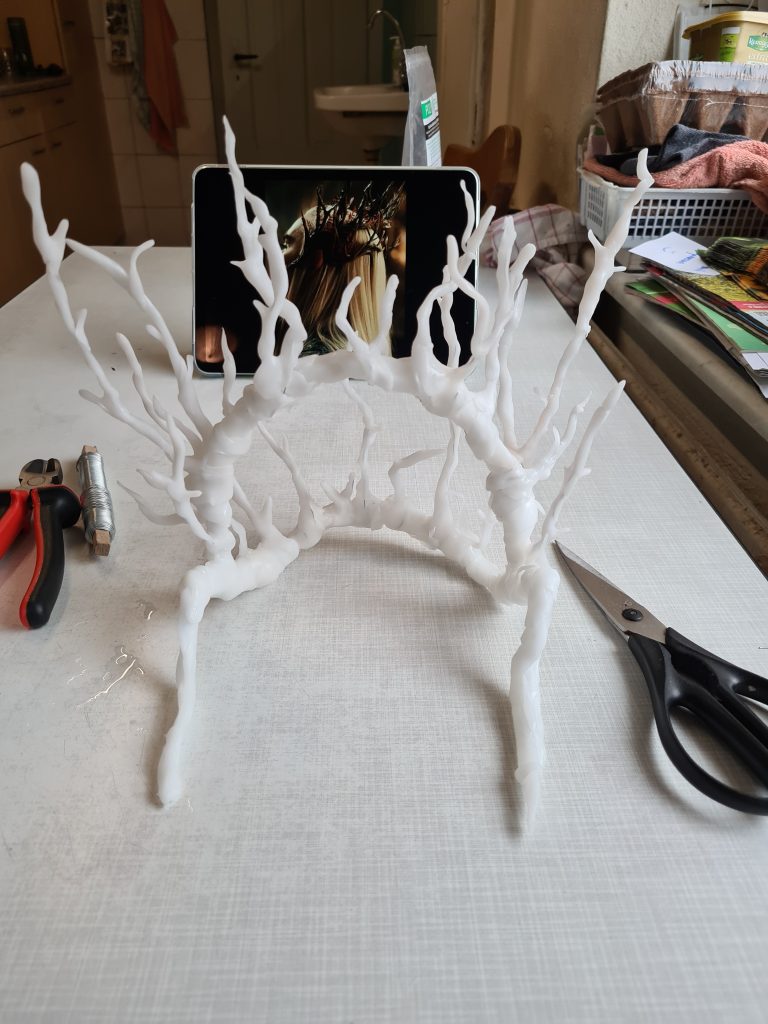
Once the base of the crown was finished, I moved on to creating the twigs that stand up above the head. Even though polymorph is very sturdy and hardens quickly enough so you don’t have to hold it for ages, I used the smaller, 0,65mm wire as a guide for the twigs. I wrapped the smaller wire around the base to create the look that I wanted and covered them in polymorph, too. While I was working on this, the process felt like it went on forever, but really, making Thranduil’s Mirkwood crown out of polymorph just took 2 hours over the course of two days. It can be finished in a single sitting, but I had an impatient dog at my feet who was waiting for her walk and dinner 😀
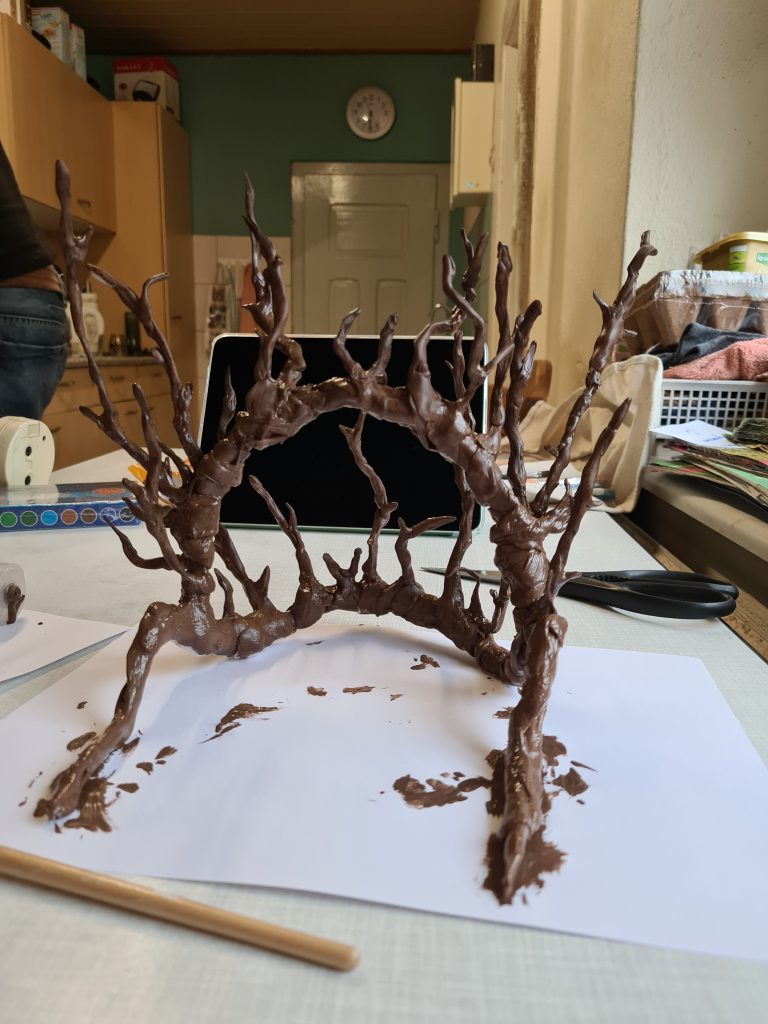
A Wooden-Looking Thranduil Crown
Since the original crown seems to be made out of wood and the polymorph result was white after drying and hardening, Thranduil’s crown needed a layer of paint. It doesn’t really matter what kind of paint you use here – both acrylic paint and spray paint will do the job. Spray paint, obviously, is a lot quicker, but I decided to paint mine using a brush and brown acrylic paint as I could easily mix the colours to get the right shade and the hardware store didn’t have a nice shade of brown spray paint. Again, I painted it in two sessions because it needed to dry in between. After two evenings, it was finished.
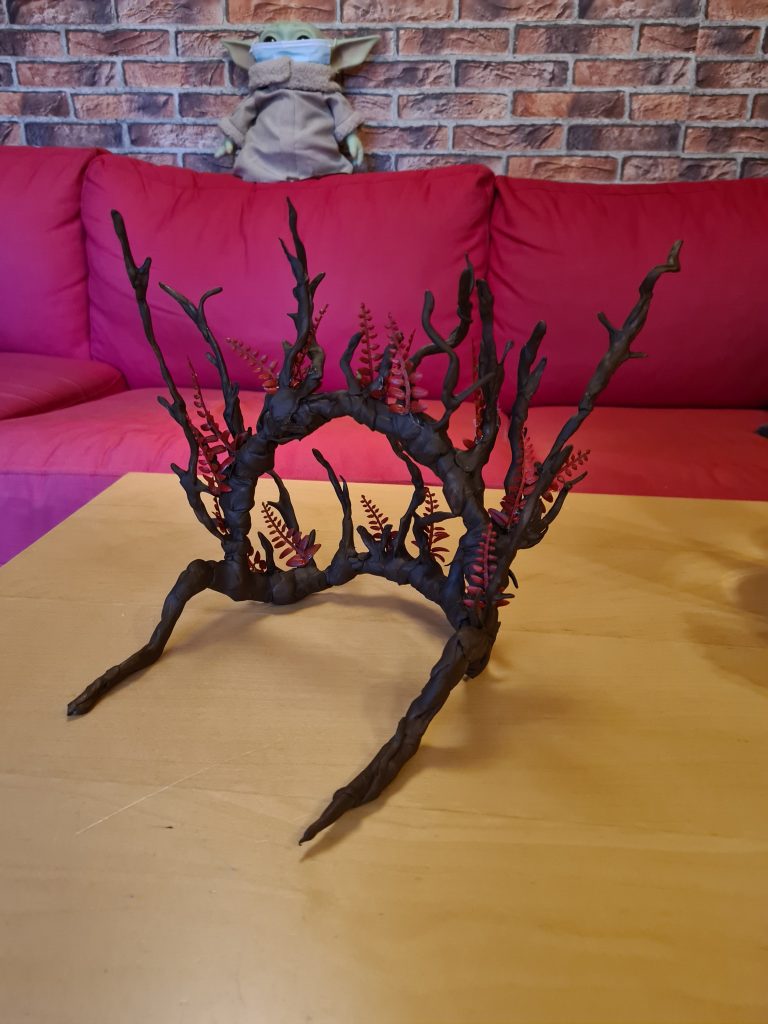
Now, all I needed to finish my Thranduil crown was a bunch of red leaves. As mentioned before, I couldn’t find them anywhere online and the only red leaves I was able to find were large autumn leaves, so instead, I ordered a fake fern plant. When it arrived, I realised how huge it was, so I took my gardening scissors and just clipped off some of the tips to use for my crown. I laid them out and spray-painted them red, let them dry, turned them over, spray-painted the other side and let them dry again. At this point, I realised that my least favourite thing about prop making was waiting for stuff to dry. However, once that was done, all I needed to do was to glue them to my Mirkwood crown and the project was finished.
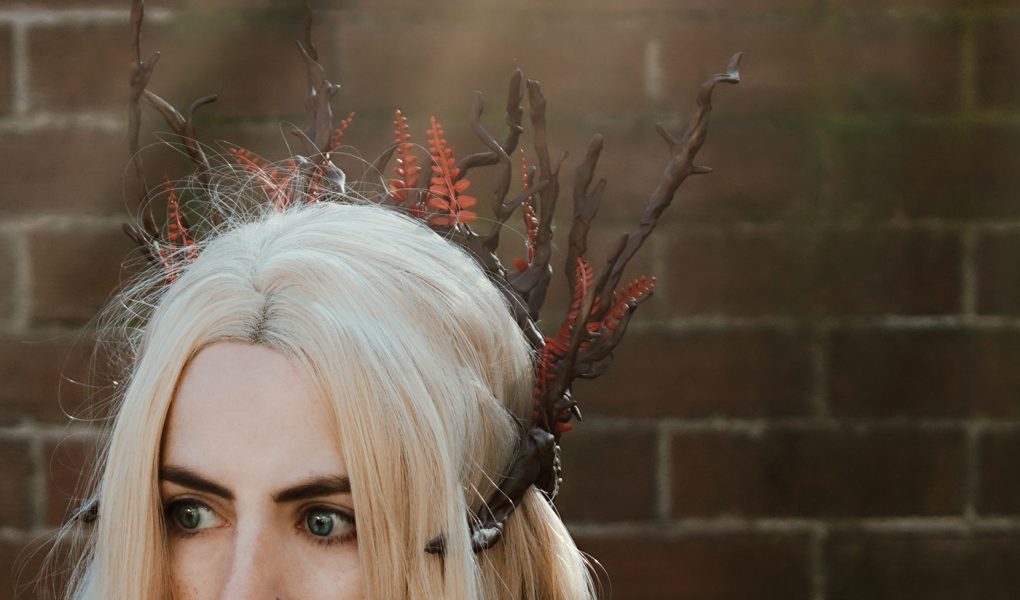
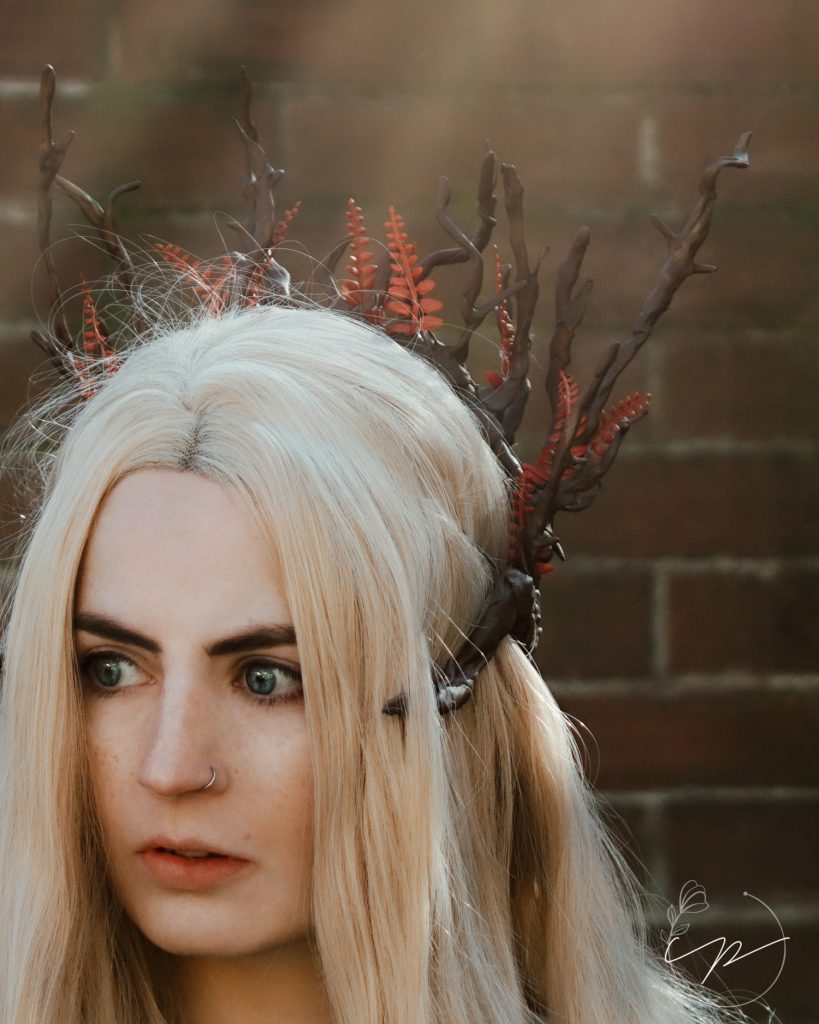
My First Polymorph Prop
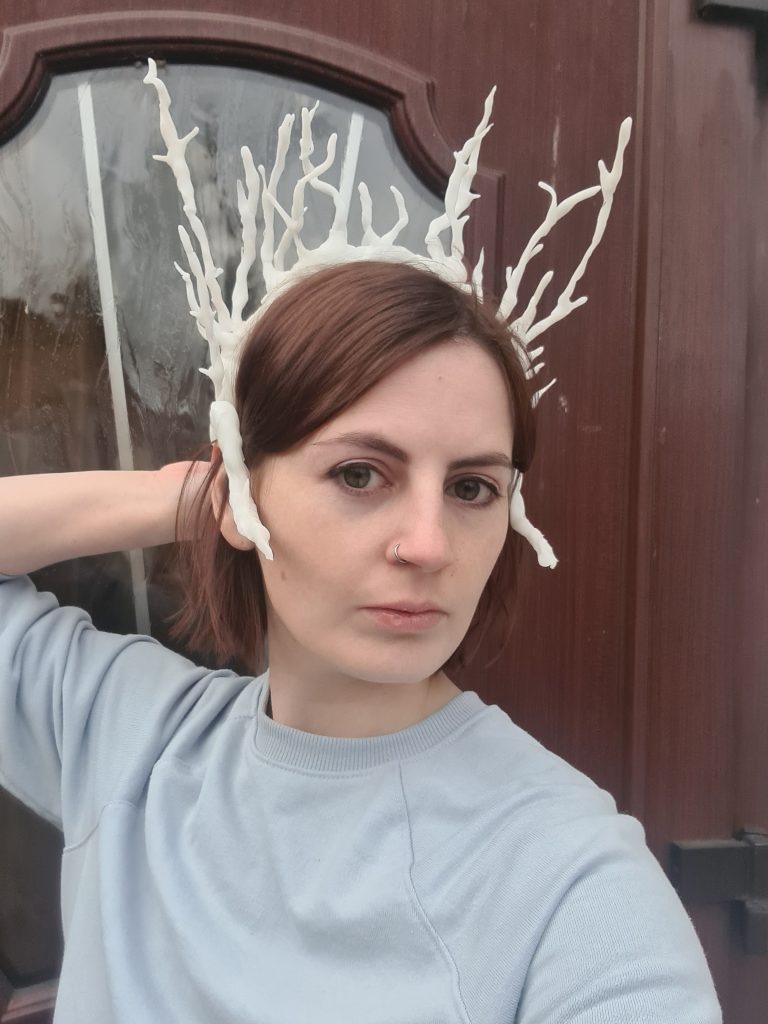
Once Thranduil’s Mirkwood crown was finished, I almost immediately ran outside and took some photos with it because I was incredibly proud of the result. It’s certainly not perfect and I might make another version in the future after the rest of the costume is finished, but for my very first attempt at working with polymorph, it looks pretty darn good 🙂 Here is the sewing progress for Thranduil’s Mirkwood robe.