
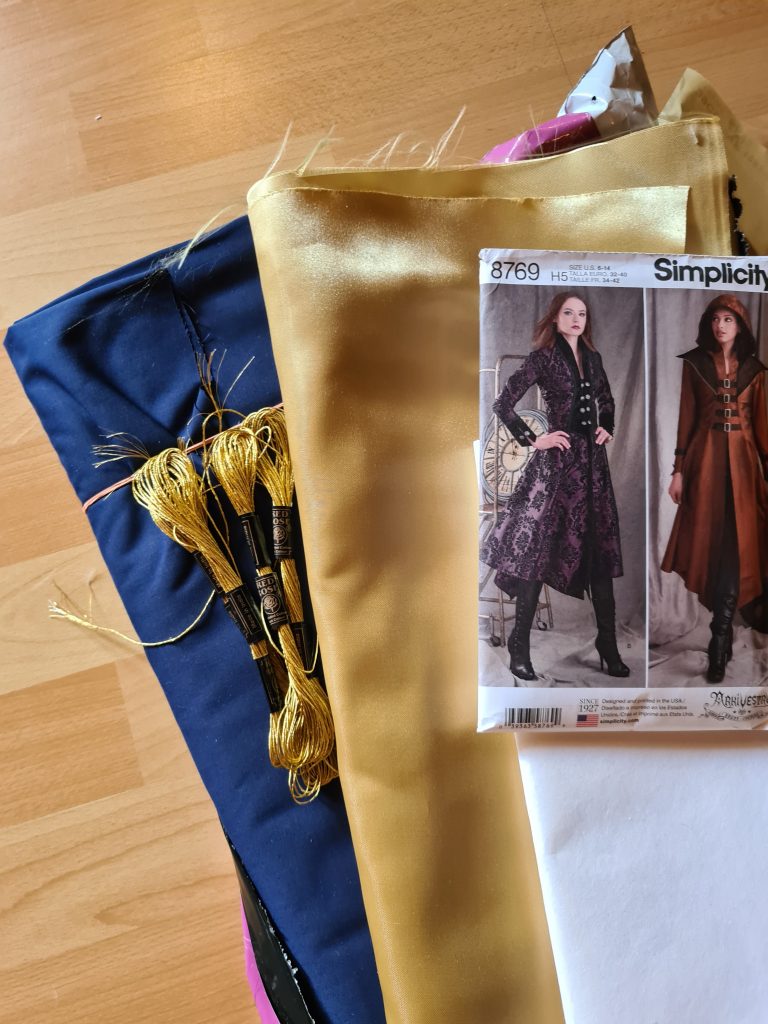
Commercial Pattern: Simplicity 8769 (body, altered), Simplicity 1551 (sleeves, altered)
Working Time: 23 Hours
Materials:
Popeline Uni, Blue, 10m
Bride Satin, Pale Gold, 6m
Interfacing, 1m
Gold Band
Gold Trim
Gold Embroidery Yarn
Accessories:
Wig (WigFashion): 66,50 Euros
Halo Crown (Etsy): 33,82 Euros
Total Cost: 234,11 Euros
Ideas and Materials for my Kefta
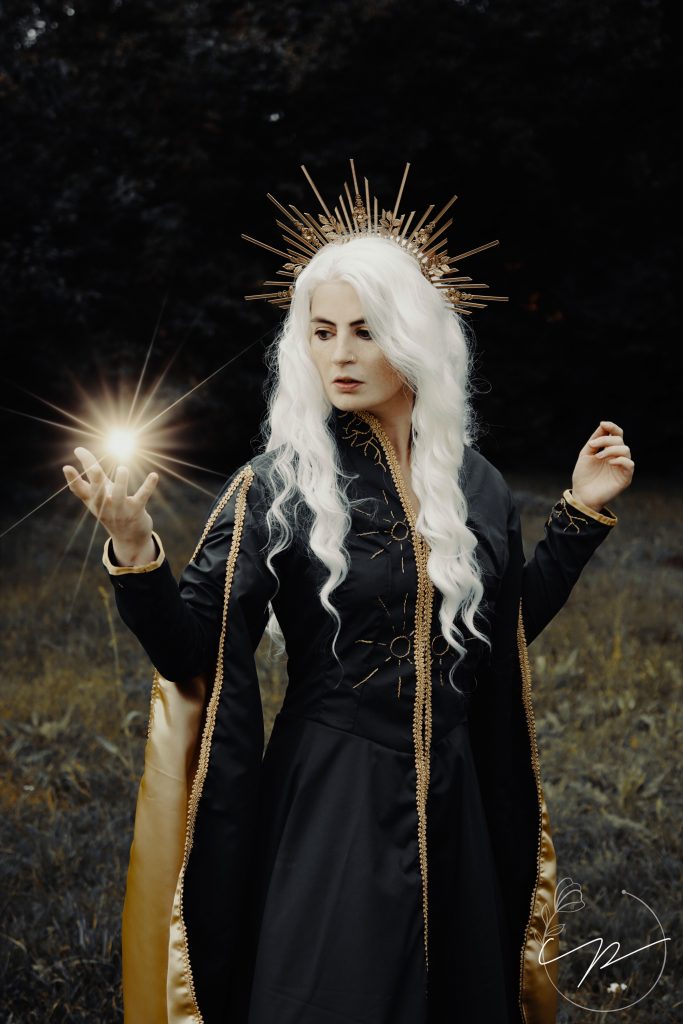
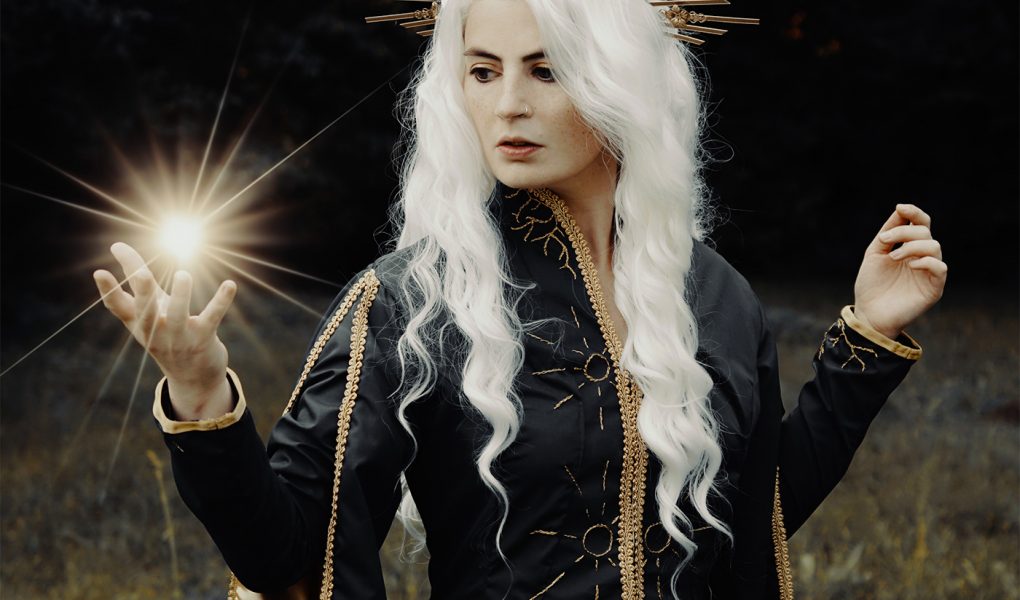
When Shadow & Bone hit Netflix in April 2021, it came at a time I needed a distraction, so I did what I had been meaning to do for the past couple of years: I read the books and I immediately fell in love with many, many of the characters. When that happens, the urge to cosplay usually arises, but I wasn’t too fond of the Netflix Kefta design and I didn’t really start loving Alina Starkov until the second book, so I decided to base my Kefta on the books instead of the TV show. That gave me the freedom to develop my own ideas but it was also a challenge to work without visual guidance. But the hunt for the right fabric was on…
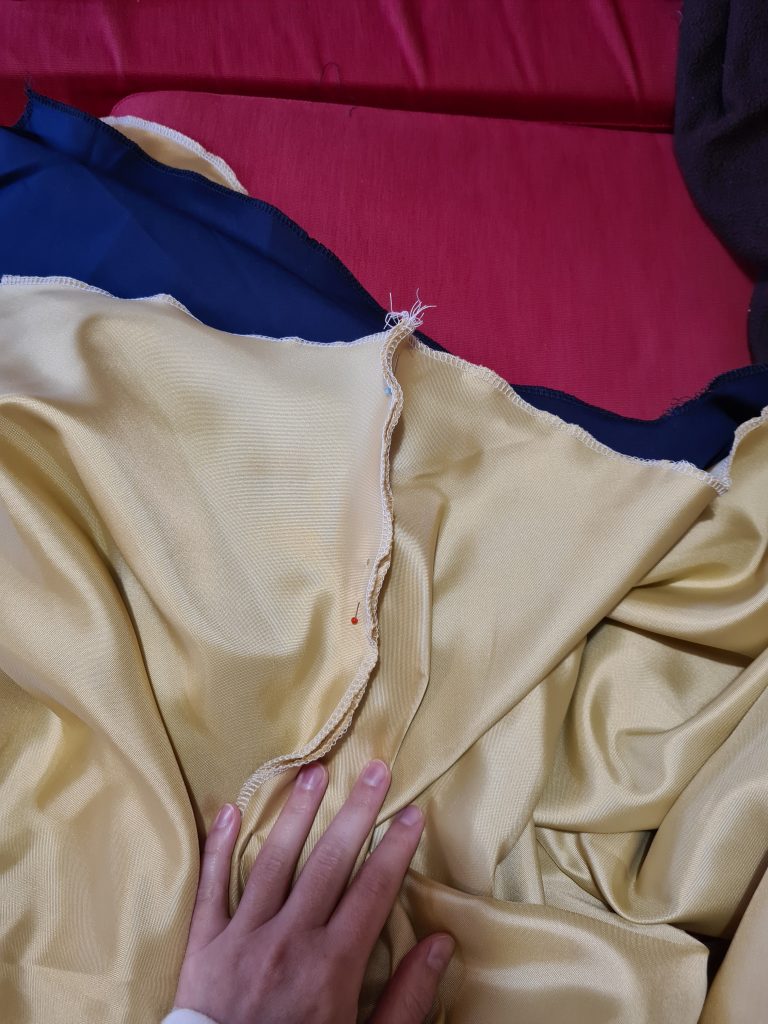
While the pale gold satin I chose for the lining is absolutely perfect and gorgeous, I am still not entirely happy with the blue fabric I ended up using. As always, I ordered a bunch of samples that seemed the right colour and out of the ones I got, the Popeline was the best option, but it still wasn’t perfect. I wish I could have found something studier with a more vibrant shade of blue, but at the time I was making my Alina Starkov cosplay, it didn’t exist. After adding trim and embroidery yarn to my cart, I was good to go.
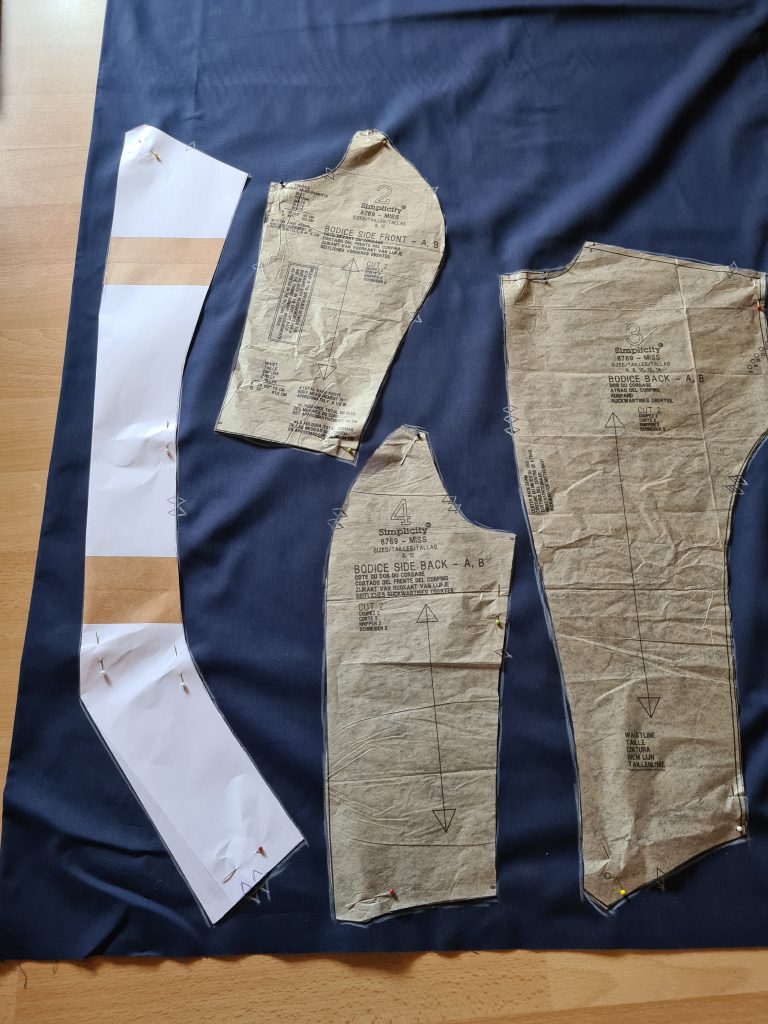
The next obstacle was the sewing pattern. I had a very good idea of what I wanted Sankta Alina’s Kefta to look like, but I couldn’t find a suitable sewing pattern for it anywhere. I ended up with Simplicity 8760 for the base, but even that I had to alter in the front to suit my Kefta needs. For the sleeves, I had to improvise some more because I really wanted my cosplay to have double sleeves which I stole from Simplicity 1551. With my fabric and patterns gathered, I was ready to go.
The long and difficult Sewing Process
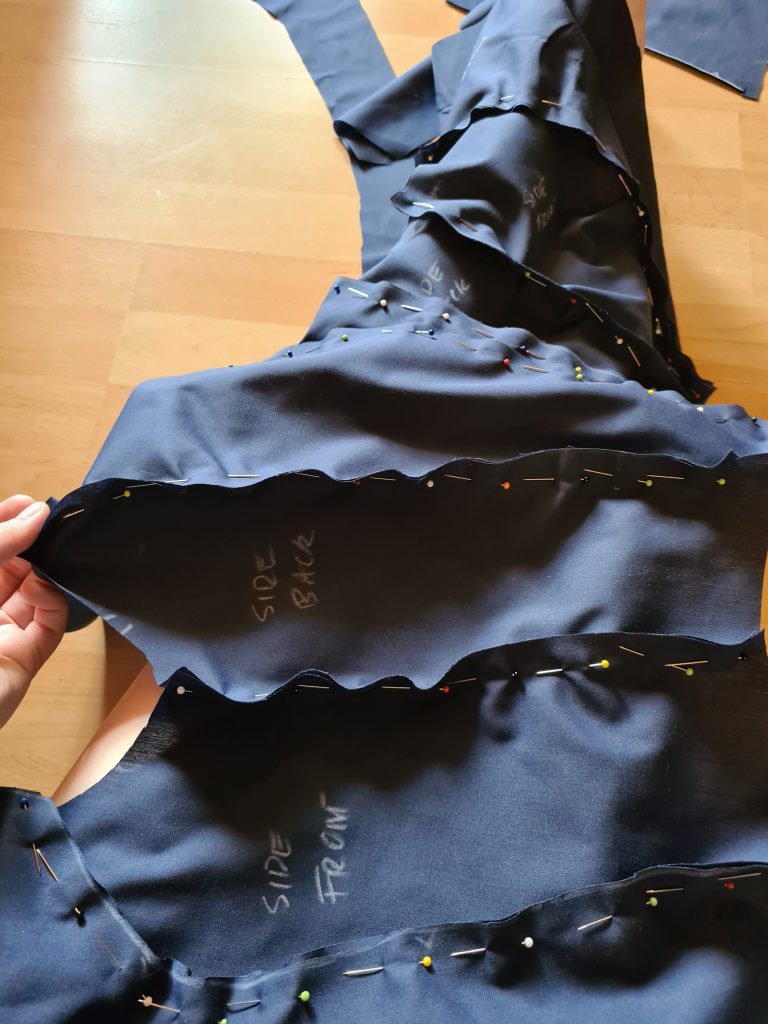
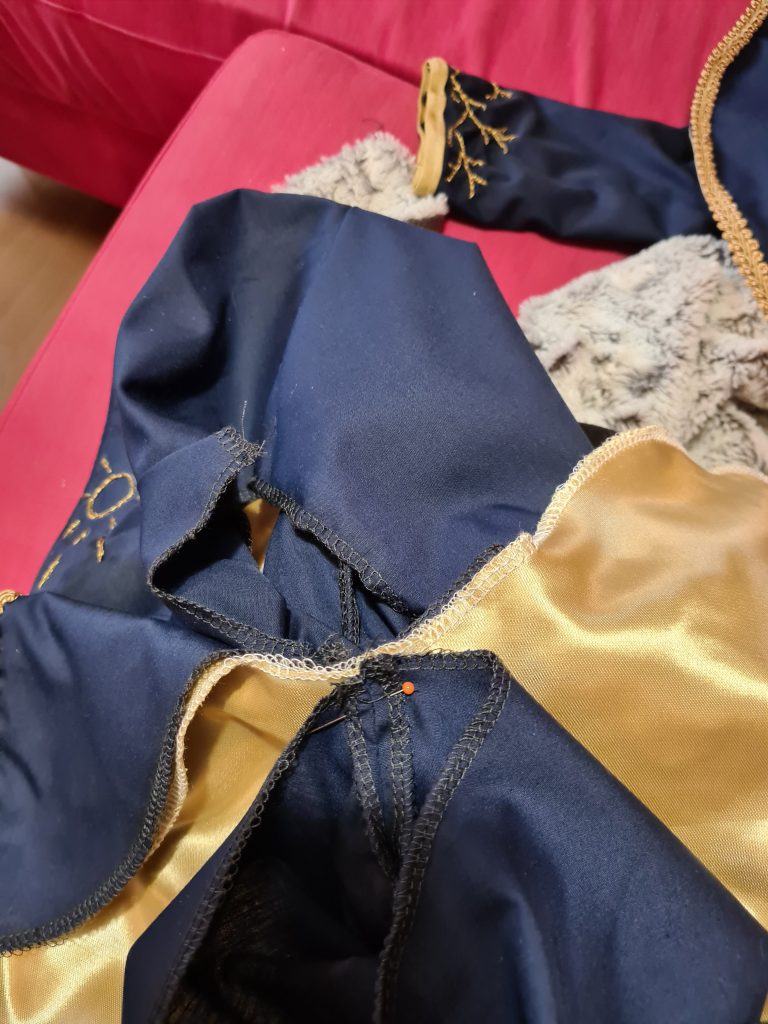
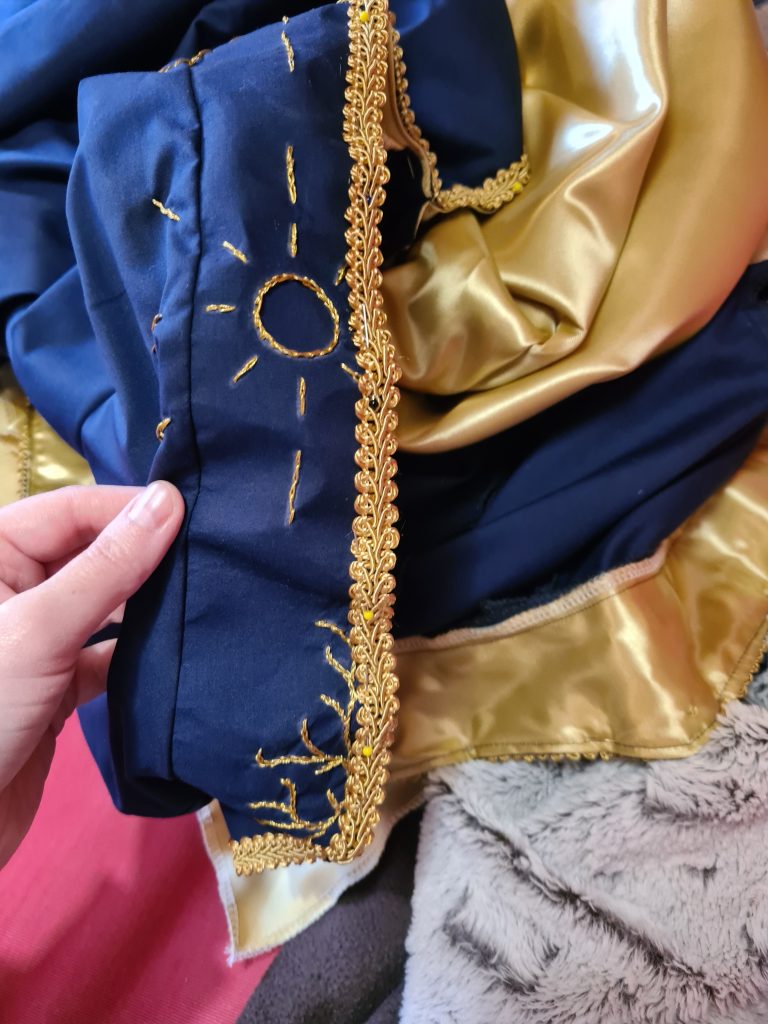
Then it got complicated. I’ve stated at the beginning that the sewing process of this costume took me 23 hours, but that doesn’t include the hours I spent thinking about how to do it. I was especially undecided about when would be the right time to do the embroidery, so here is how I ended up doing it. Once I was happy with the fit of my pinned together Alina Starkov cosplay, I ironed the interfacing to the front panels and attached the lining to it, but only on one side. The other side was still open and accessible so I could hide the back of the embroidery under the lining and it would not be visible. Then I pinned the Kefta back together, put it on my dress form and started outlining the embroidery pattern with chalk.
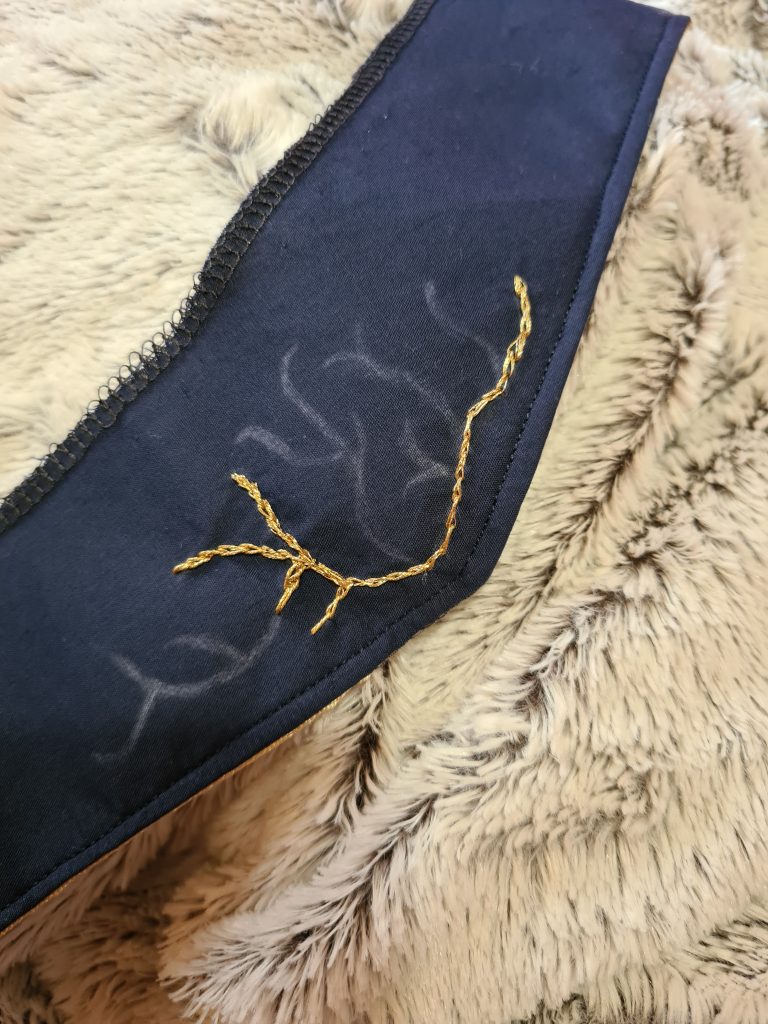
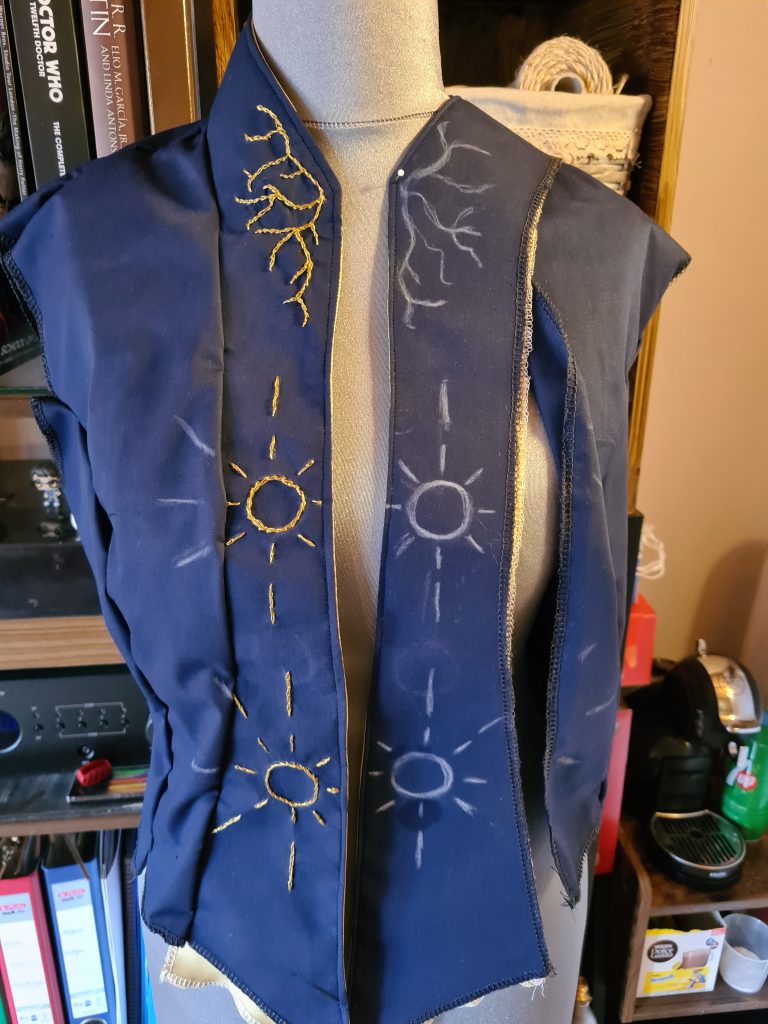
Again, this was a long process of drawing and correcting and I’d like to use this moment to point out that I haven’t done a lot of embroidering before. Sure, I’d bought an embroidery set for a tablecloth and learned a couple of stitches and it was fun for an hour, but that tablecloth is still in my craft box, unfinished. I had completely forgotten how long embroidery takes and even though it’s certainly not perfect, I’m still quite proud of how it turned out in the end – for what is basically a beginner’s embroidery attempt.
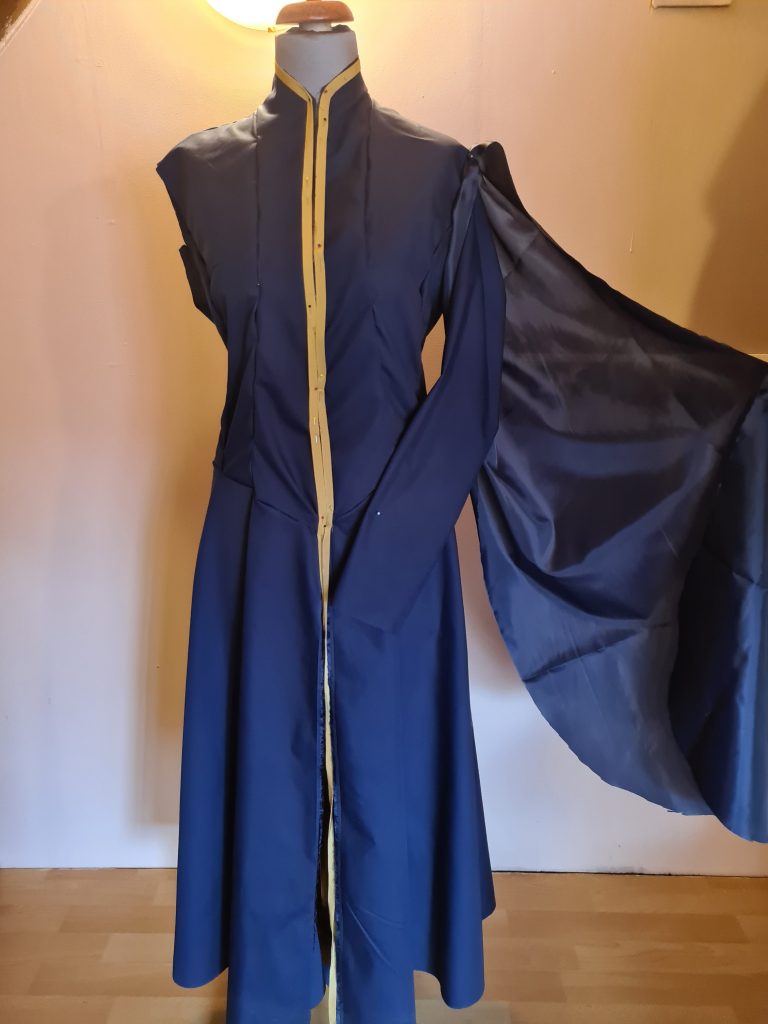
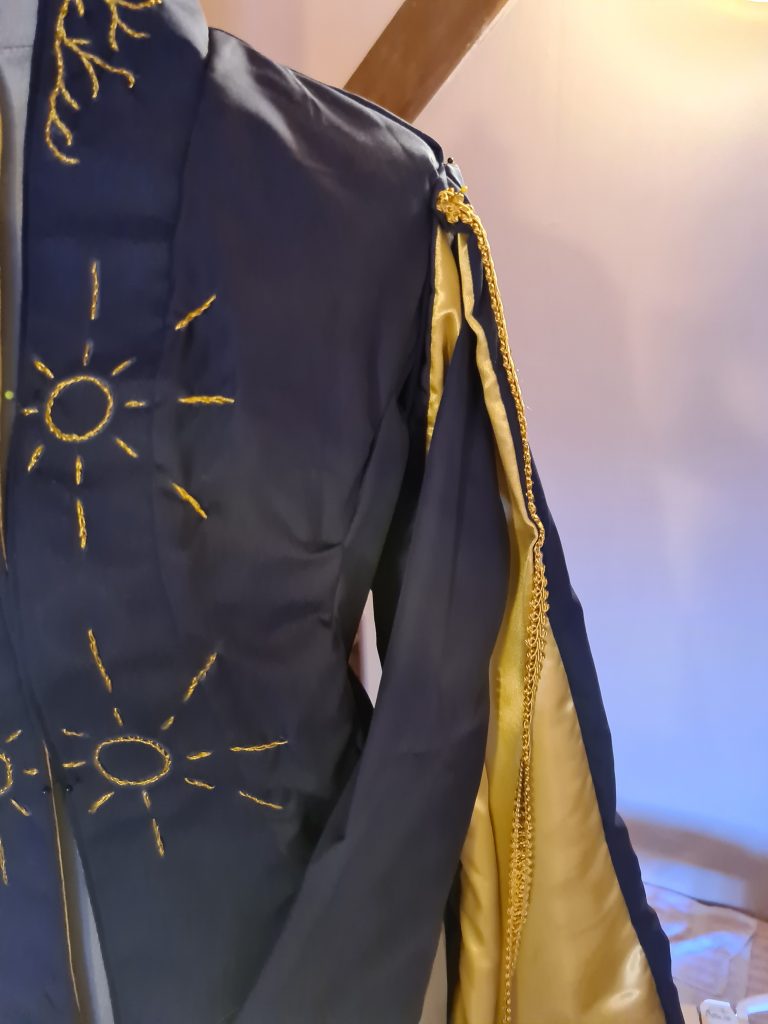
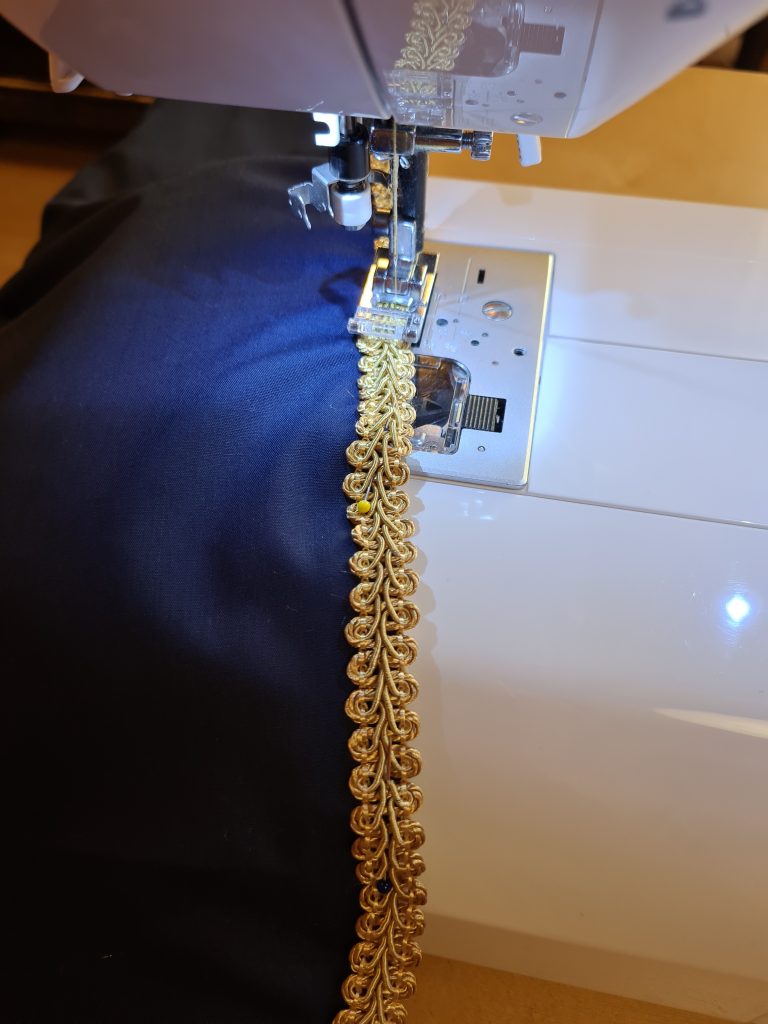
Once the embroidery on the front panels was finished, I put the pieces of the top together and finished the embroidery of the sun rays that went beyond the front panel. Happy with the fit, I went on to the sleeves. I attached the lining to the upper fabric, added the trim and the flowing sleeves were practically finished. I also added a different kind of trim to the regular sleeves and, before I put them together, it was time for more embroidery. At this point, I had started to regret my life choices a little bit.

More Embroidery and more Sewing
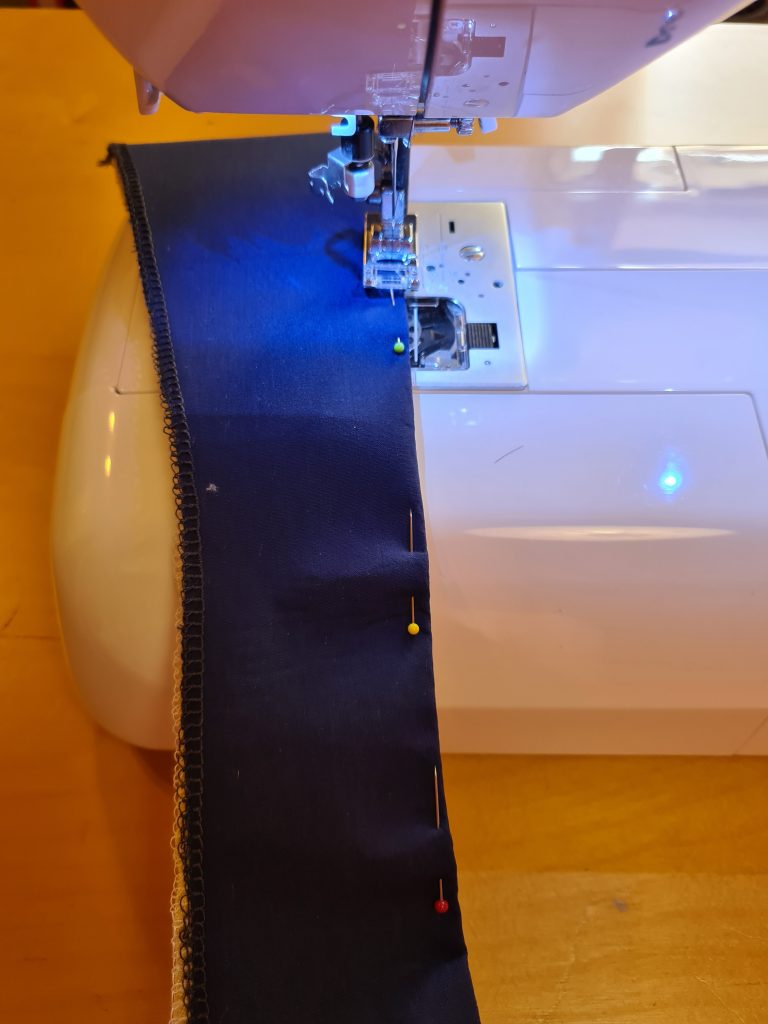
With both sleeves finished and attached, it was time to get to the skirt, which, admittedly, was the easy part of my Sankta Alina cosplay. I merely put the dark blue and pale gold fabric together and attached the skirt parts to the top. Now, all that remained was to attach the trim all around the front area, attach a few hooks to hold it together and finished the bottom seam. I don’t know why, but bottom seams are usually my least favourite thing to do. It already feels like your cosplay is finished and then you have one more long seam to do and usually, the sewing machine runs out of thread mid-seam, but that’s a different issue. After 23 long hours of sewing and embroidering, Alina Starkov’s Kefta was finished.
Finishing my Alina Starkov Kefta
If you’d ask me to make this cosplay again, I would probably do one or two things a little differently, but overall, I am still very happy with how it turned out, even if it isn’t absolutely perfect. This costume was a huge challenge in many ways, especially since I hadn’t worked with embroidery before and I just love wearing it and turning around in circles so that you can see the pretty pale gold of the inner sleeves. It’s not that I hate the Kefta design on the show, but after reading the books, my own version gives off more Sol Koroleva vibes than the show version. And this cosplay finally gave me an excuse to go out and buy the sunburst halo crown that I’d been wanting for ages but never had a use for before 😀