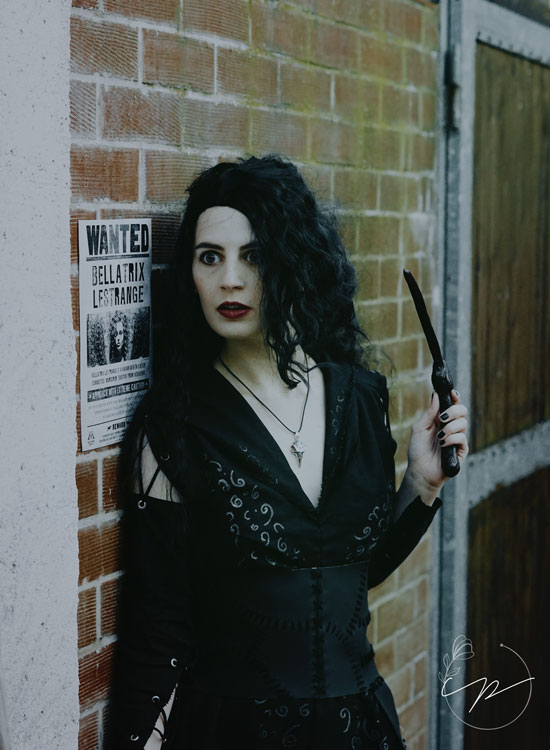
Making Bellatrix Lestrange’s Order of the Phoenix Dress
Pattern: Burda 6271 (with alterations)
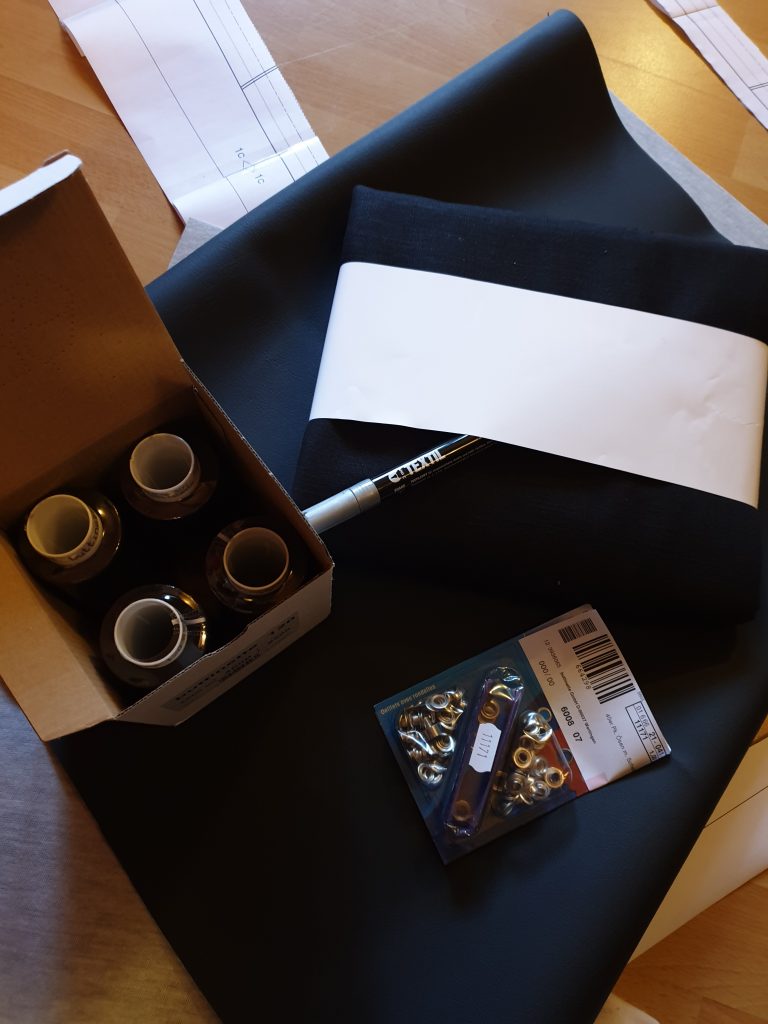
Materials: 2.5m black linen, 0.5m black faux leather, black yarn, eyelets, silver fabric pen
Wand: Owned already, made from clay and acrylic paint
Wig: 10 Euros, from Wish
Necklace: 2 Euros, Wish
Working Time: 13.15 hours
Overall Cost: 77.34 Euros
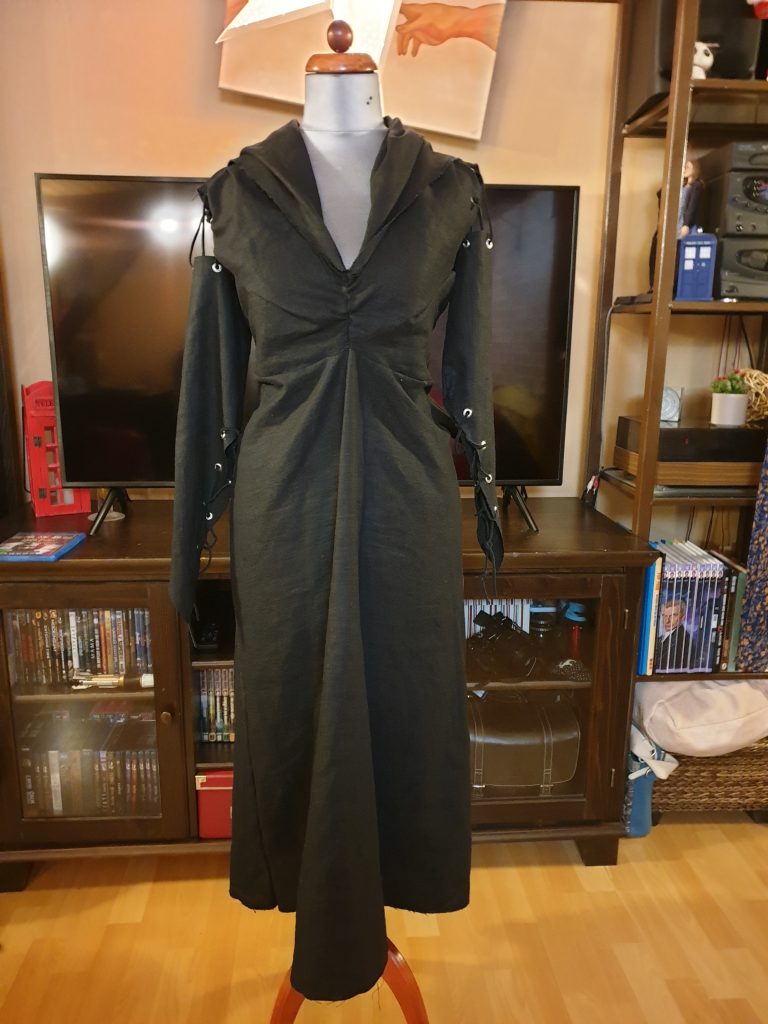
Bellatrix’s Order of the Phoenix dress was the very first cosplay I made myself back in 2009 and somehow, I managed to create something that could actually be worn without really knowing how sewing works. Still, it wasn’t a pretty sight and when I tried it on again in 2019, I realised the skirt part slid right off my body as I’ve lost some weight since. Well, since I had also gotten two fantastic new sewing machines and learned a thing or two about sewing in the meantime, I decided to give it another go.
Selecting the Materials
The fabric I had used for the first dress was absolutely perfect and the last ten years had done a great job to ruin the edges, but the shop that sold the old fabric no longer existed, so I purchased what I needed from the German website stoffe.de – a site that used to be great pre-pandemic, but now has a delivery time of several weeks and a shrinking selection. I purchased the fabric there and got the fabric pen from eBay.
I know that Wish has a bad reputation, but I can’t really complain about this app at all because you can buy amazing accessories there for a small price. They’re great with wigs if you know what to look out for and I’ve gotten some of my favourite wigs from there. My Bellatrix wig isn’t very high-quality, but it works with the cosplay, in my opinion, and it was only 10 Euros, so until I find a better one, it’ll do nicely. I also found her bird skull necklace on there and just paid 2 Euros for shipping. However, I am fairly certain you can also find the necklace on Etsy and support local sellers in the process. As for the wand, I made that back in 2009, using clay and acrylic paint, so sadly, there aren’t any photos of my process left. I might have another go at it at some point and create a new one from polymorph, but until then, I’m going to use the old one.
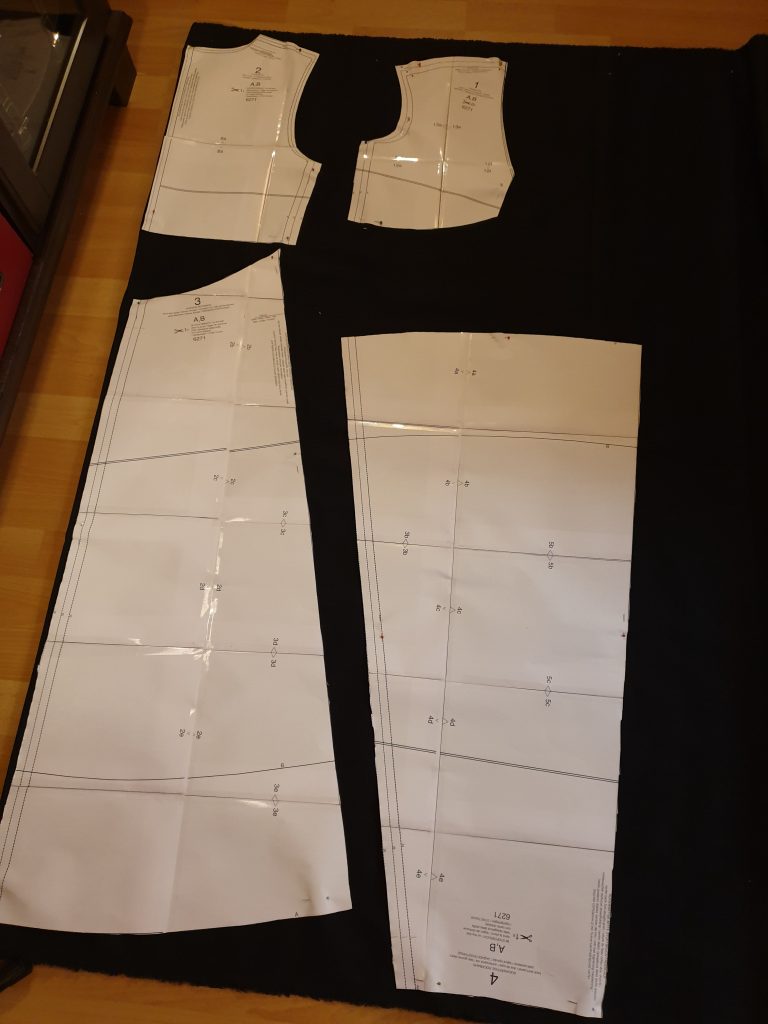
Now, on to the actual sewing progress. For the last dress I made, I had a sewing pattern crafted by a local seamstress, but a few years back, I took my grandma (who is a huge HP fan) to the Harry Potter Exhibition and I saw Bellatrix’s Order of the Phoenix dress up close. I realised that my previous pattern didn’t come very close, so I went on a hunt for a suitable pattern that could be easily altered. I found that in Burda 6271 which had the general shape. All I needed to change was the sleeves and the hood. And in contrast to Simplicity, Burda’s sizing isn’t too far off.
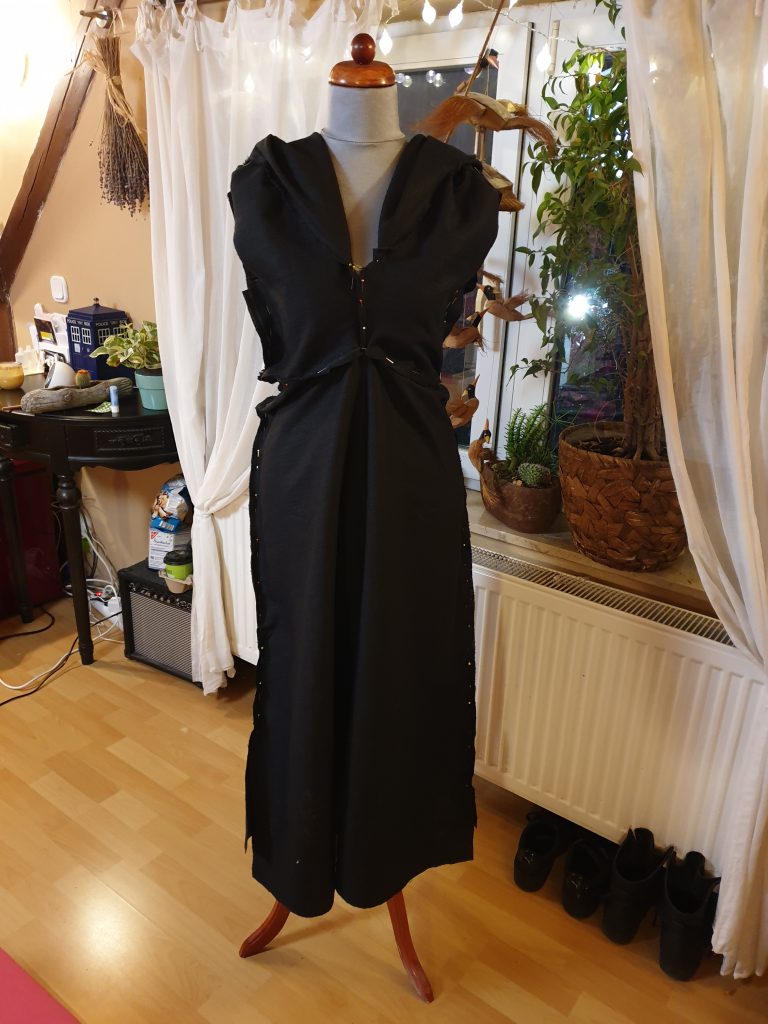
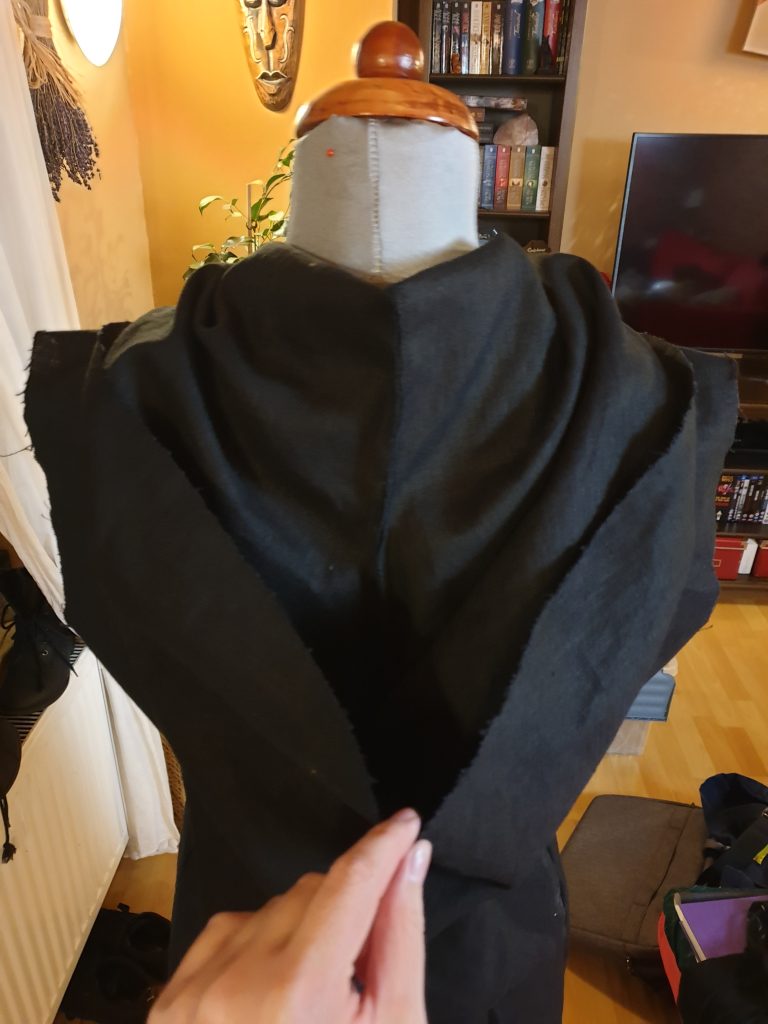
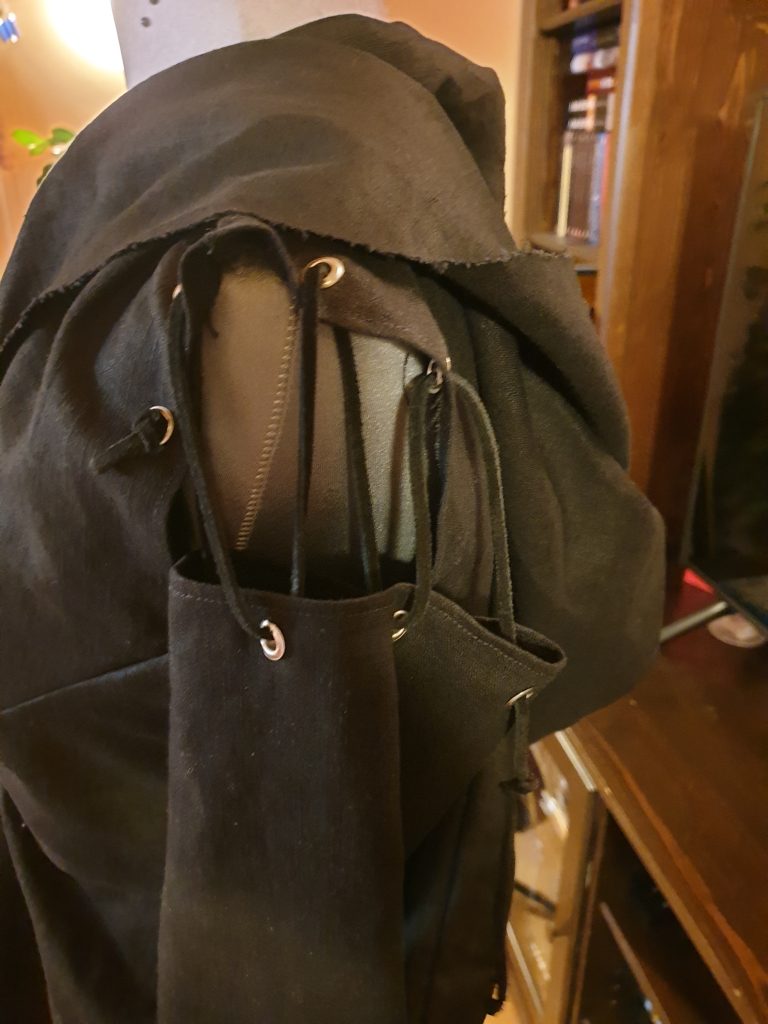
Once I bought, downloaded and printed out the pattern, there came the tedious work of glueing it together just to cut it up again so I could cut out the pieces of fabric. Once again, I have to applaud Burda here because the sizing given on the pattern came very, very close to my actual body measurements – a very trustworthy pattern. For the hood, I took a look at clothes from my wardrobe and how the single pieces of my hoodies were shaped, then adjusted that shape to something longer and witch-like before cutting it out and fitting it on the neckline of the dress. There was a bit of trial and error going on here and I ended up cutting it into place after pinning it to the rest of the dress until it had the shape I was going for. That was probably the most difficult part of the entire dress.
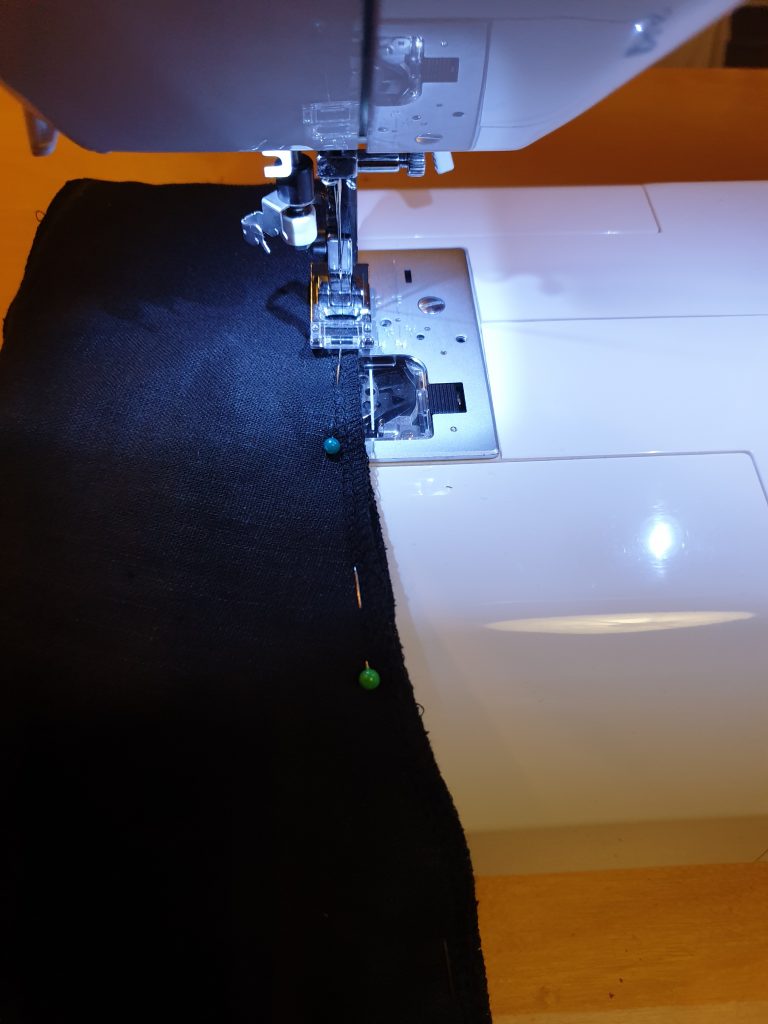
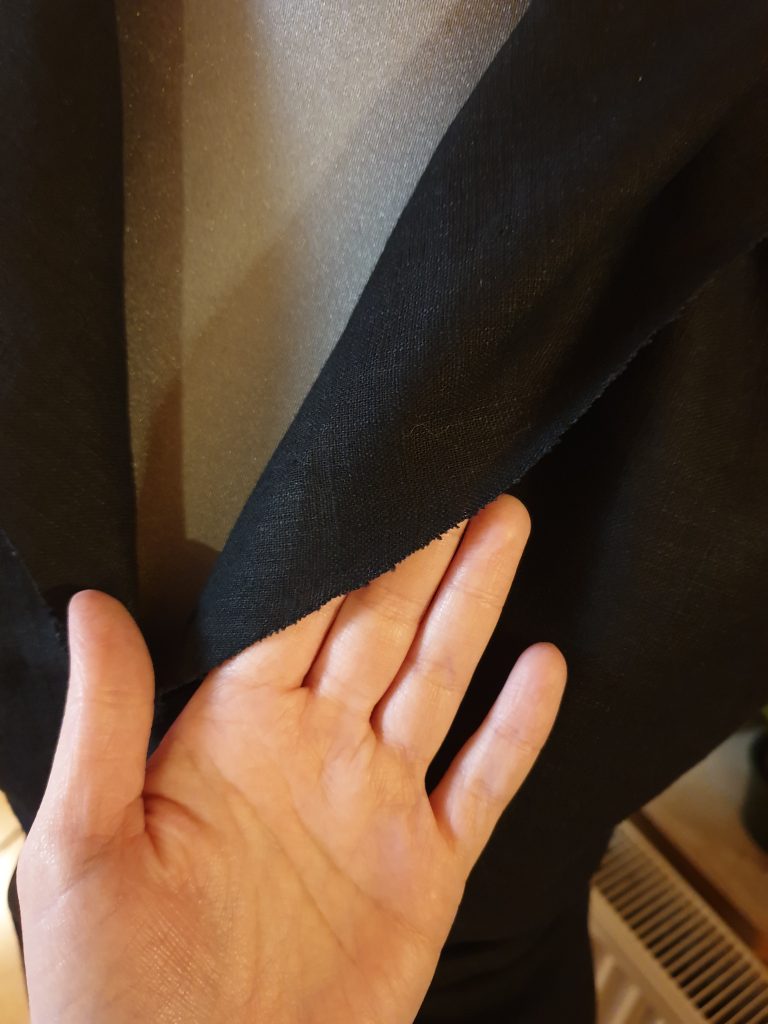
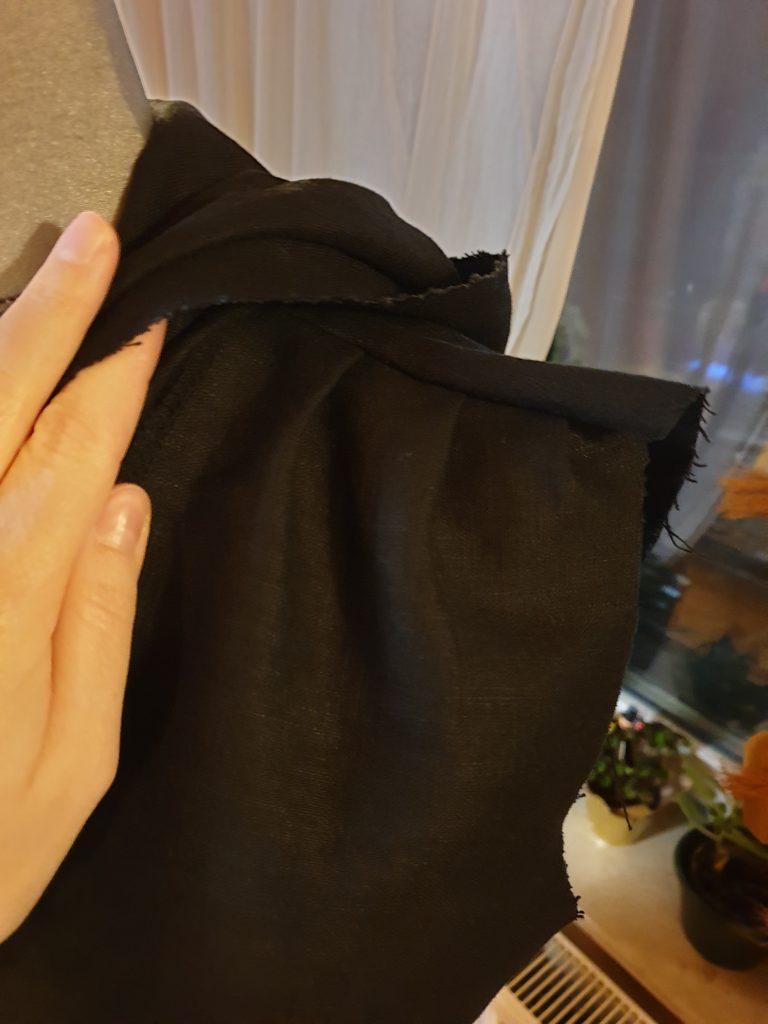
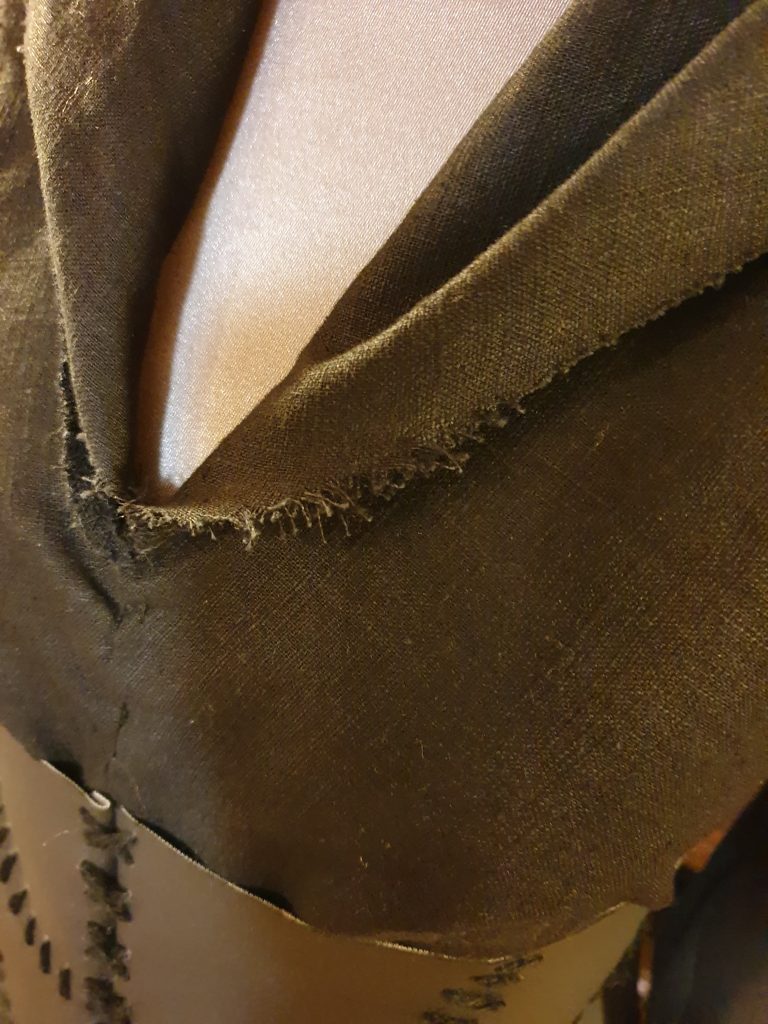
Once I had pinned the dress together, tried it on and made sure that everything fit, I used my overlock machine to clean some – but not all – edges. Bellatrix’s Order of the Phoenix dress looks like it had once been a beautiful dress that has been through a lot, so neckline, hem and sleeves are frayed. These parts I left as they were and only cleaned up the parts of the dress I didn’t want tearing or fraying by accident. Once that was done, sewed the pieces together. The only adjustment I had to make to the size of the dress was adding a dart in the chest area to make it more tight-fitting, but depending on your chest size, you might not have to do that.
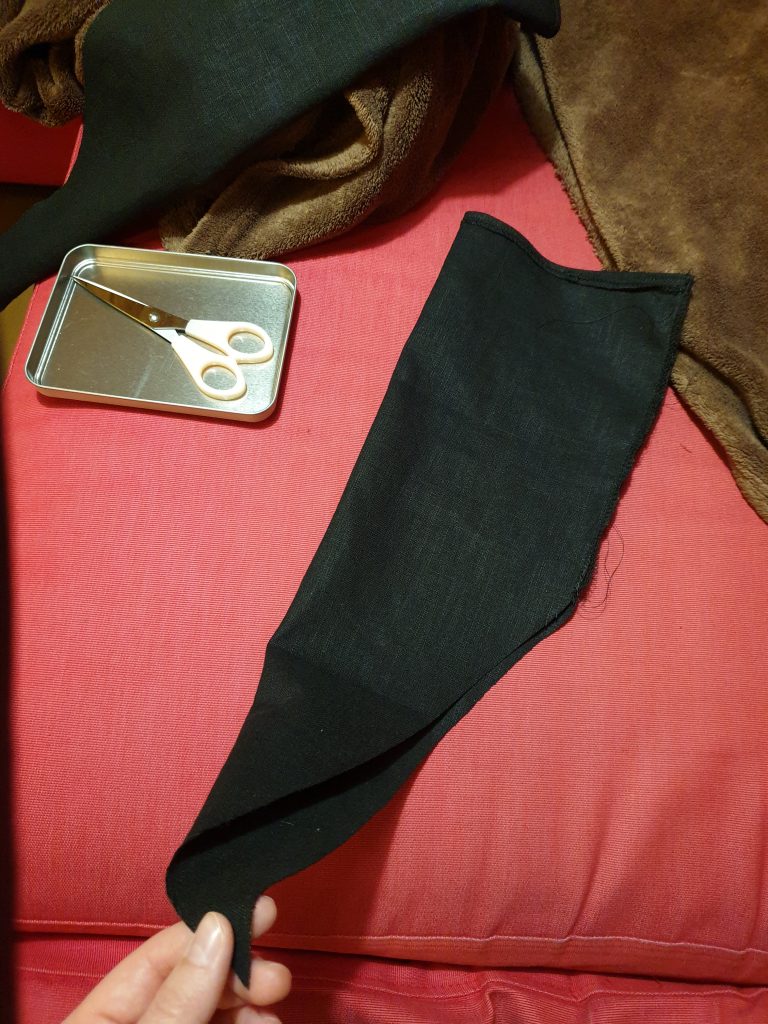
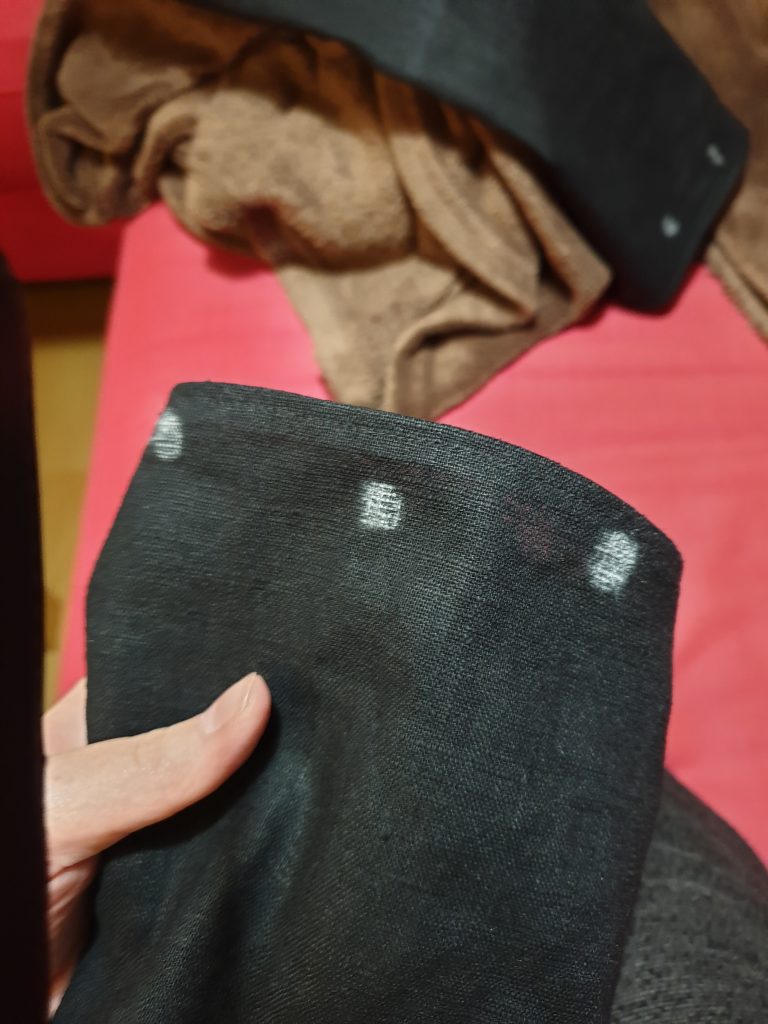
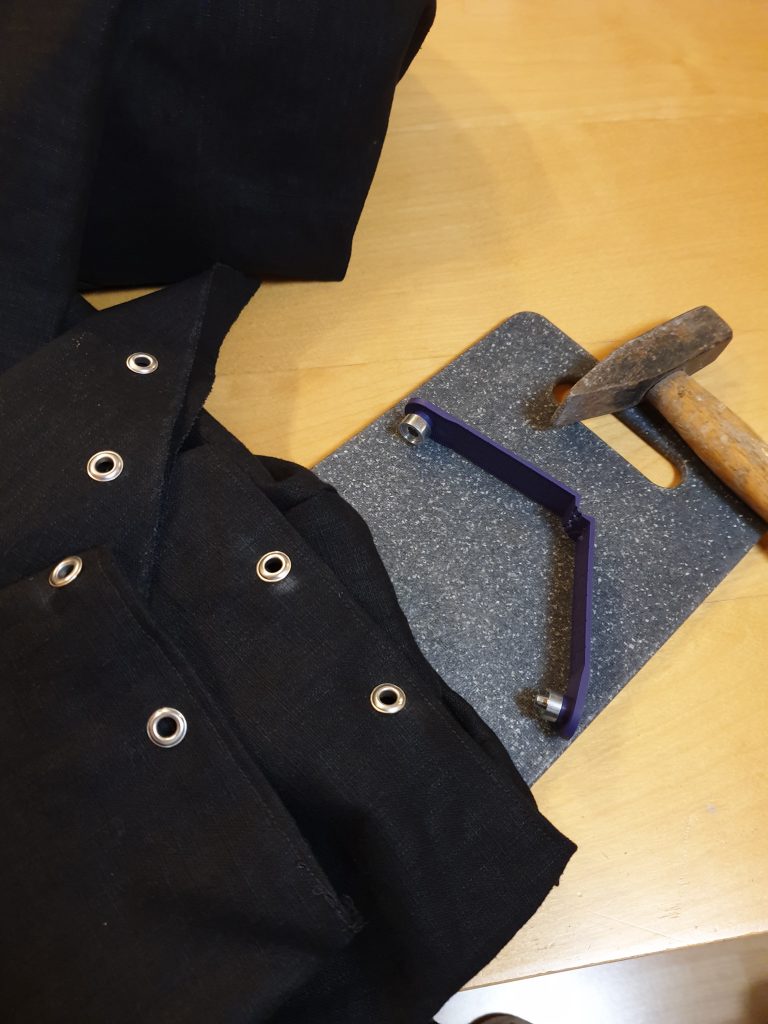
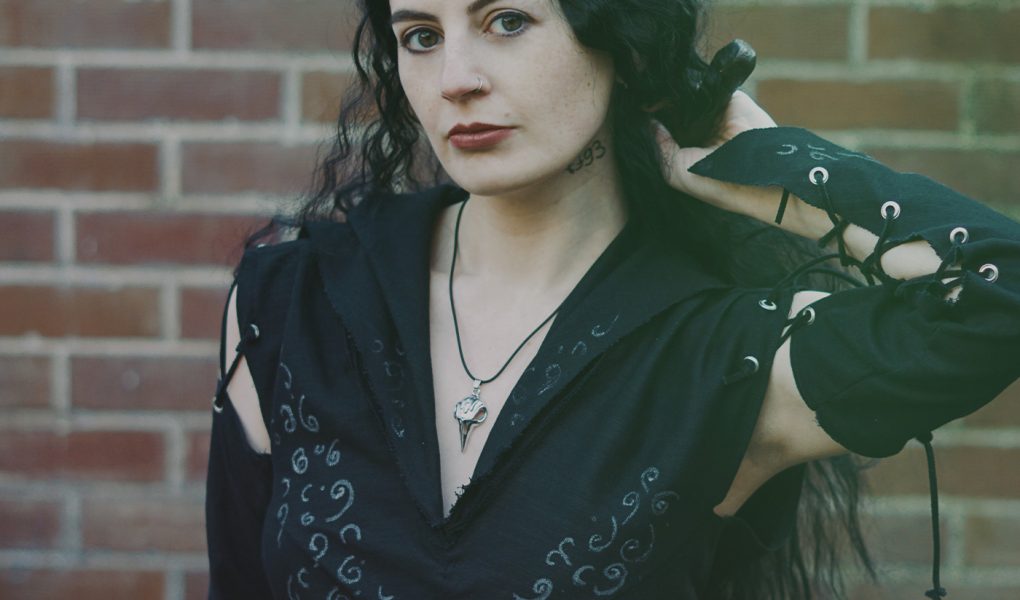
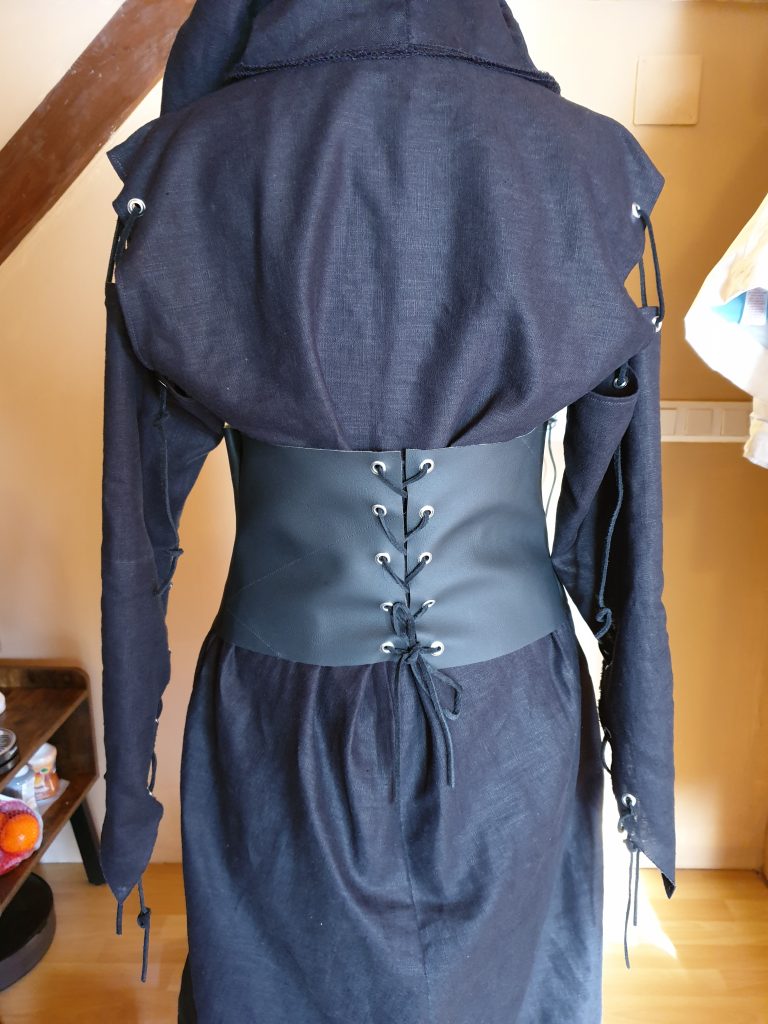
Obviously, the sleeves are attached on the original pattern, whereas Bellatrix’s sleeves are held up by strings only. I used the original Burda pattern to sew the sleeves and then cut them up according to Bella’s costume. Then came my least favourite part: adding the eyelets. When I made my first Bellatrix cosplay, I used some really good eyelets which were easy to put in, but the company has since changed their eyelets and the new ones take a lot of strength and a big hammer to put in. When you go shopping for eyelets for your Bellatrix cosplay, please, please, please buy high-quality eyelets. It will save you a lot of pain and noise. I marked the placement for the eyelets on the sleeves and shoulders and got to work. Once the eyelets were in, all that was left to do was to attach the sleeves to the shoulders of the dress.
Finishing the Main Dress
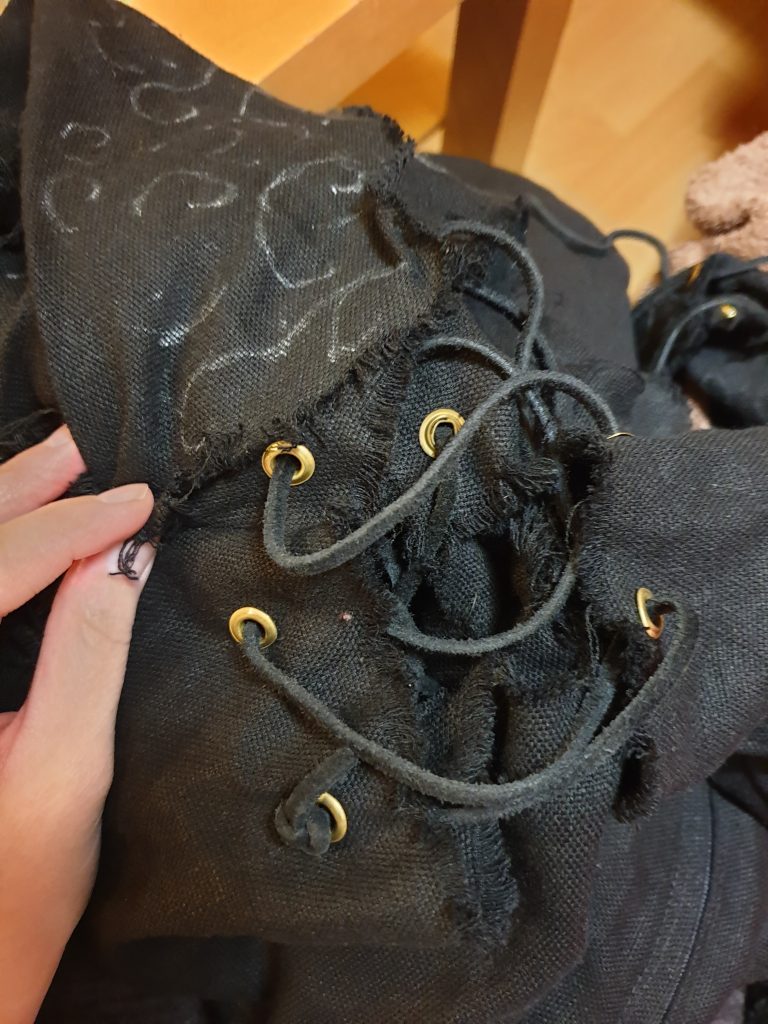
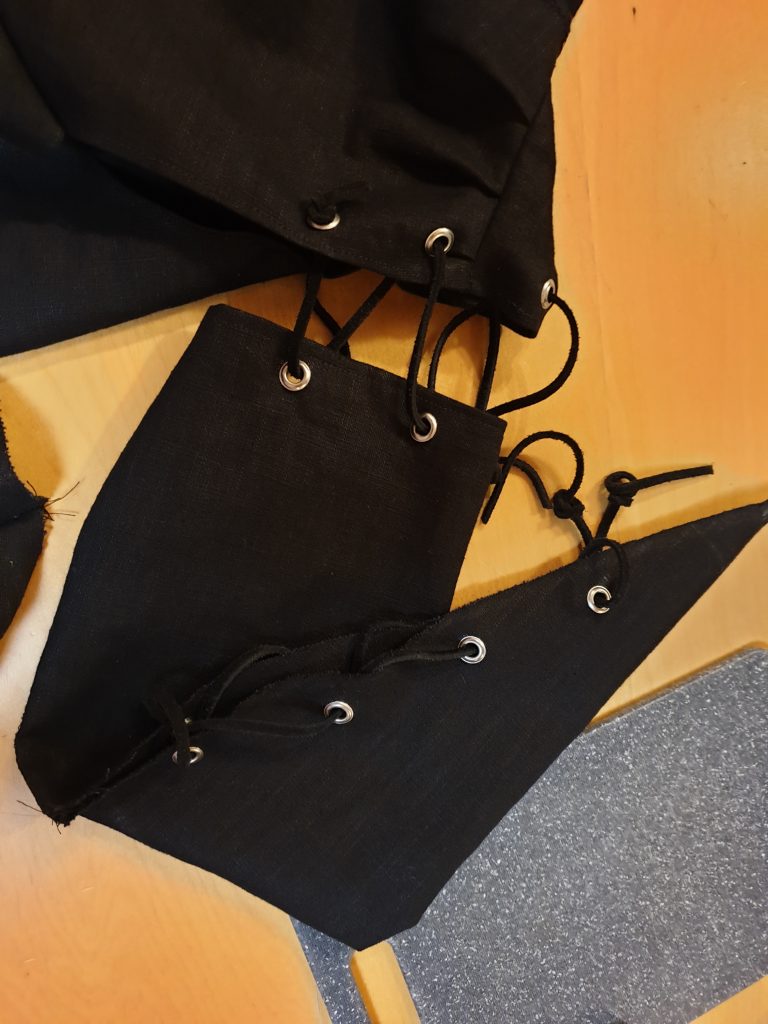
I re-used the old faux suede string from my old dress because they were still good and it seemed a waste to throw them out. I also used them to lace up the sleeves and I still had some faux suede string left over to use for the corset later. Once the sleeves were attached, the main dress was finished after 9.15 hours of sewing work.
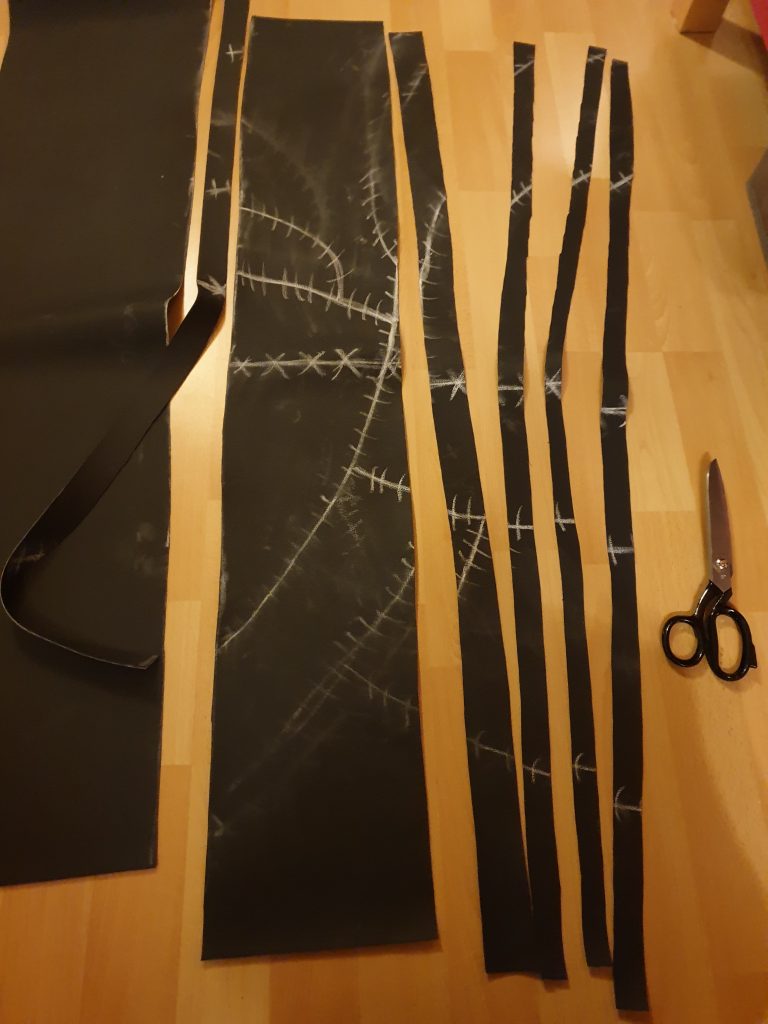
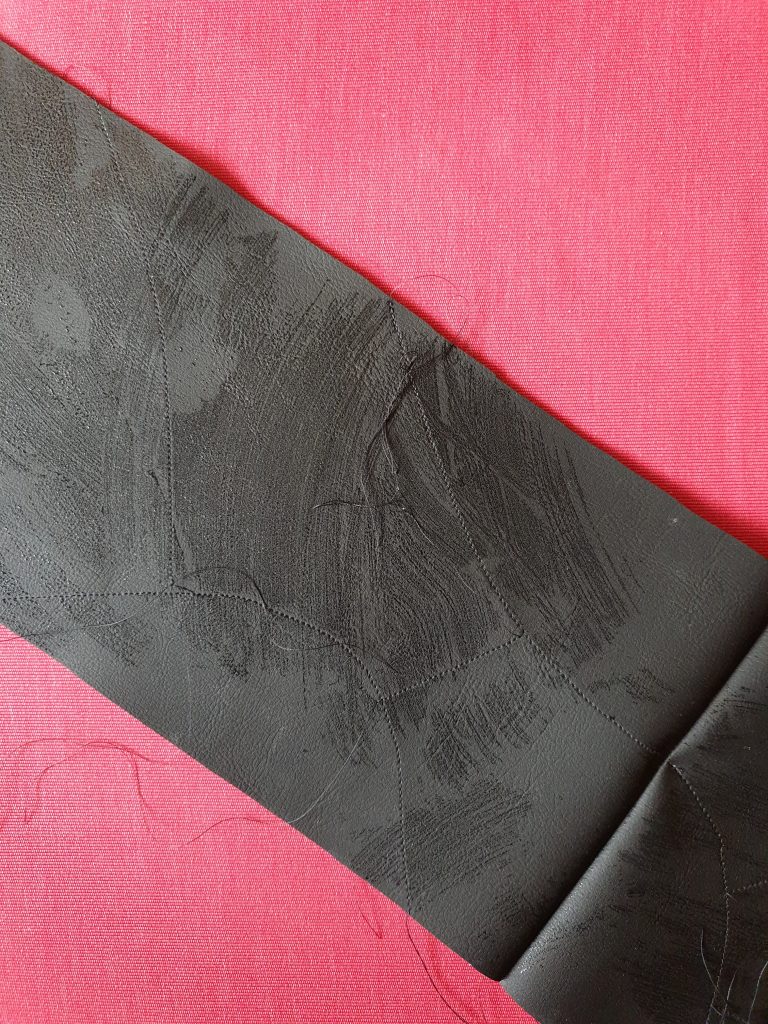
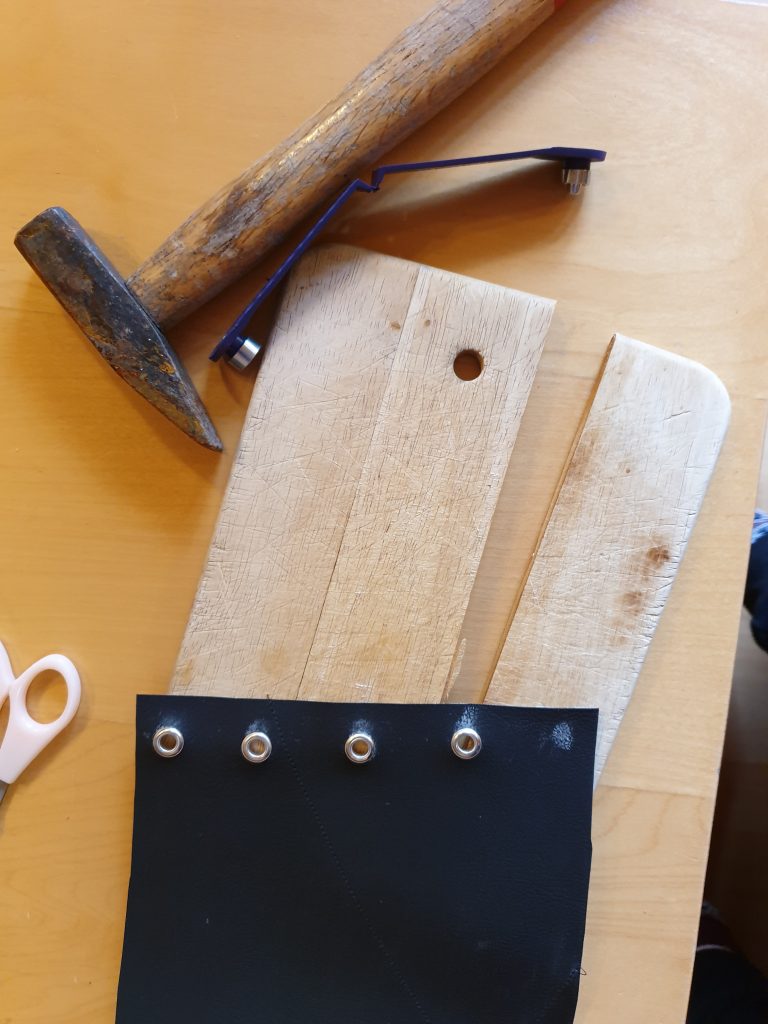
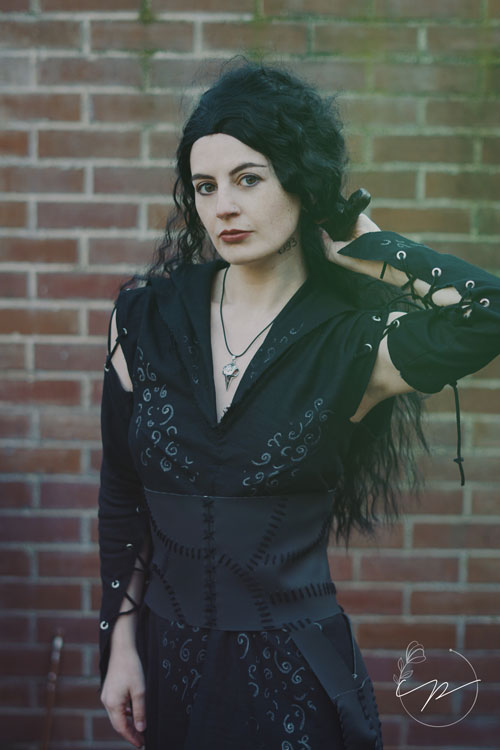
For the corset, I had chosen a strong, faux leather fabric. I don’t know what was used for Bellatrix’s original dress, but I’m not a friend of real leather unless I can buy it second-hand, so faux leather would have to do. I cut it up according to my size and tried it on over the dress to judge the perfect fit. I also used chalk to draw the cracked-and-mended pattern on it to see what it would look like in the end. Once I was happy with the size, I used my sewing machine to mark the pattern on it before making the actual stitches. I didn’t want to cut it up into smaller pieces and sew it back together (although you can do that if you want to), and only cut and re-attached the front. Then, I put eyelets into the corset, as well, and broke grandma’s cutting board in the process.
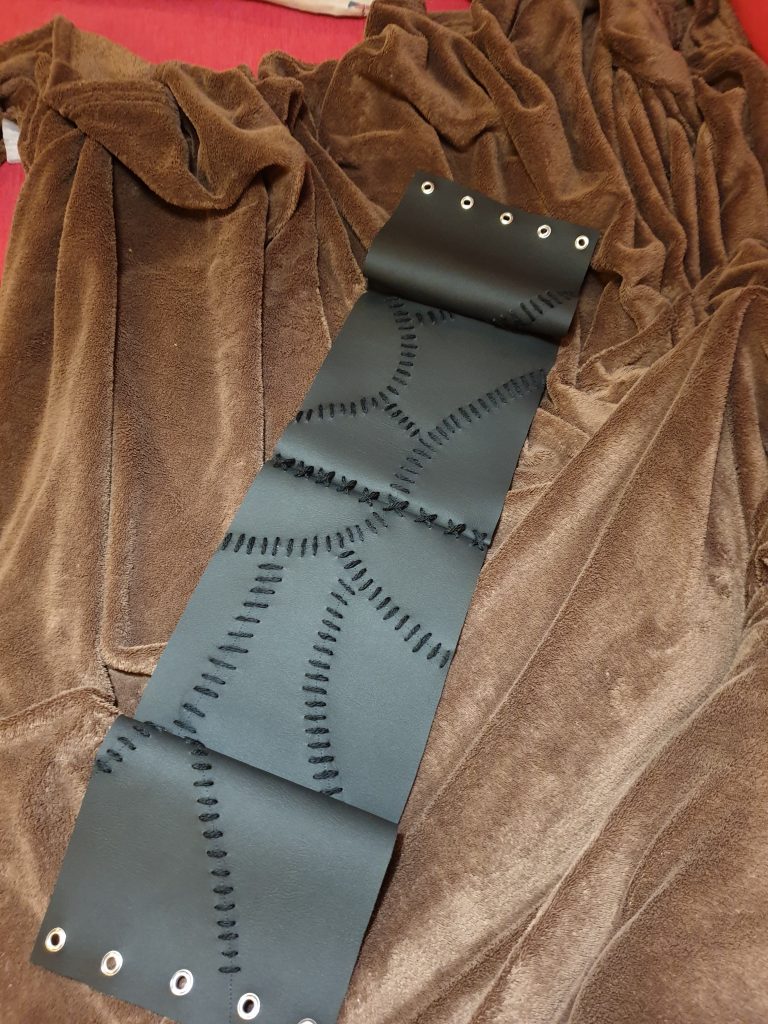
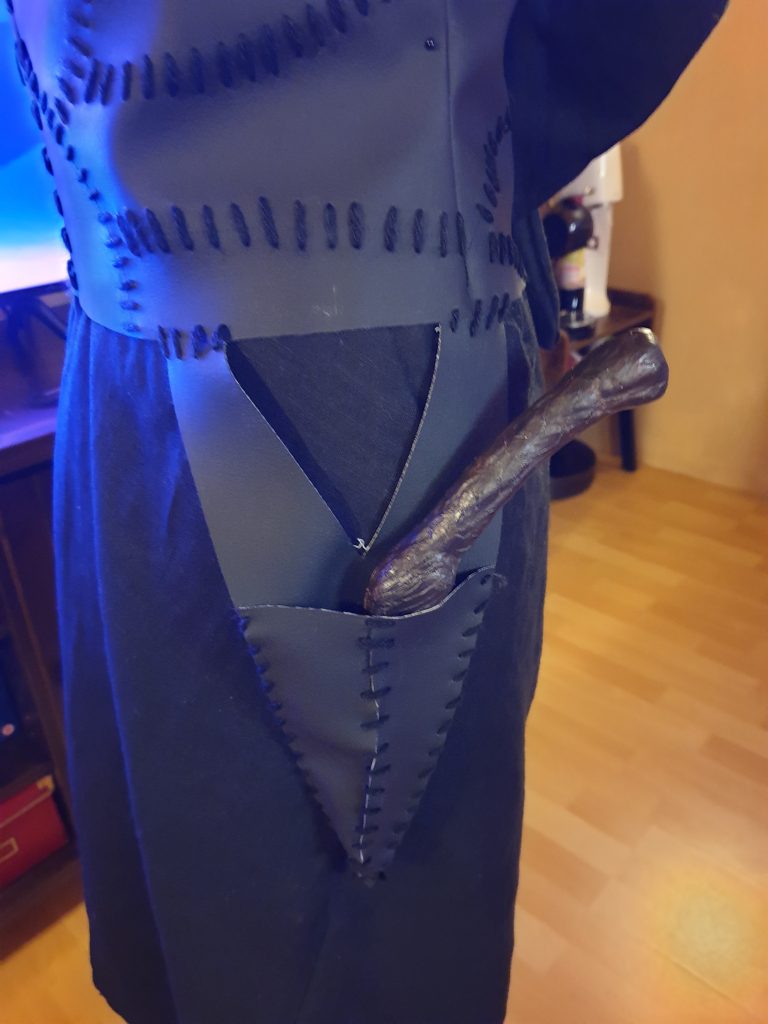
To give the corset its torn-and-mended look, I made stitched along the lines I had previously marked – and stabbed myself multiple times while doing that. When I started making this dress, I hadn’t initially wanted to add the wand-holder which you can see on Bella’s dress, but as I still had enough faux leather left, I decided to just give it a got. I cut out a sort of triangle shape the size of my wand and two other, smaller triangles which I loosely stitched together and attached to the corset. I also took a large needle and started fraying the edges around the neckline and the hem to give my Bellatrix cosplay a used, torn look even though age and wear will probably take care of that at some point as it did with my old dress. After all, I used a similar linen fabric.
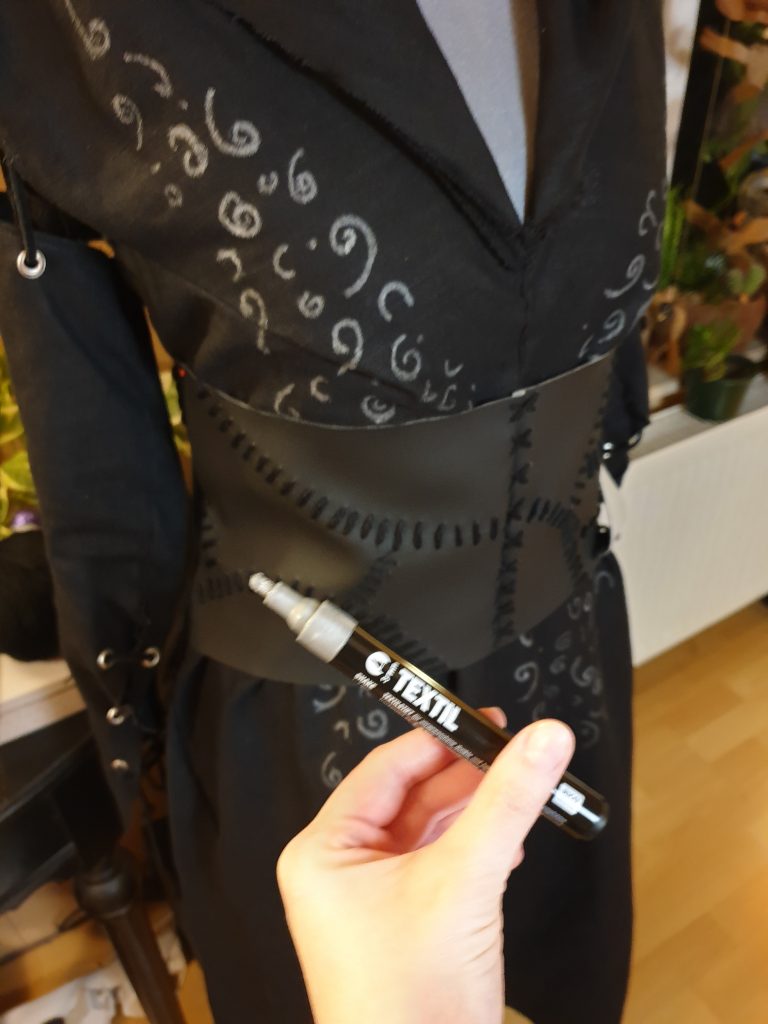
The last step I took to finish the dress was also the scariest for me: drawing on the silver swirls with a fabric pen. I’m not an artist and I’m a menace with pencils, brushes and the likes, so I was really scared of screwing this part up. I looked closely at the photos of Bellatrix’s dress and tried to recreate the pattern while sweating nervously, but I love the end result and I’m quite proud of my little swirls. The swirls on Bellatrix’s Order of the Phoenix dress are actually stitched on and since I had silver yarn, I tried to stitch over the larger swirls, but the results didn’t look as good as the painted ones, so I removed the test-stitching again and left it at the painted swirls. My Bellatrix Lestrange cosplay was now finished.
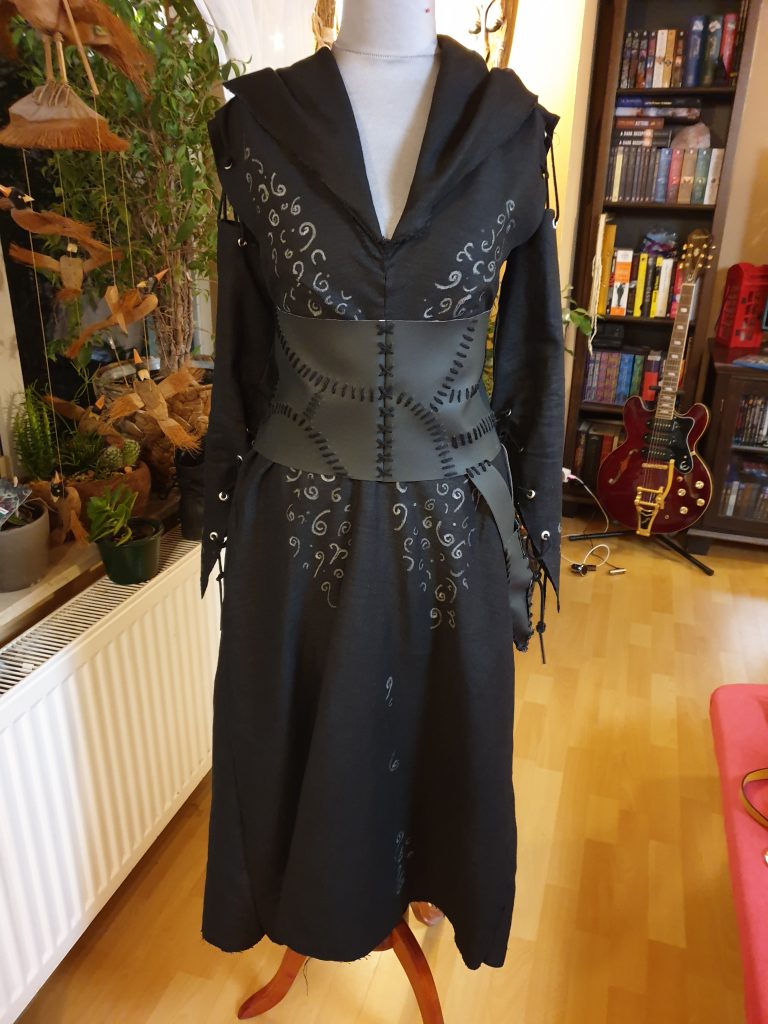
My Finished Bellatrix Lestrange Cosplay
I have to say that I’m quite proud of how it turned out, how nicely it fits and how badass it feels to wear it. I absolutely adore Helena Bonham Carter and I love her portrayal of Bellatrix in the movies, so wearing this for photos gives me witchy vibes. My dress isn’t anywhere near as gorgeous as the original film costume as that uses more delicate fabric and detailed stitching, but it’s still recognisable, fun to wear and possible to recreate even with limited sewing skills.
I also made a Slytherin Hogwarts Robe.