

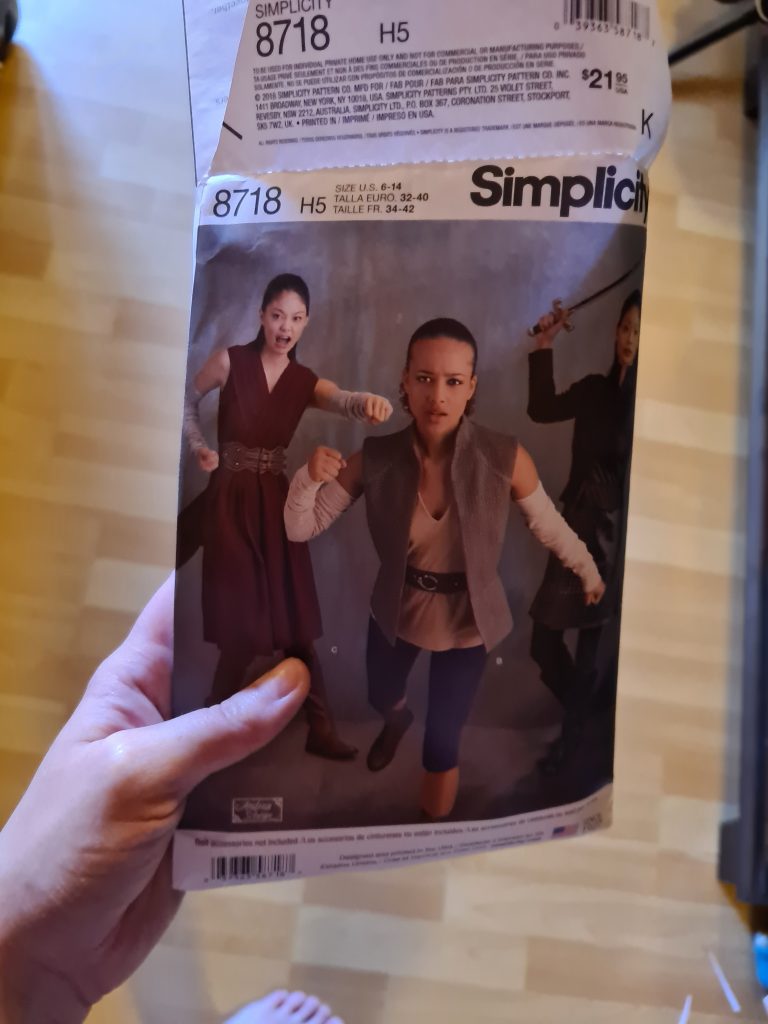
Sewing Pattern: Simplicity 8718
Working Time: 21 1/2 Hours
Materials:
Vest: Darkening Fabric Fishbone in Grey, 2.5m
Trousers: Stretch Jeans Fabric in Grey, 1.5m
Belt: Faux Leather in Dark Brown, 0.5m
Shirt: 2 Cotton V-Neck T-Shirts in White
Interfacing, 0.5m
Materials Cost Total: 89,05 Euros
Accessories:
Boots: 33 Euros
Lightsaber (Shiva Saber from Etsy): 116 Euros
Gauze Bandages, 2x: 2 Euros
Staff: 45 Euros
Cost Total: 285,05 Euros
Before we get started on the actual sewing process: If you’ve read my other Rey post, you will probably notice that I counted some of the materials (the shirts, the lightsaber, …) twice. I only bought one of those things, but I’m including them in both posts to give you an impression of how much the entire outfit would cost. Now, let’s get started.
As mentioned in my other post, I found it very hard to decide which Rey outfit I wanted to make and about a week after ordering the materials for Rey’s brown tunic, I felt the urge to do this too. I probably wouldn’t have done it if I hadn’t spotted the perfect fabric for the vest – but here we are. I saw the grey fishbone fabric and I knew I had to turn it into a Rey cosplay. Everything else, from the fabric of the trousers to the sewing pattern, was easy to find.
Making Rey’s Grey Ahch-To Vest
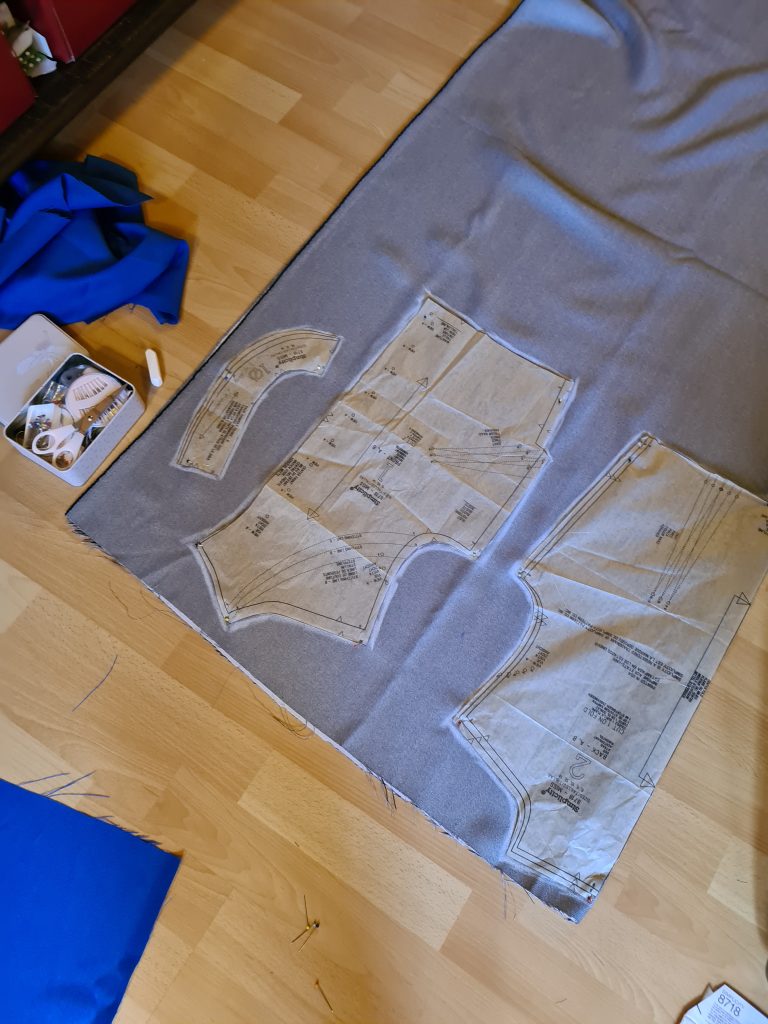
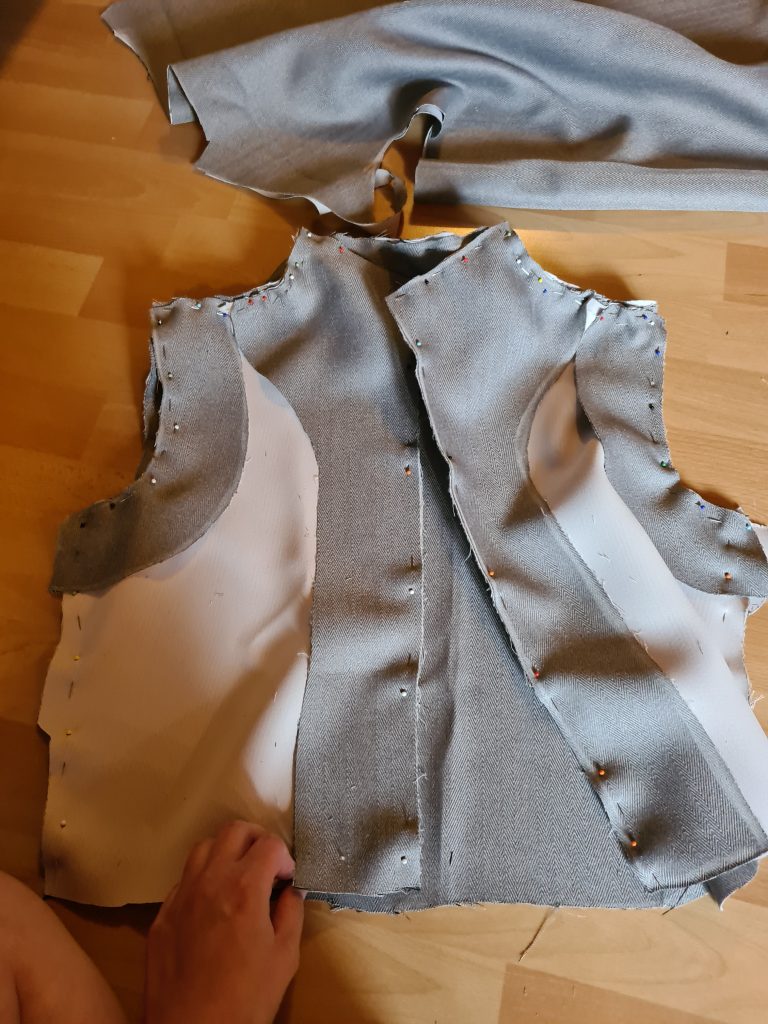
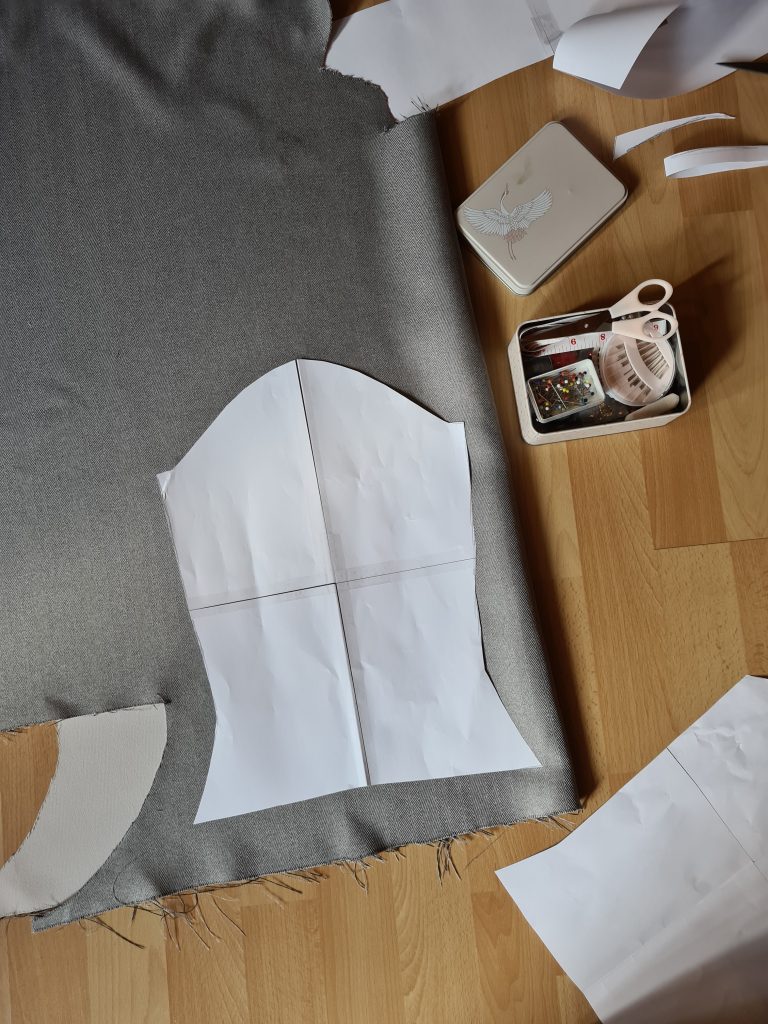
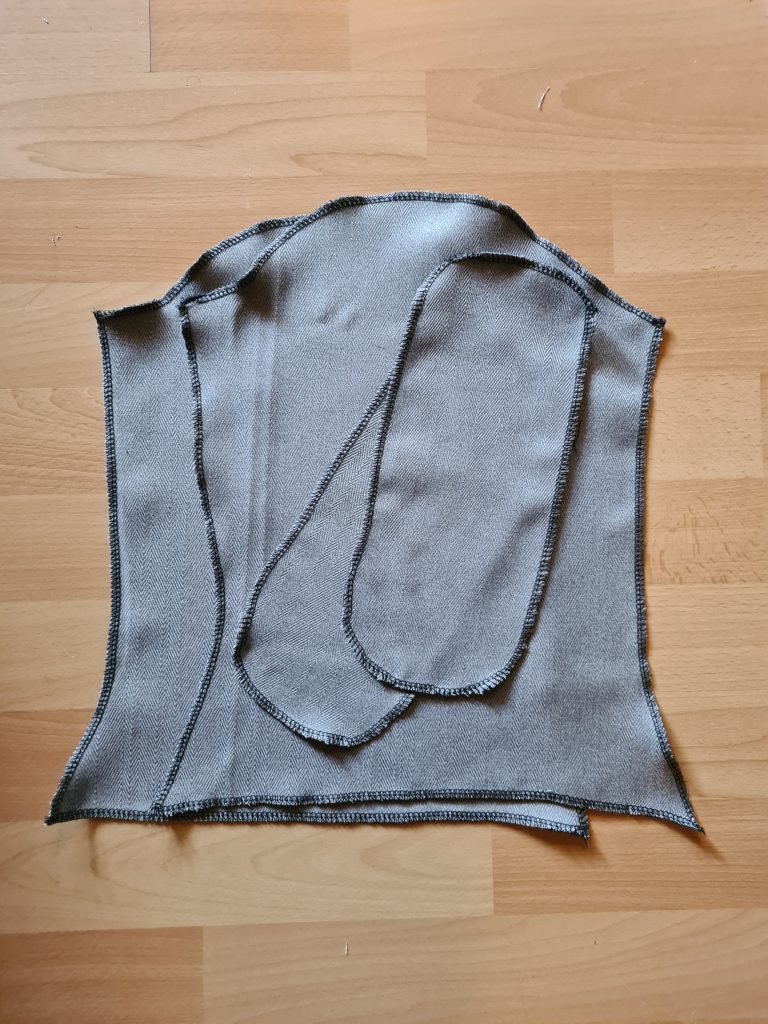
This time, I had an actual commercial sewing pattern to work with for my Rey cosplay and did not have to come up with my own. I used Simplicity 8718 for the vest and the trousers although I took some liberties with this, as well. I don’t think I’ve ever not altered a pattern, but we will get to that. After cutting out the pieces of fabric, making sure they fit and running them through my overlock machine, I quickly started putting things together. Overall, this was a very easy, self-explanatory and straightforward pattern to work with that is suitable for beginners, too. The vest is basically split into two halves and I started with the upper part. Depending on what fabric you use, you might not have to work with very stiff interfacing as the collar will stand up on its own.
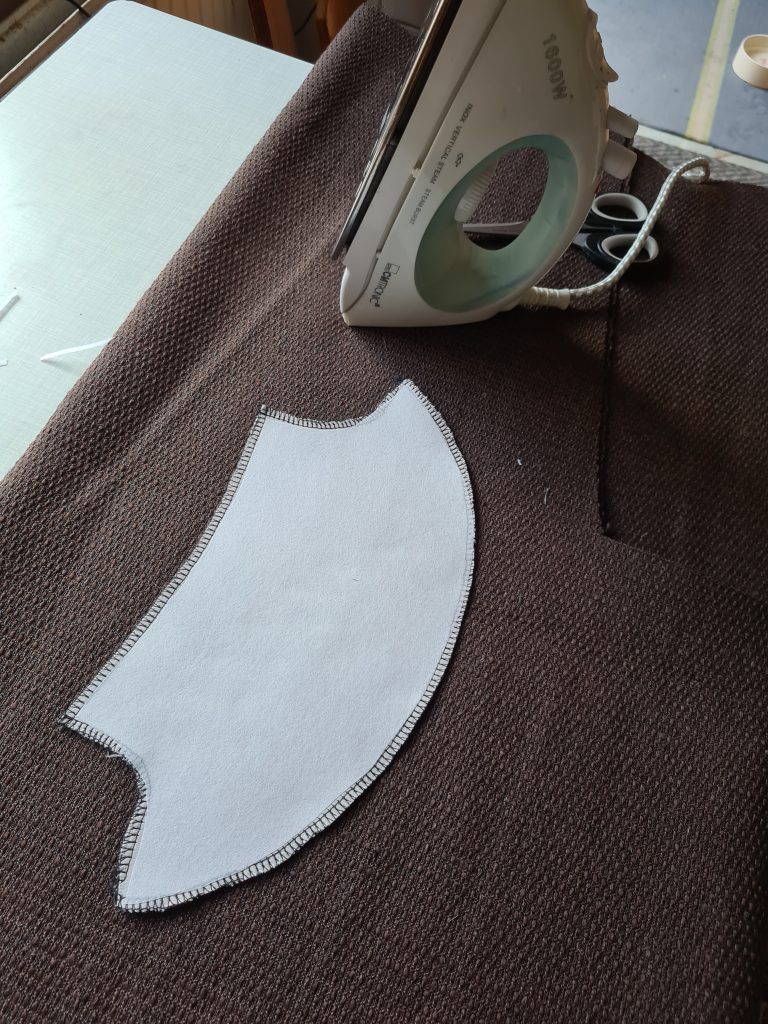
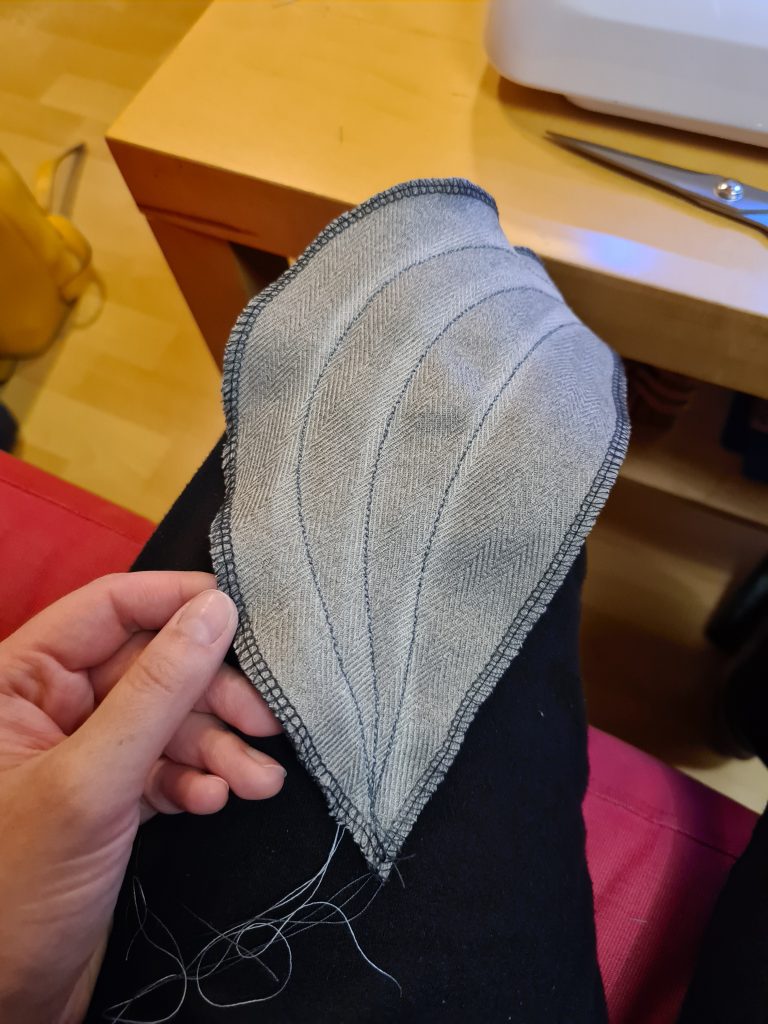
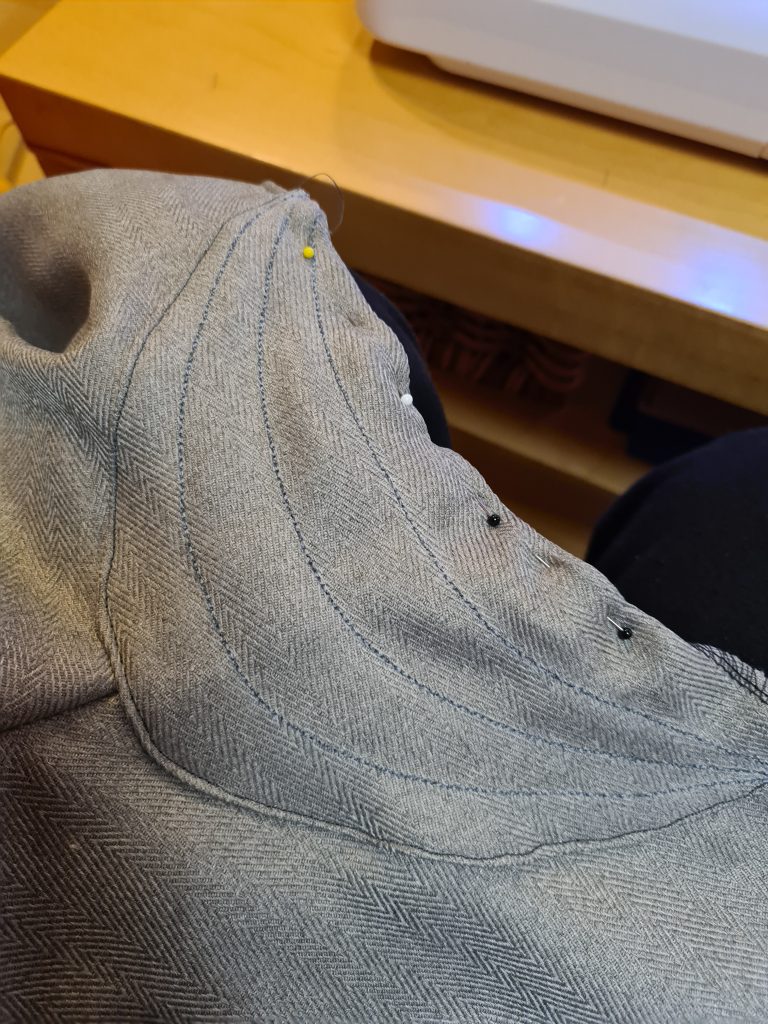
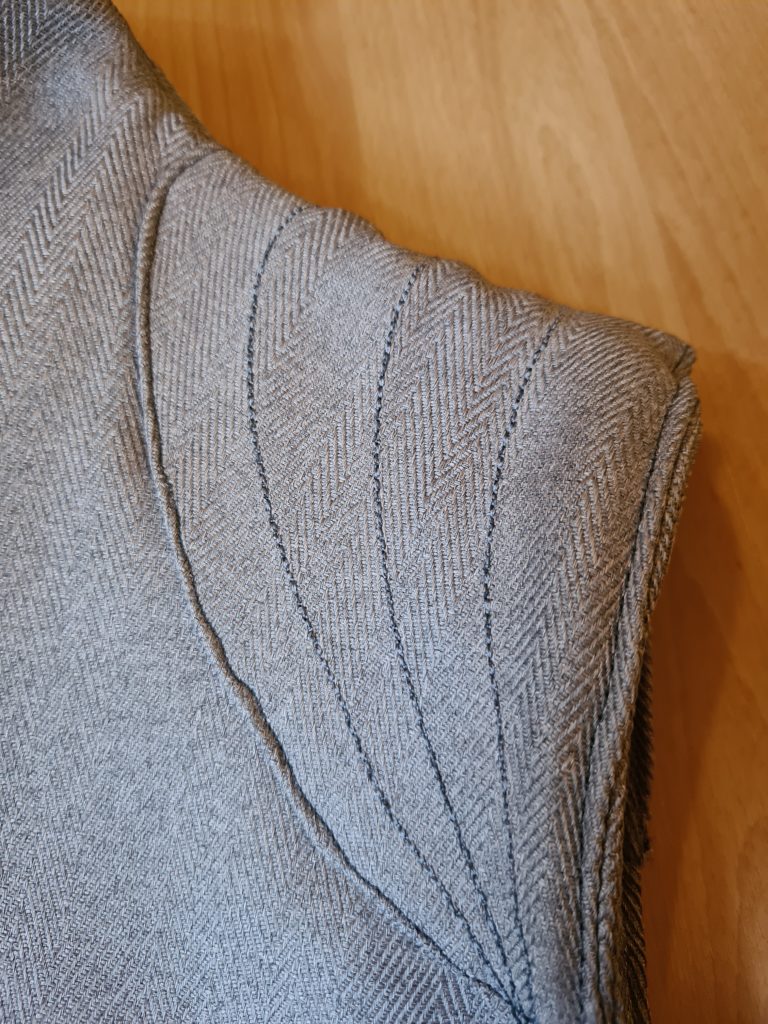
The only problem I had with this pattern was the shoulder area. Rey’s vest clearly has shoulder patches while this pattern only pretends to have some as decorative lines are stitched into place. I hated that, so I recreated the shape the shoulder patches would take, cut them out, lined them with decorative stitches and attached them to the shoulder area of the finished upper vest. As much as I hated the original pattern not having patches, my sewing machine hated attaching them and I broke off two needles in the process. While the fabric I chose was very soft, it was also rather thick and my machine struggled to get through multiple layers of it. After this, I went out and bought stronger needles for future projects.
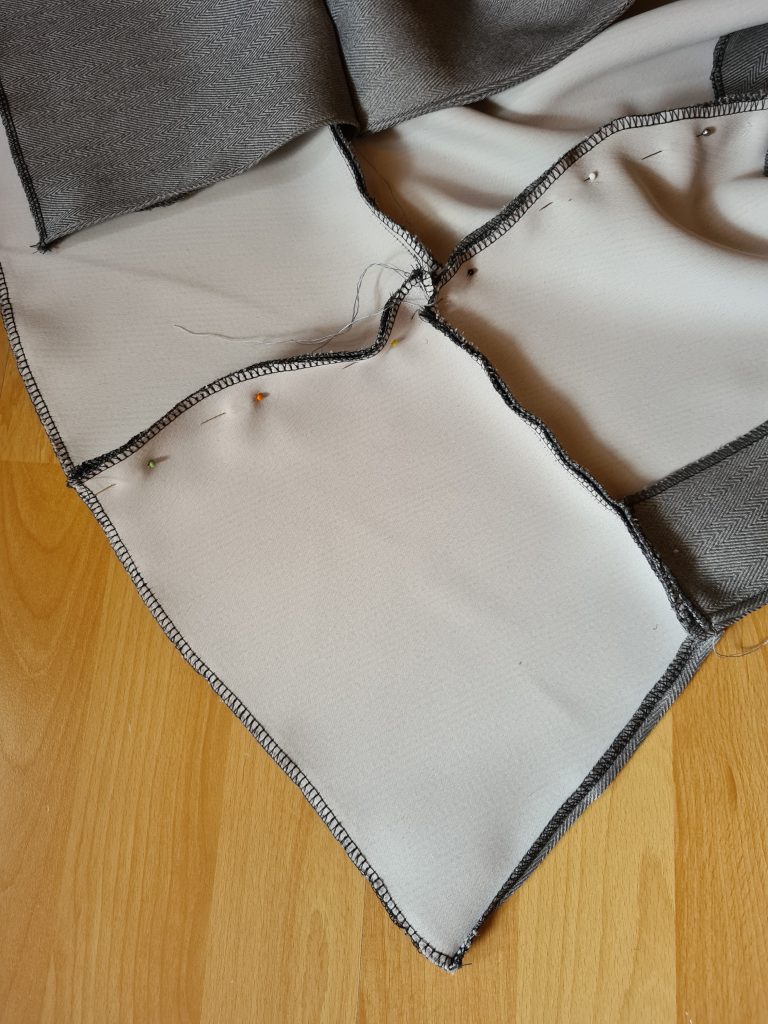
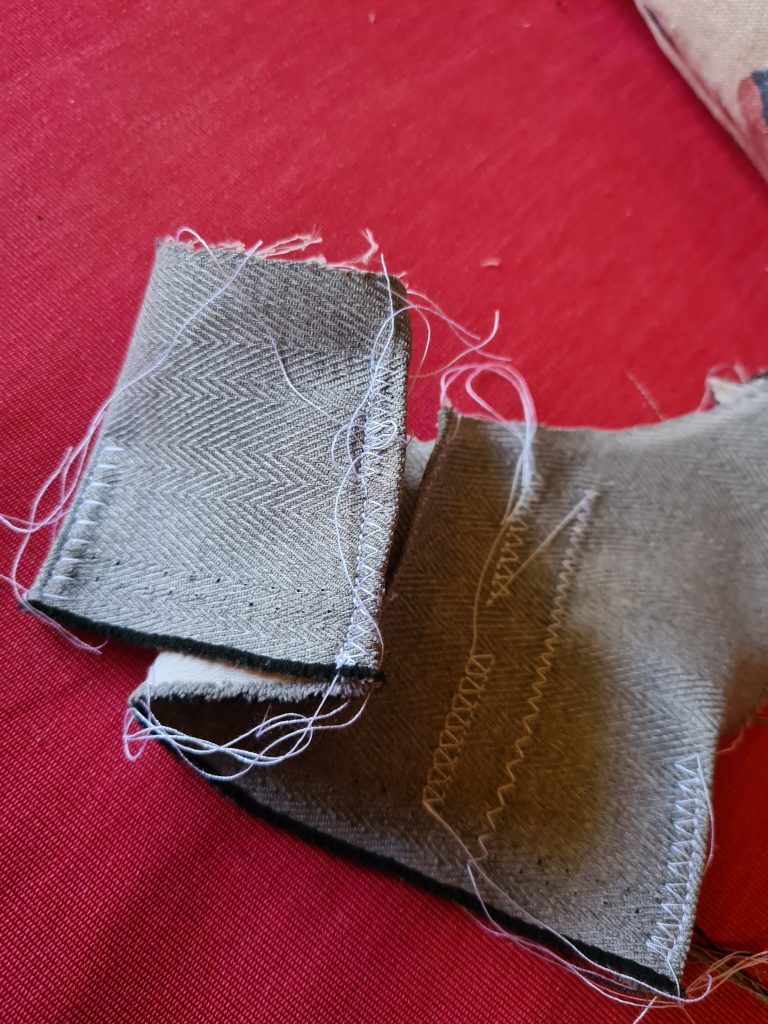
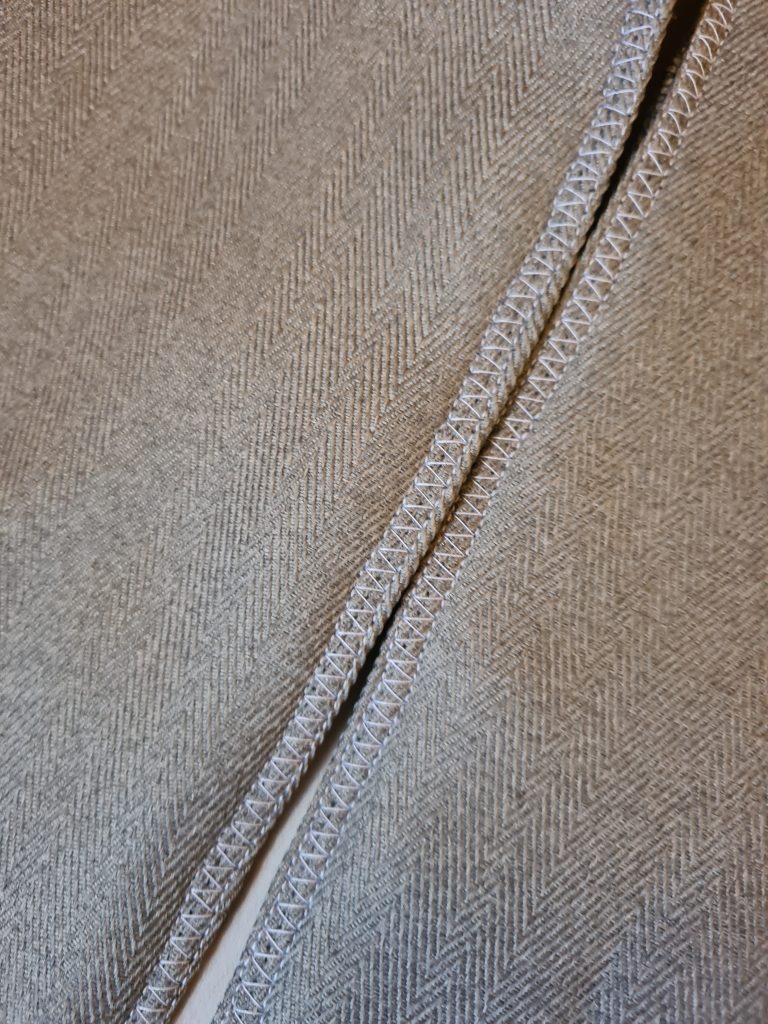
Once the shoulder patches were in place, I added the bottom parts of the vest according to the introductions and finished the bottom seam. Technically, the vest was finished at that point, but if you take a closer look at Rey’s original vest (in HQ stills), you can see that there are decorative seams around the collar area and down the front of the vest, so obviously, I wanted to have that, too. Luckily, the Singer sewing machine I bought in 2019 comes with a variety of pretty stitches, so I tried a few on leftover fabric to find something pretty that would come close to Rey’s original vest. I think I found a pretty good one and ran that along the edges of the vest. This part of my Rey cosplay was finished in 7 1/2 hours.
How To Make Rey’s Ahch-To Cuffs
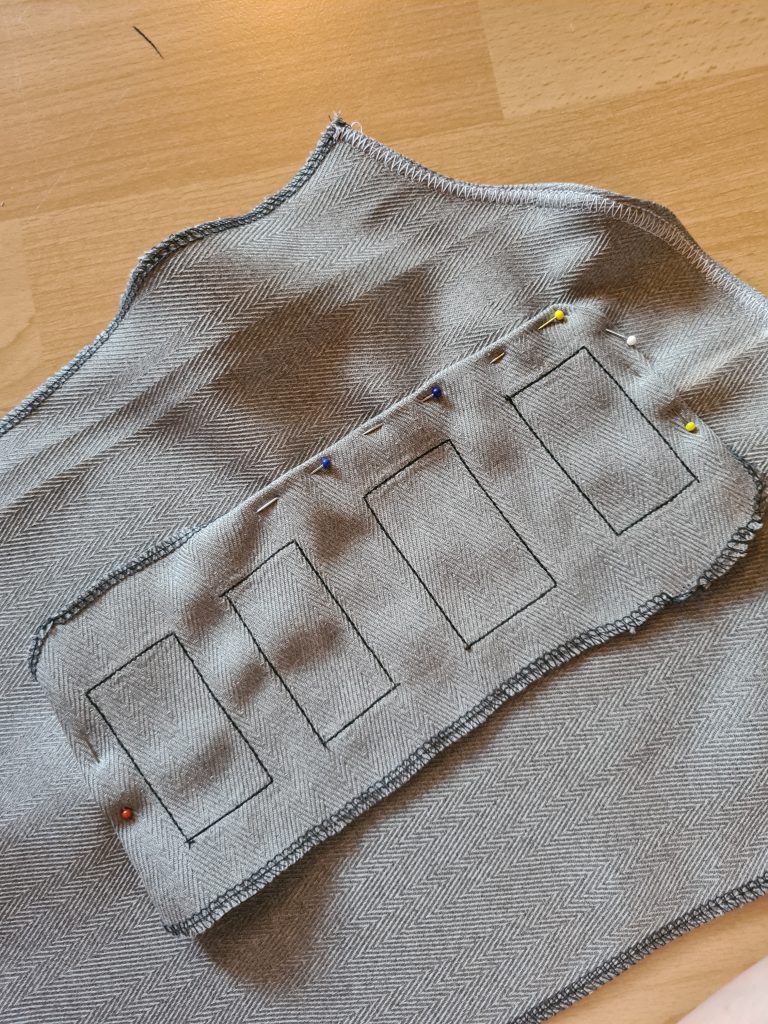
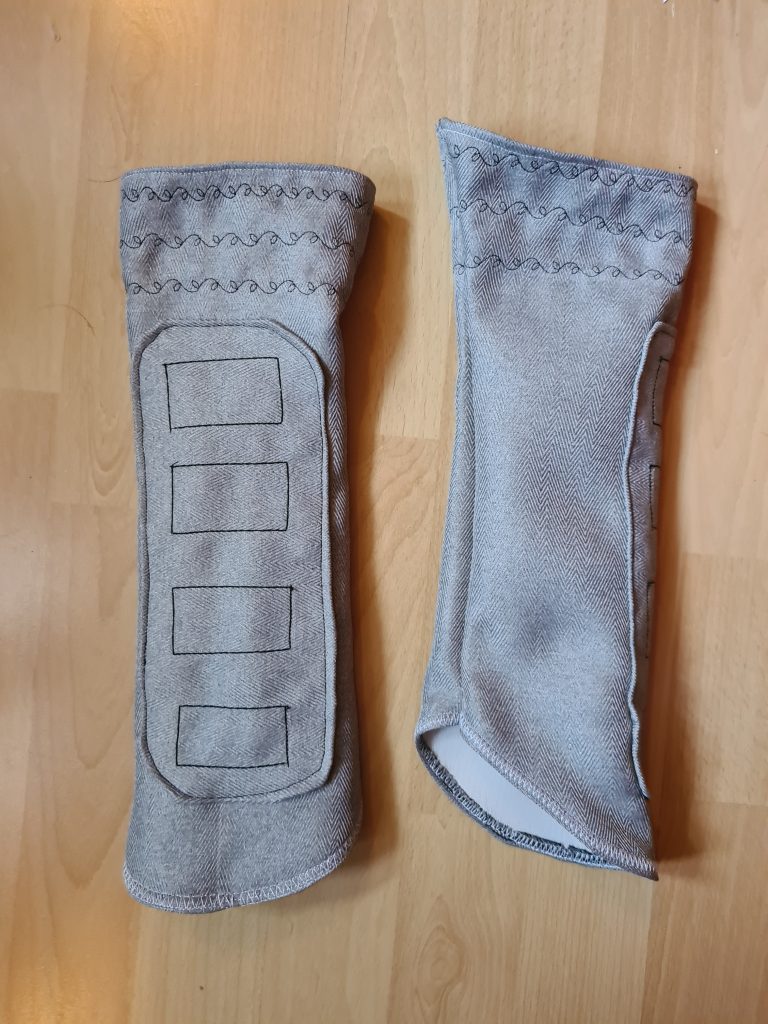
I don’t know how cold Ahch-To was or why Rey didn’t opt for a vest with longer sleeves instead, but she is wearing cuffs on her lower arms. For some reason, Simplicity didn’t include these in the pattern, so I had to get creative again and make up a pattern by myself, but this time, it was a little easier than making a vest. What Simplicity did have was the patch design that is also seen on the knees of the trousers, so I copied that for the arm cuffs, too. A little bit of cutting, a little bit of sewing and they were almost done.
However, before I finished them and sewed them together, I took another look at Rey’s original cuffs. I couldn’t find an image that makes it entirely clear, but either she is wearing the cuffs on top of other cuffs or the front part near the hands is made out of some kind of lace or knitting? Well, I didn’t want to knit or punch holes in my beautiful fabric. I had ordered enough to cover the vest and cuffs, but I couldn’t allow myself to waste any of it, so I decided to utilise the decorative stitches of my sewing machine once again. It doesn’t look entirely like the original (which obviously has holes of some kind), but the stitches came out as a nice pattern that looks good in photos. Making Rey’s cuffs took me 3 hours.
I had already made the shirt and belt for my other The Last Jedi cosplay, so you can find a detailed description here. If you want to know how I created my staff, look here.
Making Trousers For My Rey Cosplay
Now, on to the part that scared me the most out of this entire project: the trousers. When I bought my new sewing machines in 2019, I already knew I was going to try new things with them, but 2020 really proved to be the year for a lot of firsts – and that included making my first pair of trousers. Oh boy, was I scared.
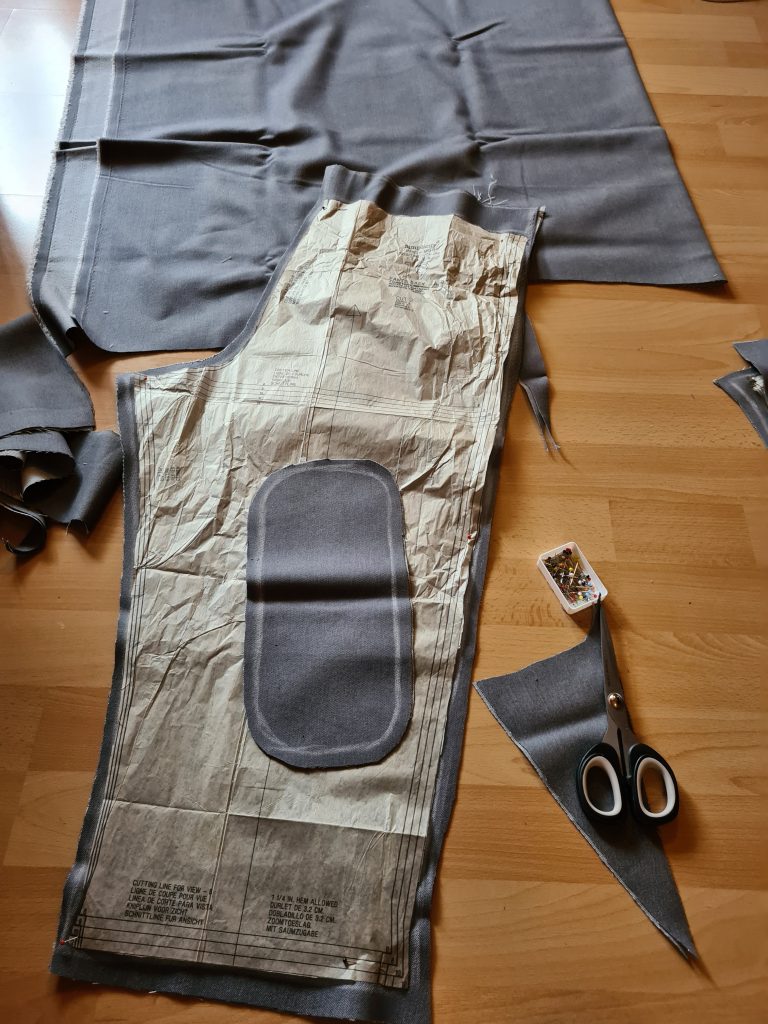
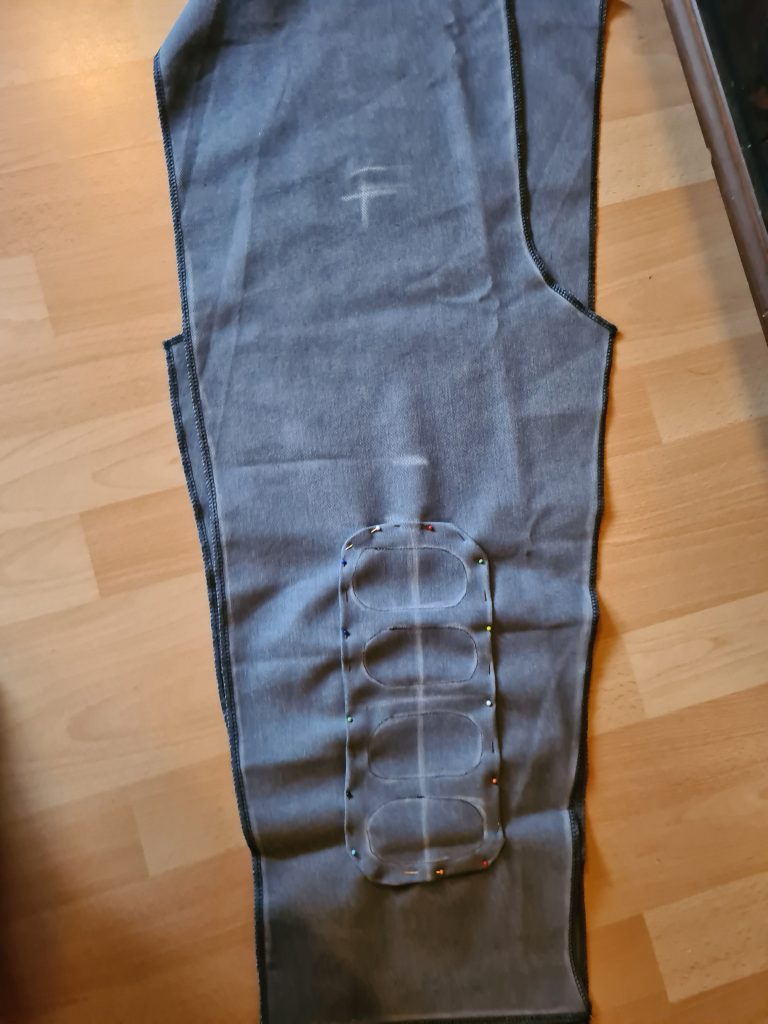
Honestly, I had no reason to be. The Simplicity pattern for Rey’s trousers is probably as easy as it gets and the most challenging bit was adding the knee patches, so if you’re like me and scared of sewing trousers, don’t be because these are a great place to start. I didn’t have a go at the actual fabric right away. Instead, I made a test version of leftover fabric to see if it would fit. If this is also your first time trying on pinned together trousers, prepare yourself for a moment of sheer terror and potential pain 😀 After confirming that it fit, I went on to the proper fabric. I cut out the pieces from the sewing pattern, ran them through my overlock machine and added the patches to the knee area. Again, this was the trickiest part because I had to make sure they sat correctly and ran them through the machine very slowly so as not to screw up the lines. I think the trouser patches turned out a lot better than my first attempt on the cuffs, so if you have fabric to spare, I recommend doing a trial run.
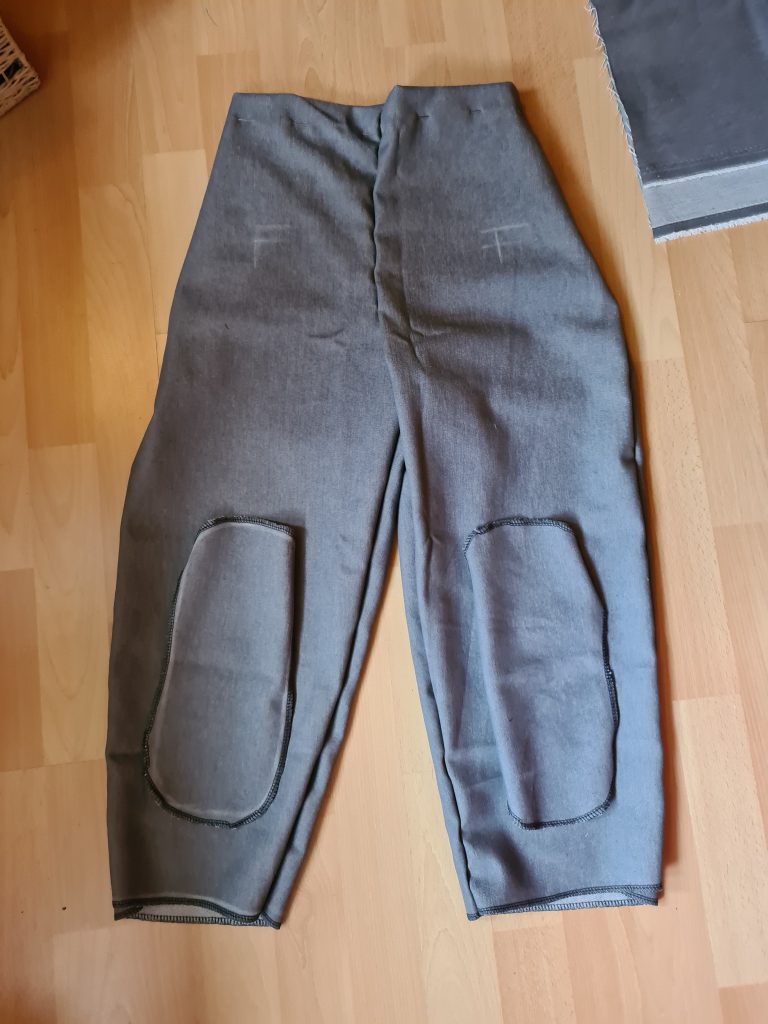

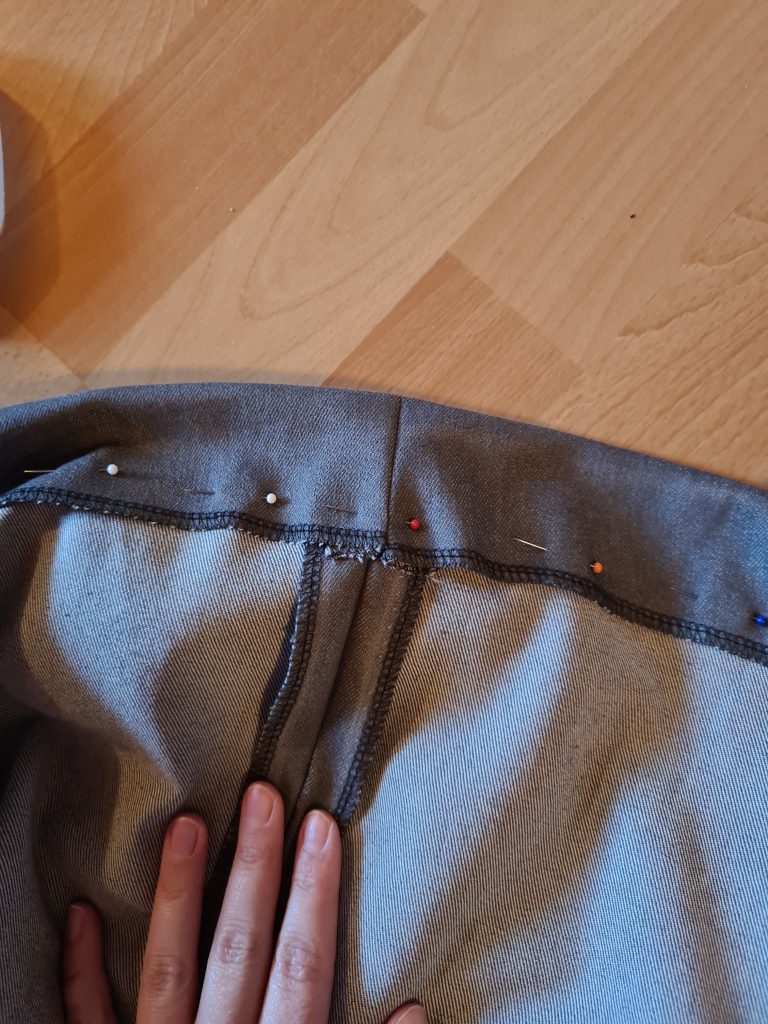
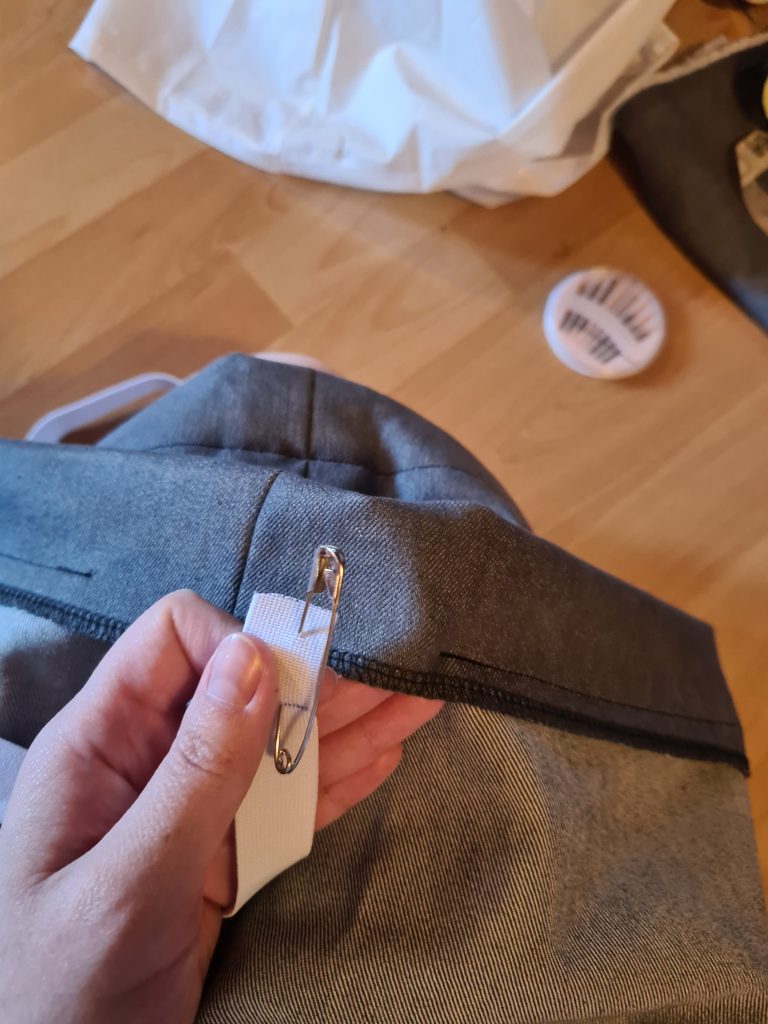
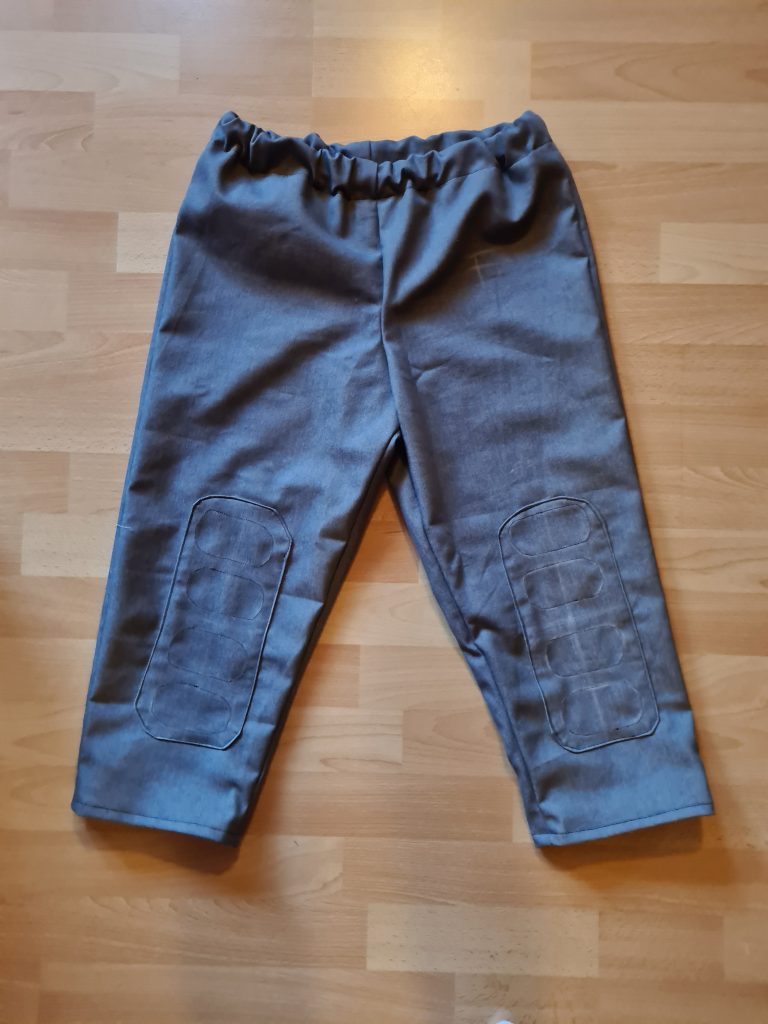
Once the patches were attached, I put all of the pieces together. Now, since the Simplicity pattern suggests an elastic waist, these trousers looked obviously much too big, but most of the width is necessary to get them over the hips while putting them on. The instructions on how to put in the elastic waistband weren’t entirely clear, so I went on YouTube and watched a few tutorials on how it is done. As it turned out, it is actually very simple. I sewed a tunnel around the waist and left an opening in the back. Then, I cut the elastic to its correct size and attached a safety pin to both ends which I used to guide the elastic through the tunnel. Once that was done, I sewed the ends of the elastic together and closed the opening in the back with my sewing machine. After only 3 hours, the trousers for my Rey cosplay were finished.
Accessories for Rey’s Ahch-To Cosplay
Just as with my brown tunic, I used simple gauze bandages to wrap around my arms. If you have an old first aid kid that is slightly out of date and therefore no longer usable for its actual purpose, you can take them out of an old kit. I got mine from the pharmacy – the cheapest kind will do. Because Rey’s bandages are not plain white in The Last Jedi, I used grey fabric dye on them.
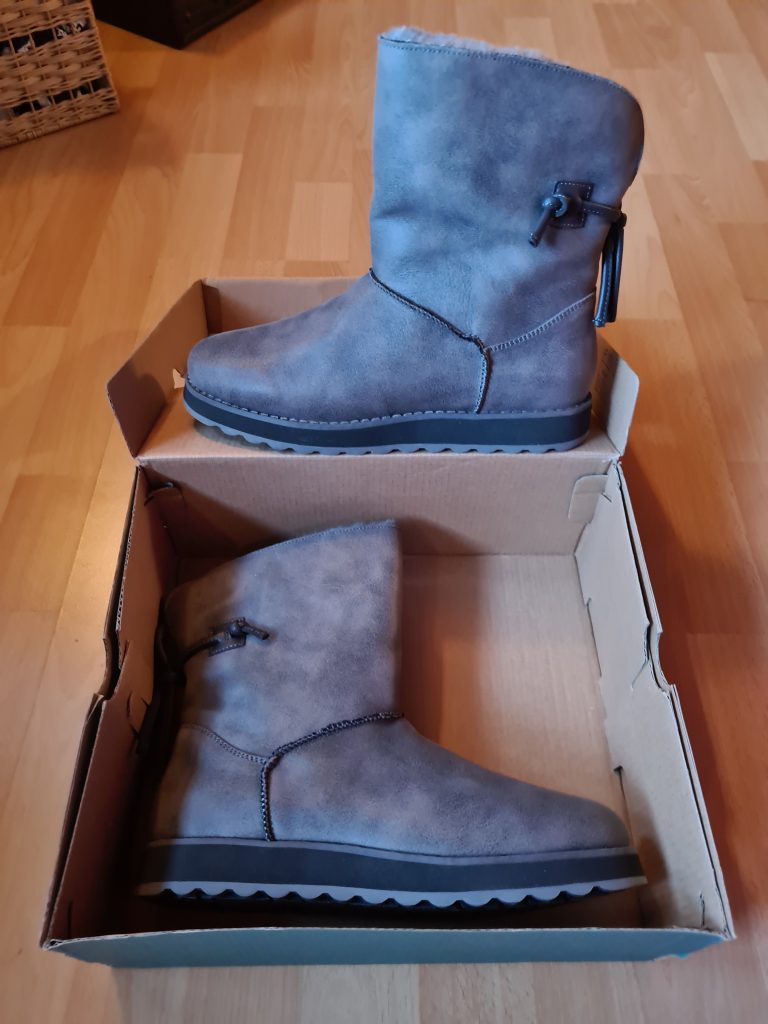
The shoes Rey wears in The Last Jedi are from Po-Zu. I don’t think the originals are available any longer and the replicas can be quite pricey, so I decided to look for an alternative. My feet are rarely visible in my cosplay photos and I’m not a regular con-goer, so I don’t have the highest standards for cosplay footwear. I ended up buying a pair of Sketchers (Keepsakes 2.0 Hearth) in dark grey for just 33 Euros and I love them a lot. They’re in the same style and I appreciated them a lot while I was taking cosplay photos in the snow. They’re incredibly fluffy and warm on the inside and I’m definitely going to wear them outside of cosplay, too.
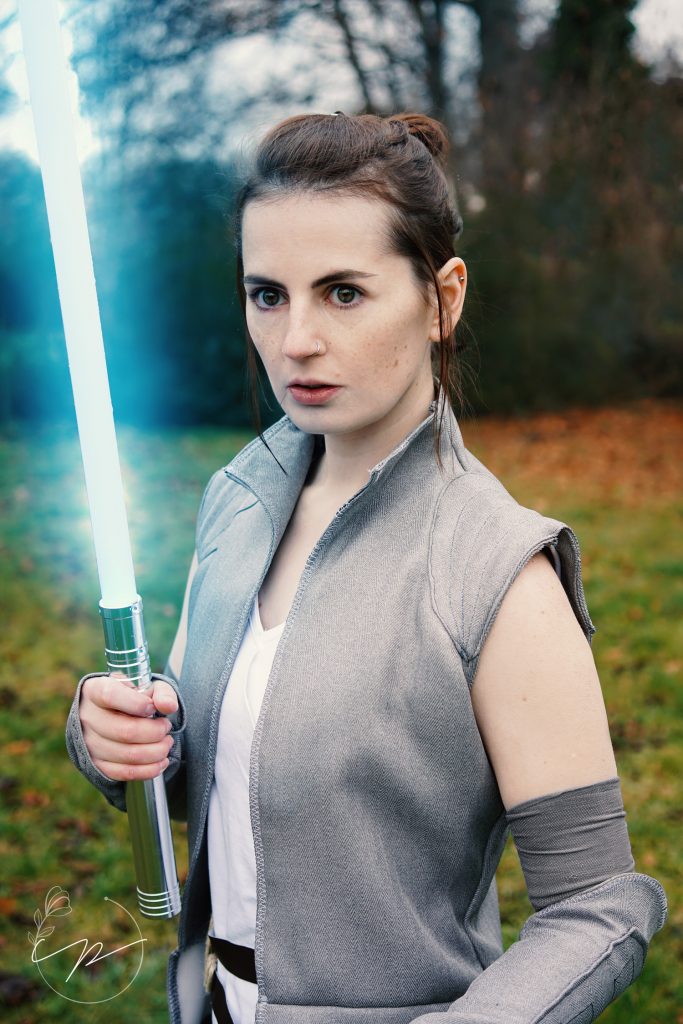
I’ve wanted a lightsaber since I first discovered Star Wars in 2009, but back then, they weren’t exactly affordable. Things have changed over the last ten years, so now, many cosplayers will be able to afford their own Star Wars weapon. I considered just getting a screen accurate hilt and photoshopping the blade, but then decided to with a simple hilt and a glowing blade. I ended up buying the Shiva Saber from Etsy for 116 Euros (including shipping) and I’m very happy with my purchase. Even though I still edit the blade in Photoshop, the glow is nice enough in indoor or night settings and even though it’s been a year since I got it, I still haven’t had to charge it. The fact that it’s a stunt saber and very sturdy eases my mind a lot because I don’t have to worry about breaking it.
Finishing Rey’s Ahch-To Look
In total, Rey’s The Last Jedi (Ahch-To) cosplay took me 21 1/2 hours to make, if you count the staff and pieces I also made for Rey’s other look. It also took a lot of sweat because I was making it during the hottest months of the year, but that was a personal decision made out of impatience 😀 Overall, I’m extremely happy with how it turned out and for the first time, I realised what a great decision buying the Singer sewing machine had been. With my previous machine, it probably wouldn’t have turned out as nice.
Maybe in the future, we will be able to safely go to conventions again and once that is the case, I think this Rey outfit will get its time in the spotlight, especially during the warmer months. While I love the other look, too, this one is better suited for summer as it’s lighter and easier to put on/take off. If you’re still undecided which Rey cosplay you should do, my recommendation would be this one.