Commercial Pattern: Butterick History 3072
Working Time Coat: 12 Hours
Working Time Vest: 5 Hours
Working Time Shirt: 6 Hours
Working Time Trousers: 2 1/2 Hours
Working Time Total: 25 1/2 Hours
Materials:
(Coat) Velvet, Blue: 4m, Buttons: 10
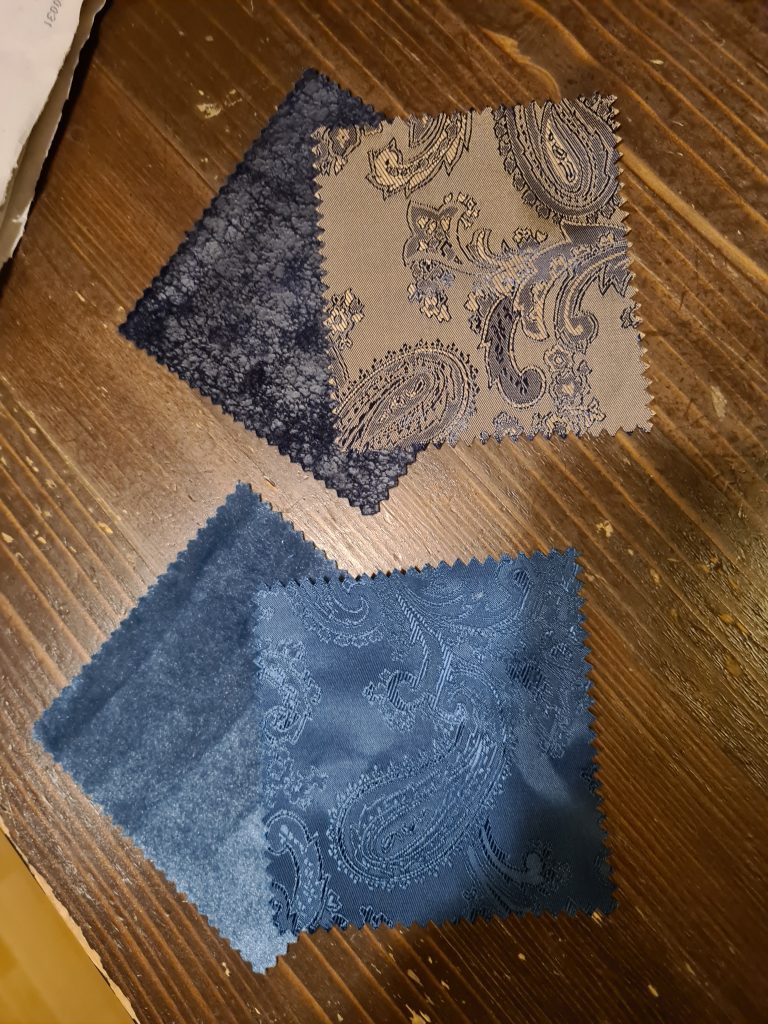
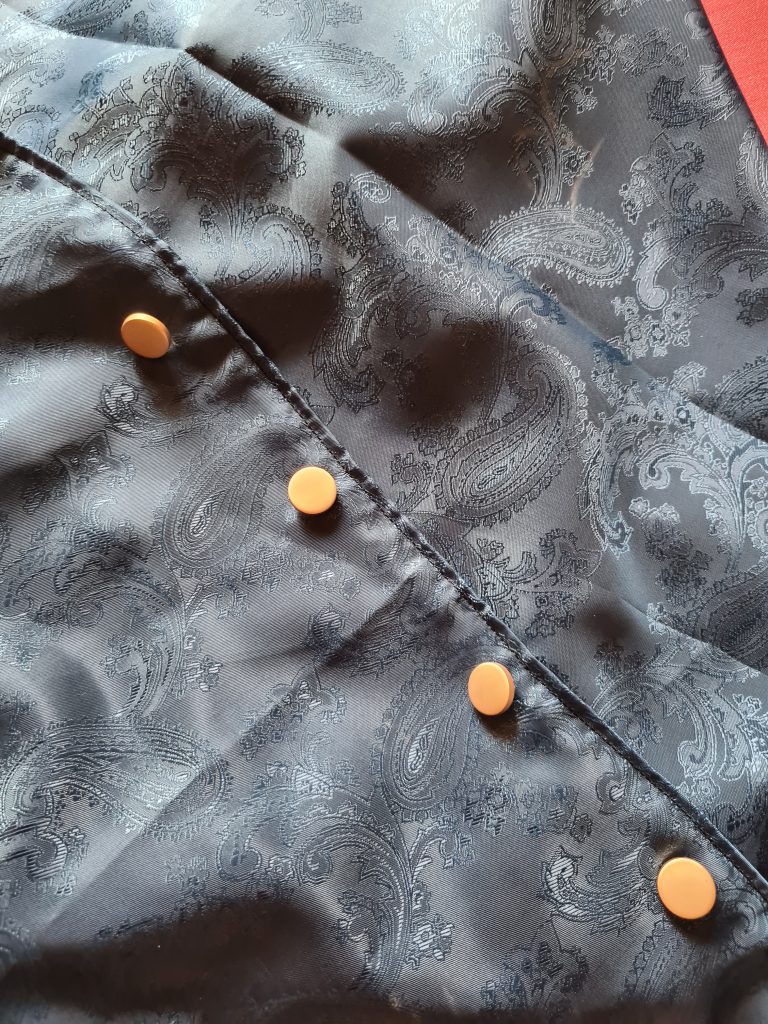
(Vest) Paisley Fabric, Teal: 2m, Buttons: 10
(Shirt) Light Viscose, Off-White: 4m, Buttons: 6
(Trousers) Stretch Fabric, Black: 2m
Elastic Band
Gold Applications
Accessories:
Wig (Wish): 20 Euros
Total Cost: 203,94 Euros
Gathering The Materials For Lestat
If you’re a cosplayer, you’re probably familiar with the concept of waking up one morning with the sudden urge to cosplay a certain character. Well, this is what happened with Lestat de Lioncourt. I was re-reading the books at the time and one cold October morning, I opened my eyes and went: I am going to cosplay Lestat. So here comes my most expensive and elaborate cosplay to date and one I am incredibly proud of. This is rare because there is usually a thing or two that bugs me about a project I made, but this one is actually a costume I just love showing off. A lot of time, care and love went into making Lestat happen and I’ve since been asked to make this exact costume for them by two other people, so that probably means my pride isn’t entirely unfounded. But let’s talk about the actual process for a bit.
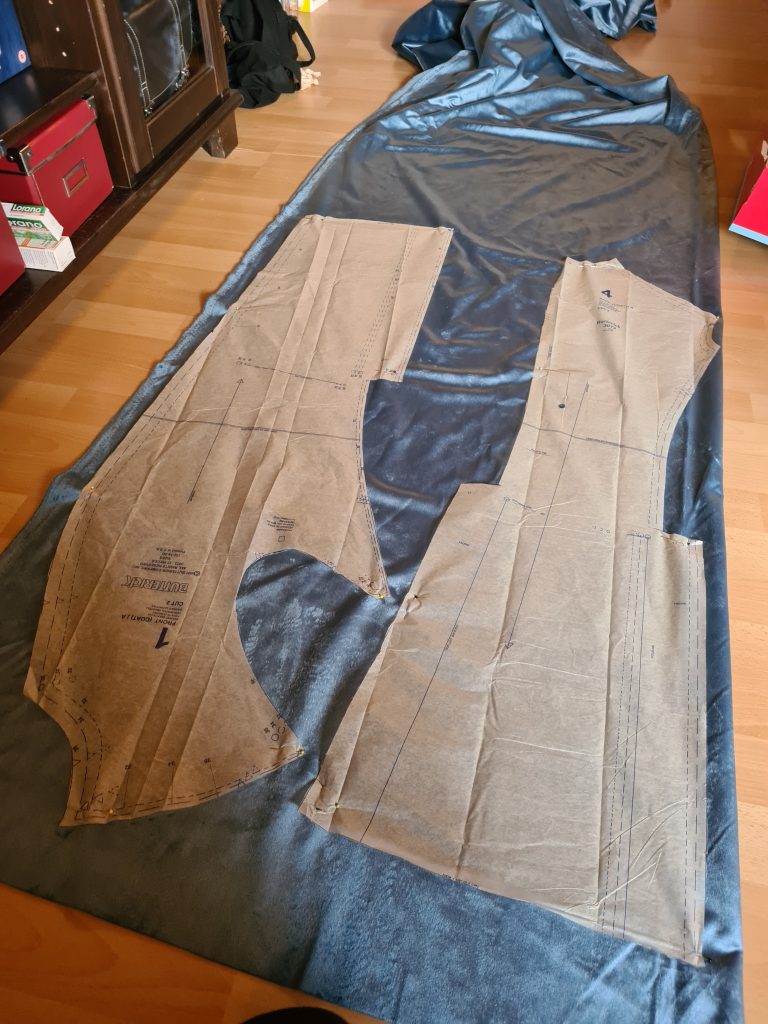
The first thing I usually look for when planning a new cosplay is the sewing pattern because I’m still a little intimidated by making my own patterns. I found a couple of historical patterns that seemed suitable for Lestat’s look. I took inspiration from the 1994 movie “Interview with the Vampire” even though I didn’t copy an exact outfit. The upside of cosplaying a book character like Lestat de Lioncourt is that you can take a bit more freedom with the interpretation and that is exactly what I did. I eventually settled on Butterick History 3072, which is a colonial time men’s sewing pattern that includes the coat, vest, shirt and trousers (and hat, if you want to make one). The pattern comes in various size bundles: 32-36, 38-42, 44-48, 48-52. I have absolutely no clue what these numbers mean, so I had a look at the sleeve and used the measurements as a guide, so I bought the smallest size bundle and cut out the middle size as that was closest to my own measurements. Now, if this was a Simplicity sewing pattern, it probably wouldn’t have worked, but GUESS WHAT! The sizing is perfect. Obviously, the shirt is meant to be oversized, but the coat was actually the (almost) perfect fit for me. Another upside to this? Men’s sewing patterns don’t include weird boob parts 🙂
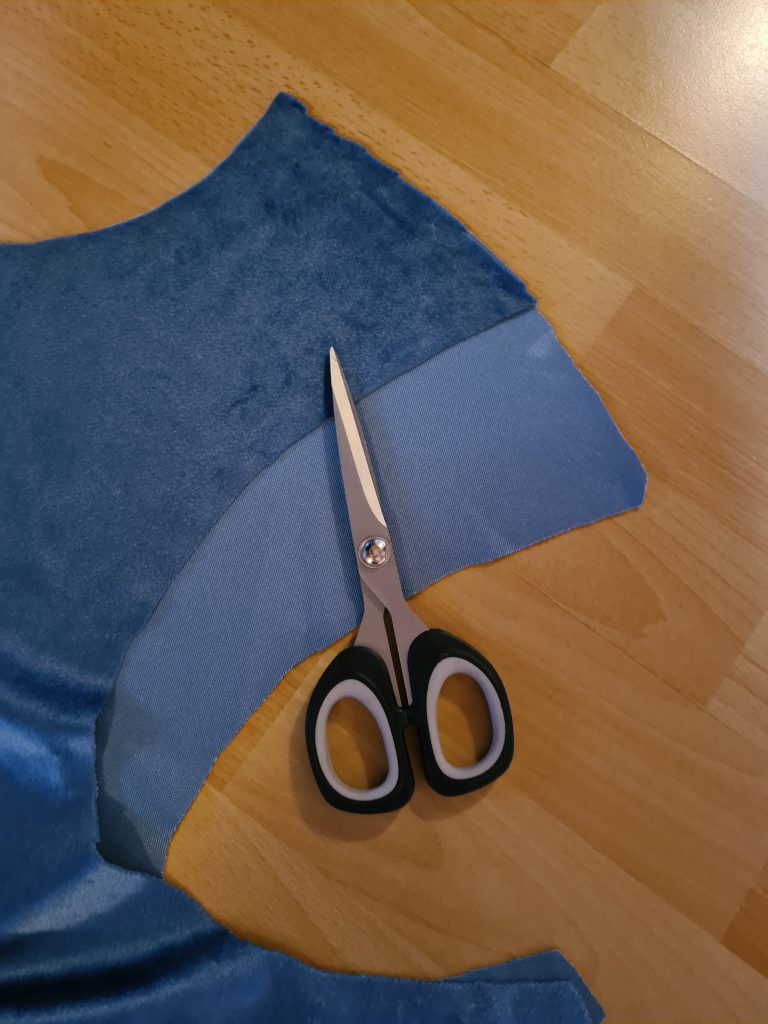
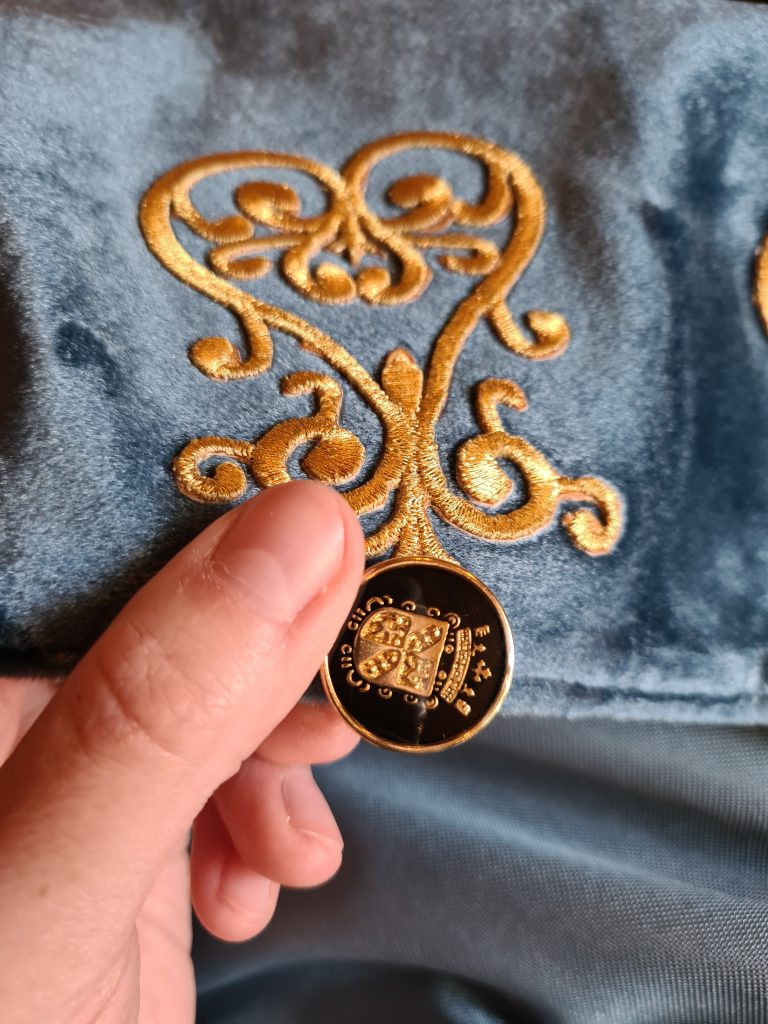
As for the other materials, they were more or less easy to find. Even though I had originally chosen a different shade of blue velvet (which has sold out between ordering the samples and ordering the fabric a week later), the velvet I ended up with was gorgeous. I mean it. I couldn’t stop touching it or looking at it because it was so pretty! The vest fabric is a simple, light paisley print fabric, the shirt is made from the softest, lightest viscose I could find and I chose black stretch fabric for the trousers. I got stuck for it bit when it came to finding nice applications because no matter where I looked, I just couldn’t find what I had envisioned – but Etsy saved me and I ordered a bunch of iron-on gold applications. The bill for this entire material purchase was quite big, especially because pretty buttons can be SO EXPENSIVE. I got the plain gold buttons for the vest from Amazon, so the set was affordable, but the decorative coat buttons cost me about 15 Euros. Just for buttons. I hate this hobby sometimes.
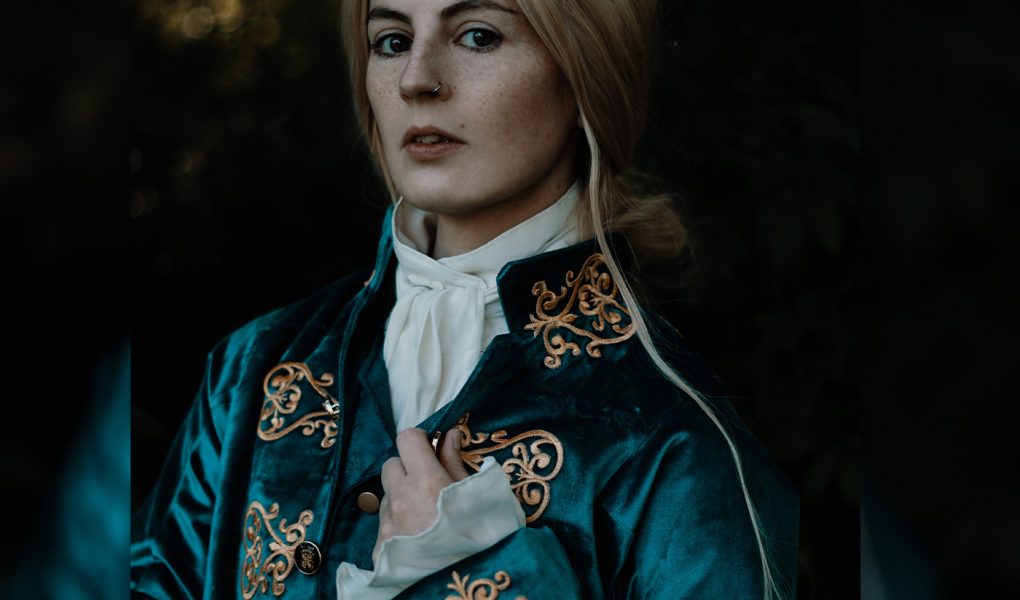
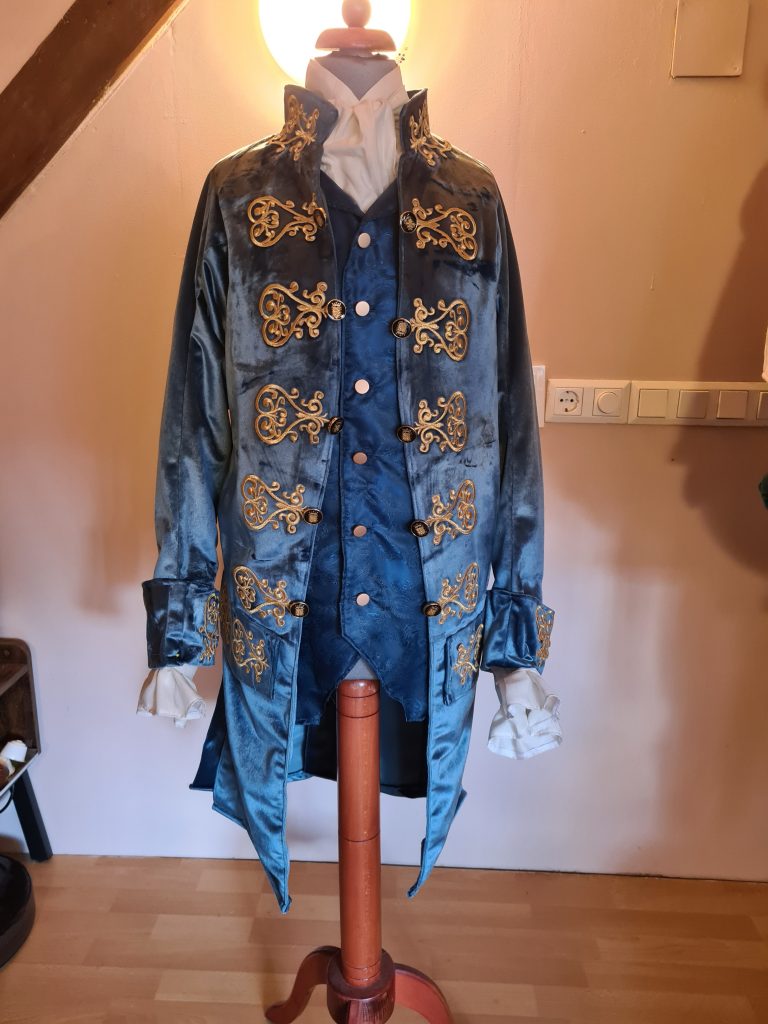
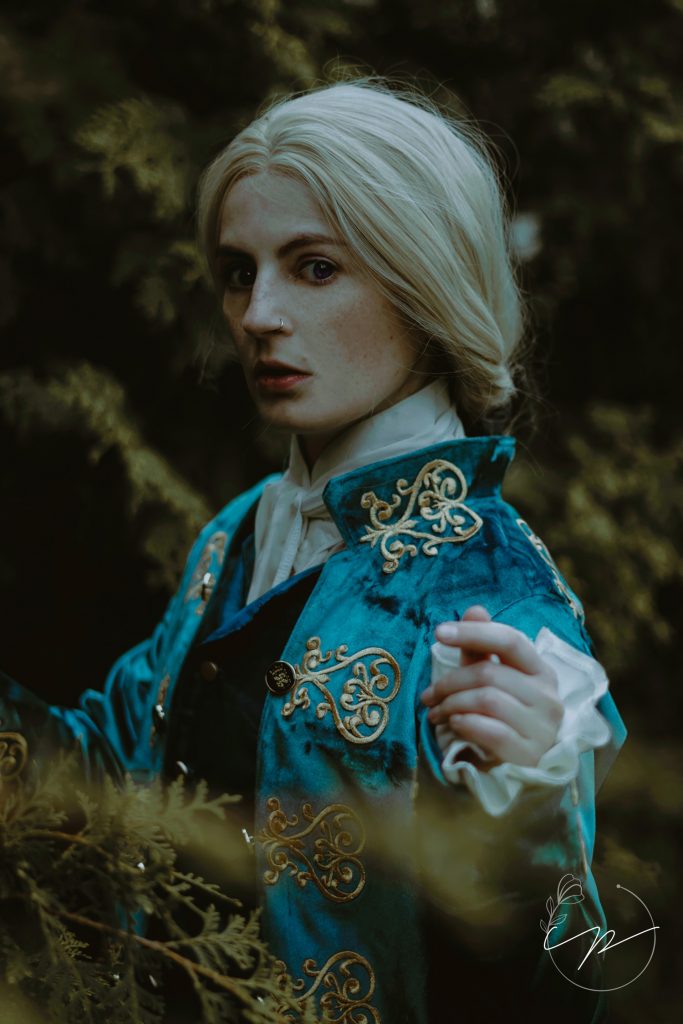
Making My Lestat De Lioncourt Coat
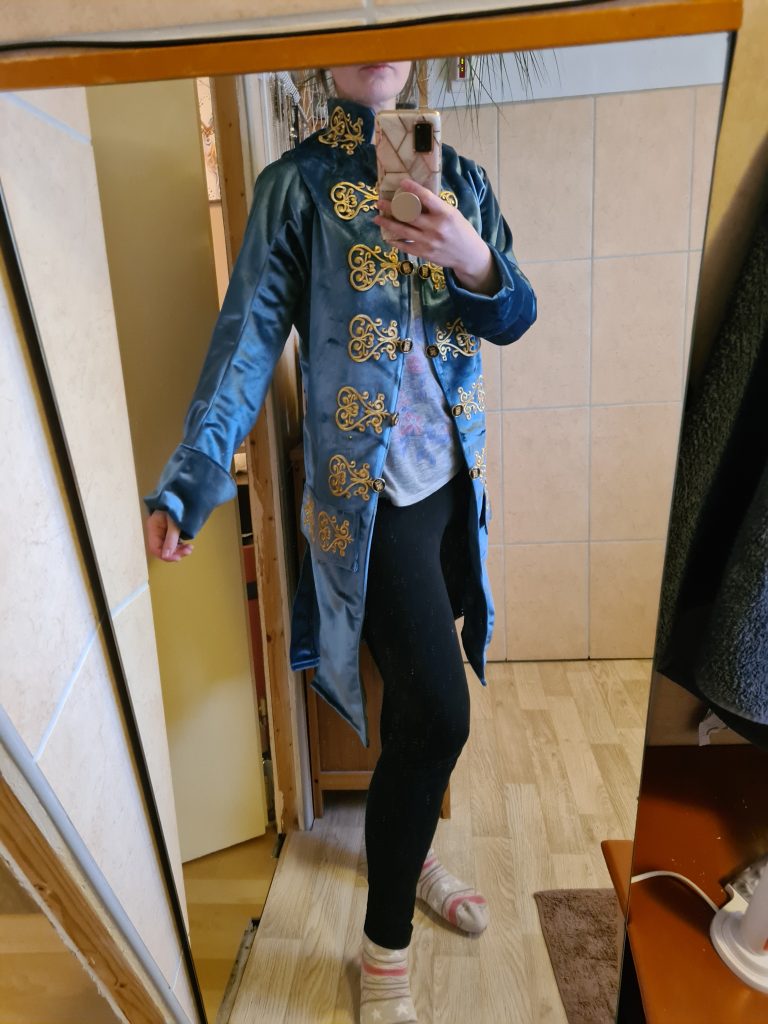
Now, on to the actual making of this cosplay. Since the coat was the most intimidating part of the entire outfit, I started with that. Lestat was born in 1760 as the son of a poor French marquess, but he acquired wealth from his maker which explains the fancy outfits he is seen wearing in the movie. I’m not a fashion historian, so I took my inspiration from the movie which features coats with stand-up collars whereas the pattern comes with a flat-lying collar. This was one of the two things I changed about the coat’s pattern. The other thing was the sleeves. Also – this is only my second Butterick pattern ever (the first was an 18th-century gown I made for my mum) and both came with sleeves consisting of an upper and lower sleeve whereas all the other patterns I’ve ever encountered had sleeves made of one piece. It’s a bit strange, but it works, so I’m not complaining. However, the coat was cut for men and since I have a female body, the shoulders were far too broad for me. I had to cut off some of the fabric in that area and adjust the sleeves to make it fit better on my upper body. Otherwise, it would have looked like a bathrobe.
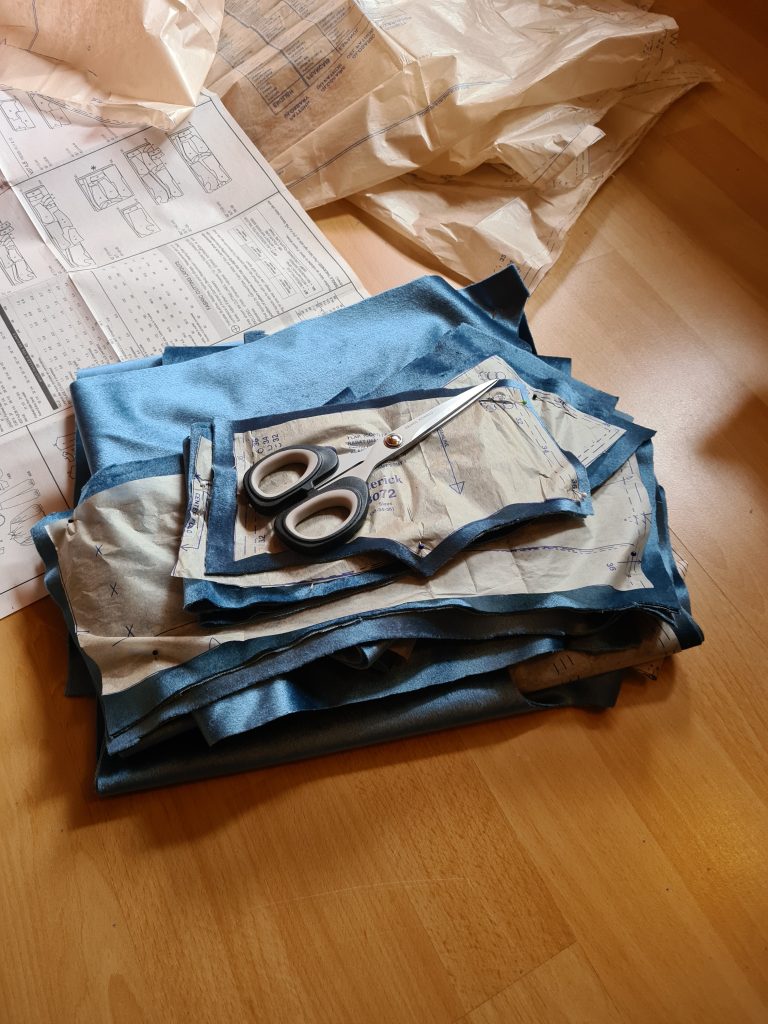
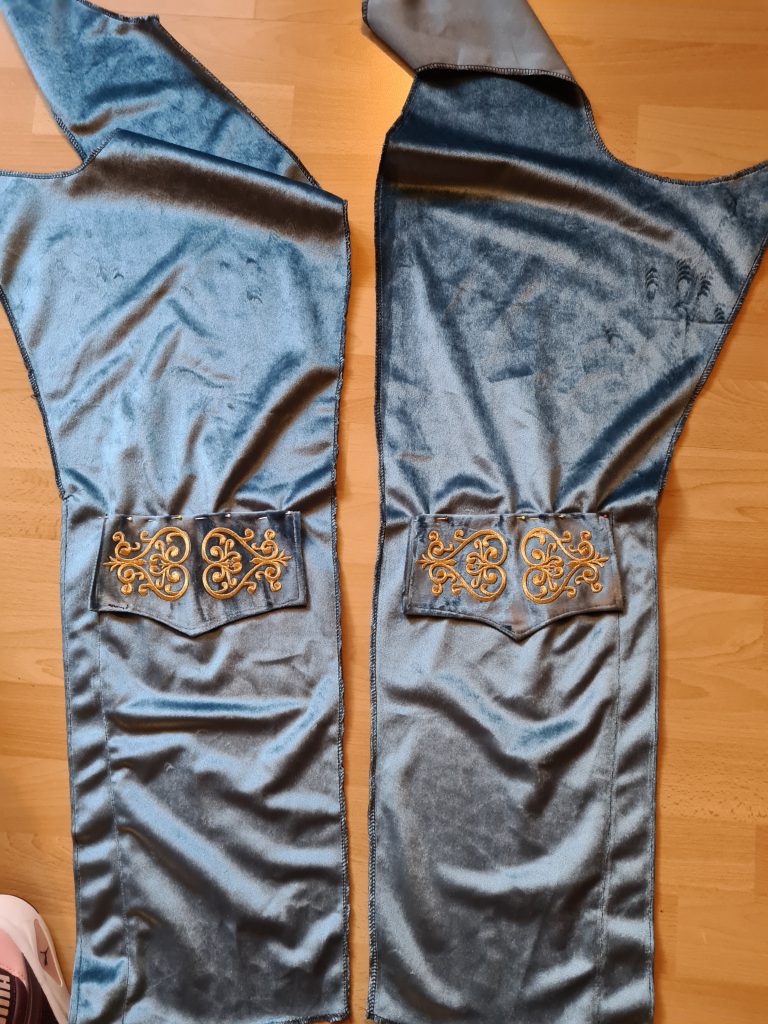
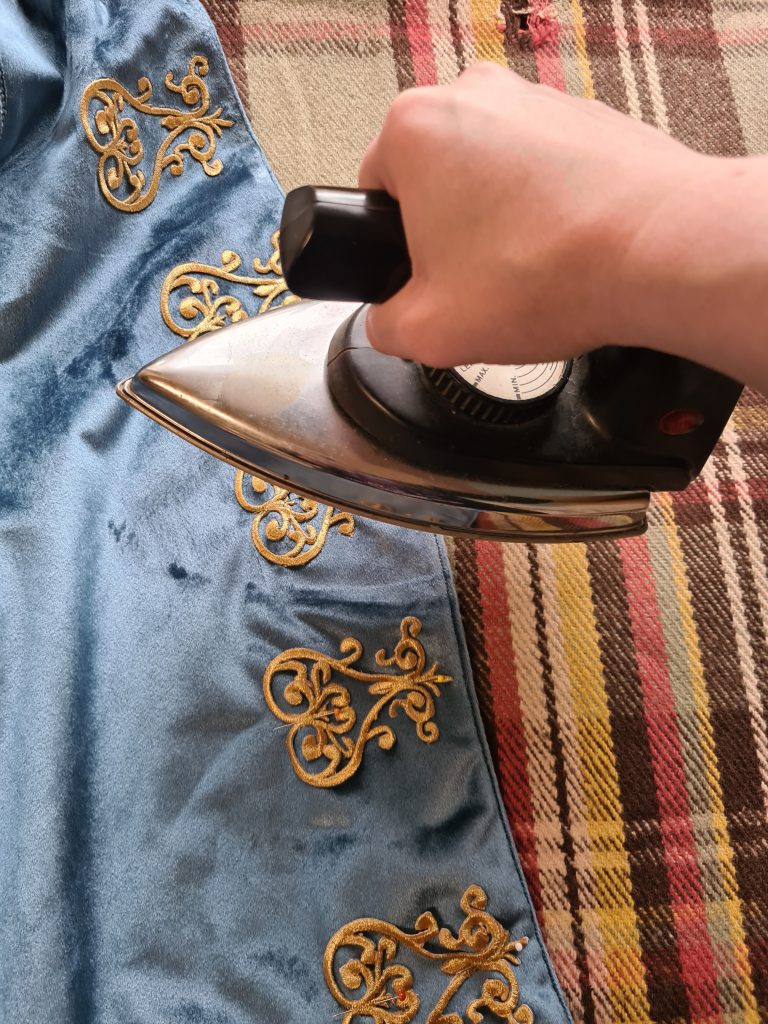
The rest of the coat was pretty straightforward and I stuck to the instructions. I cut out all the pieces, put them together and ironed on the applications where I wanted them to be. Finding the perfect spots for them was a little tricky because my dress form has breasts and I was planning on wearing a binder for this cosplay to give myself a more androgynous shape, so the placement was a bit of a challenge, but after pinning and unpinning and pinning and measuring and unpinning and measuring and trying the whole thing on, I finally ironed them on as well. In the end, I added the decorative (expensive) buttons and the coat was done. It remained on my dress form for weeks and every time I walked past, I kept thinking how gorgeous it looked. Seriously, I was proud of this accomplishment and I couldn’t wait to wear it.
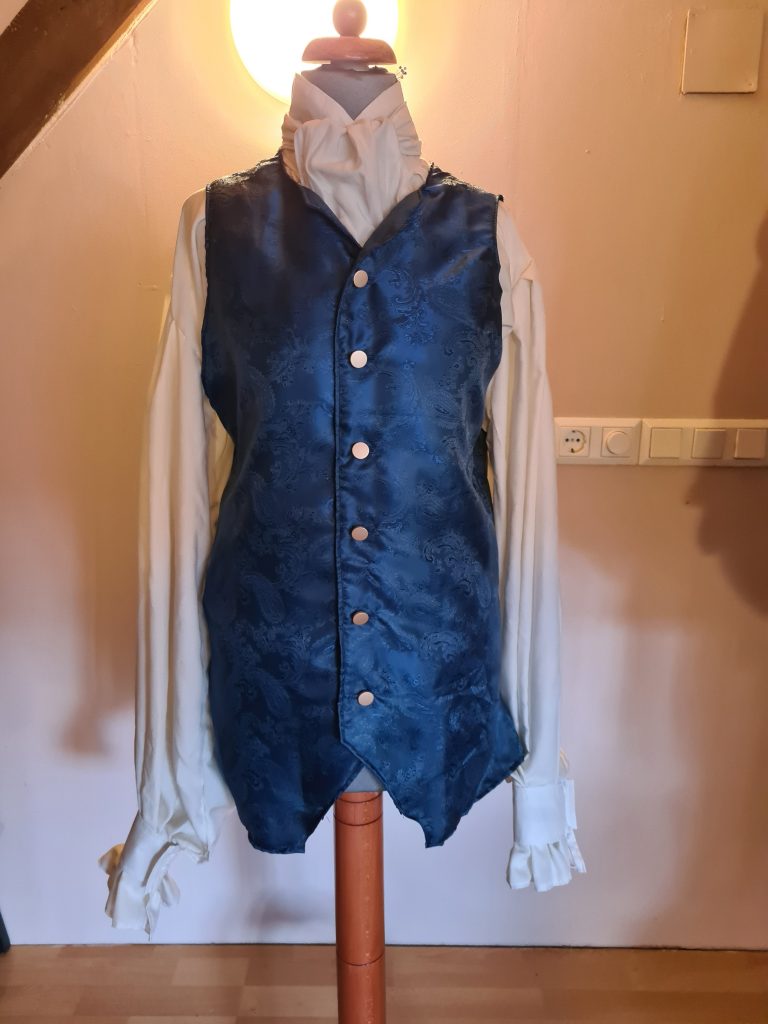
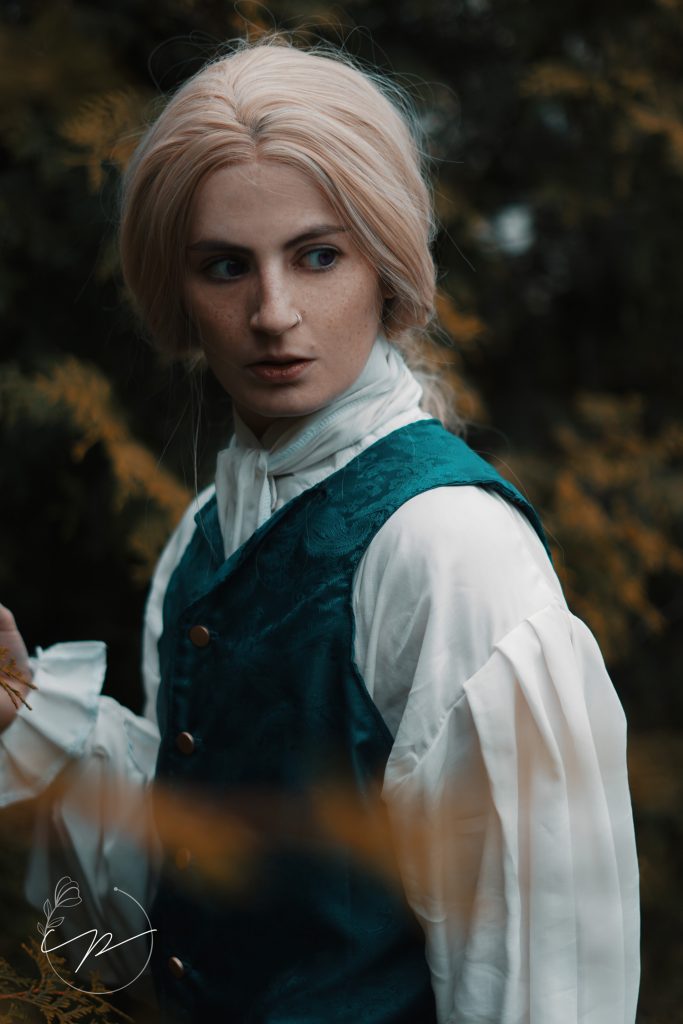
Creating Lestat’s Vest
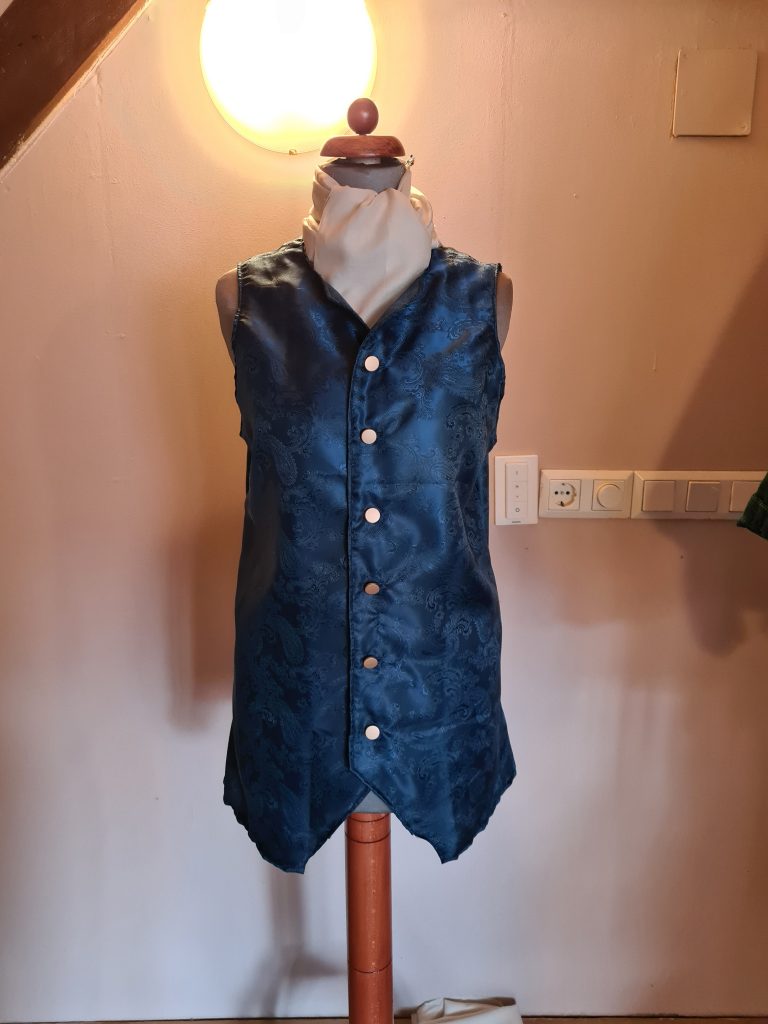
The vest of my Lestat costume was also pretty simple. I almost stuck to the sewing pattern and instructions for this one, but I left out the fake pockets because I knew they weren’t going to be visible. I cut out the fabric, ran them through my overlock, attached the pieces and buttons, panicked over the buttonholes for a bit and then finished them, too. Even though my current sewing machine comes with a buttonhole automatic that makes these things very easy, I still have a fear of them from a time when I had a sewing machine without the automatic. This is always a brief moment of fear for me, but they turned out very pretty, so I had no reason to worry. Once the vest was finished, I moved right on to the shirt.
Making Lestat’s Shirt & Trousers
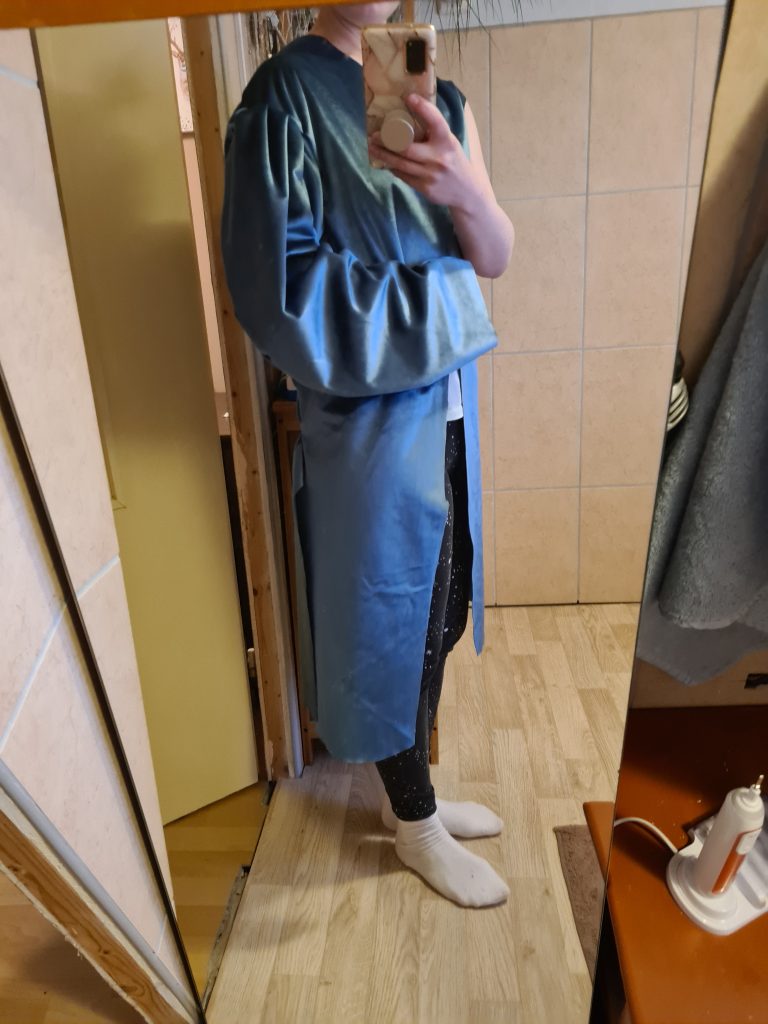
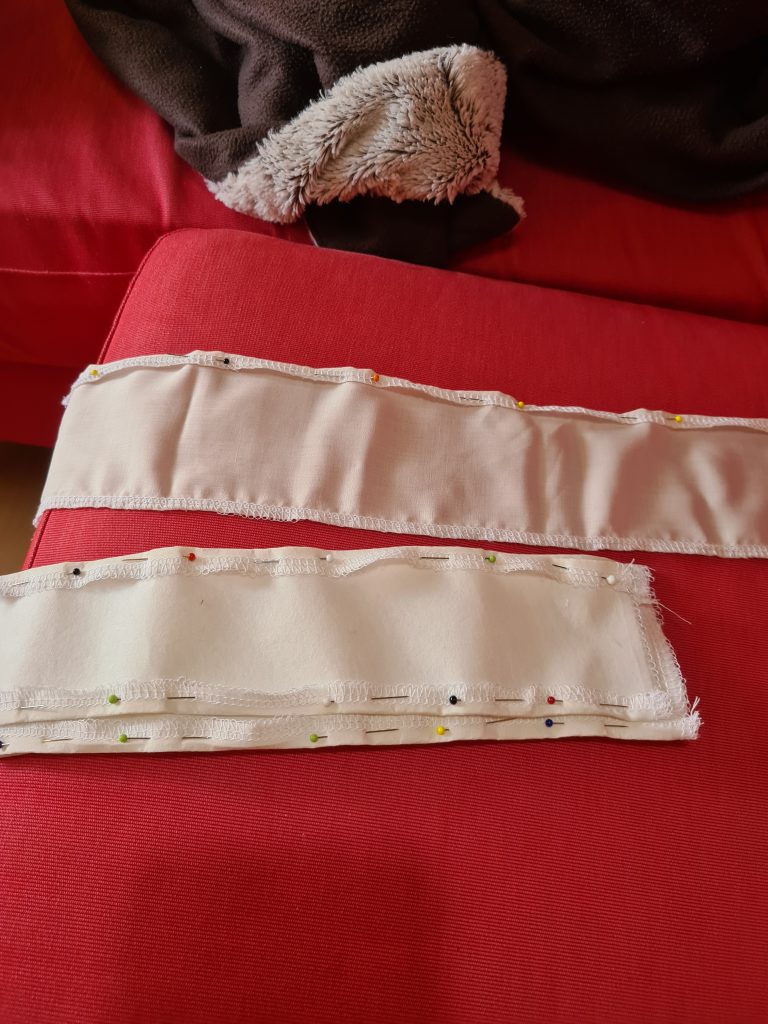
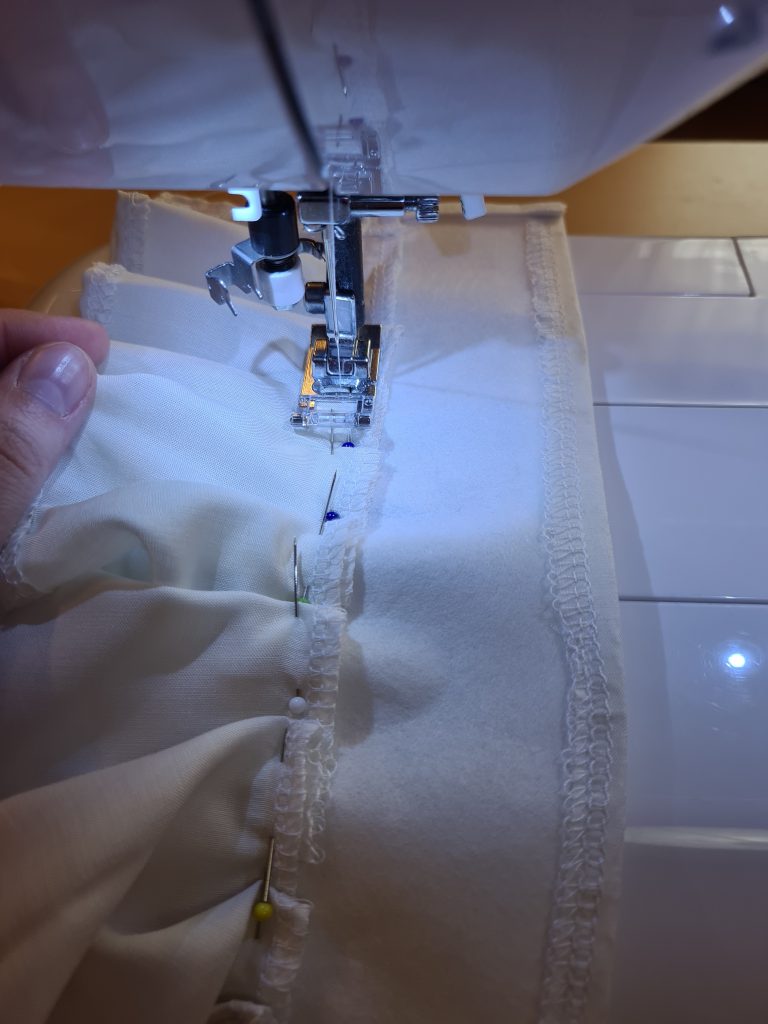
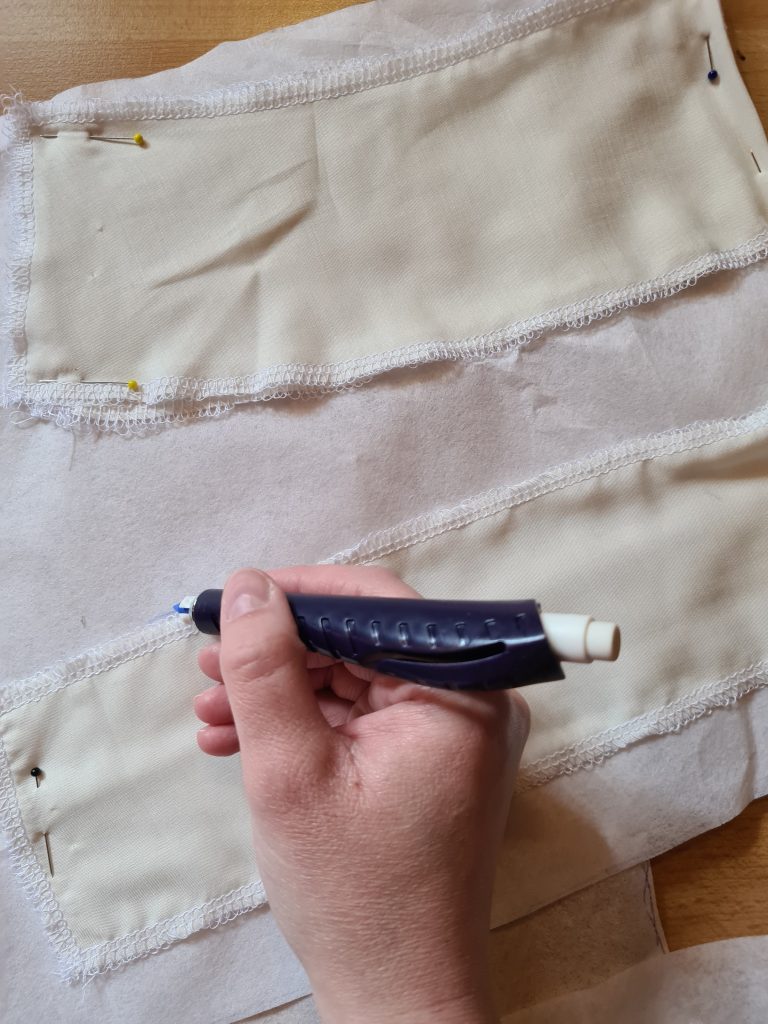
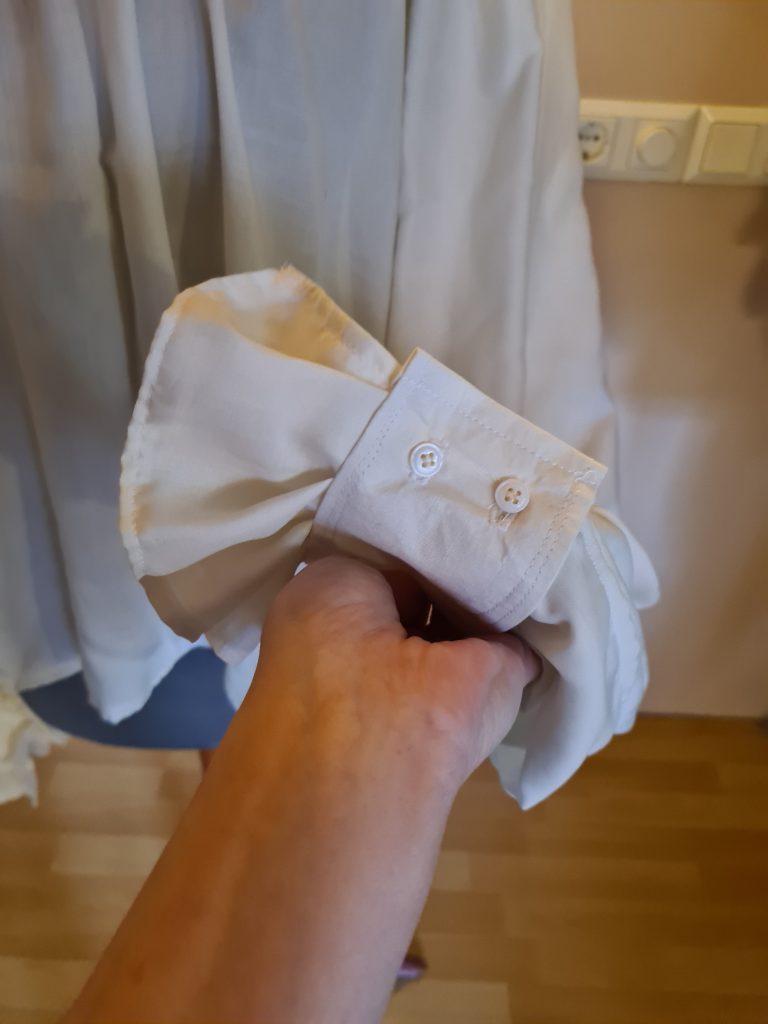
The shirt gave me a bit of a headache, to be entirely honest. Sewing instructions for patterns contain the bare minimum of information and the instructions were especially lacking in this part. I didn’t really know how to attach the collar and front bits, so I began at the sleeves. I’d never started a project with the sleeves before this, but it seemed like a good place and the sleeves turned out incredibly gorgeous, so that gave me hope for the rest of the project. I’m not kidding, the flowing sleeves made out of this fabric look so pretty, I walked around with them for a bit just to enjoy the look and feel. Before I started the shirt, I also invested in a fabric pen (into which you can insert a small piece of chalk in various colours) and I didn’t regret that in the slightest. It makes marking your fabric very easy and I can seriously recommend this one.
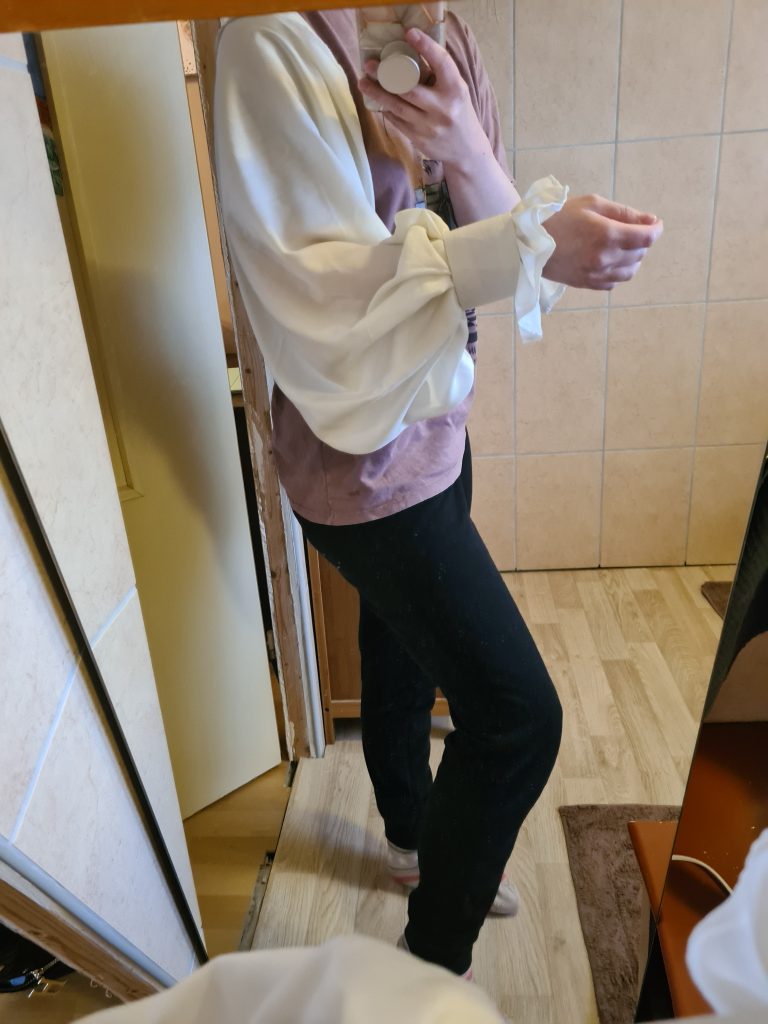
When I moved on to the rest of the shirt, I had to make another alteration because, as this pattern was made for men and I have a tiny female body, it was WAY too long. So I cut some fabric off. Simple as that. I still don’t know if I did the front part correctly as there were no instructions for that available, but hey, it looks good, I love the sleeves and I had enough fabric left over to make a cravat (a simple scarf-like piece that is wrapped around the stand-up collar). I’m happy.
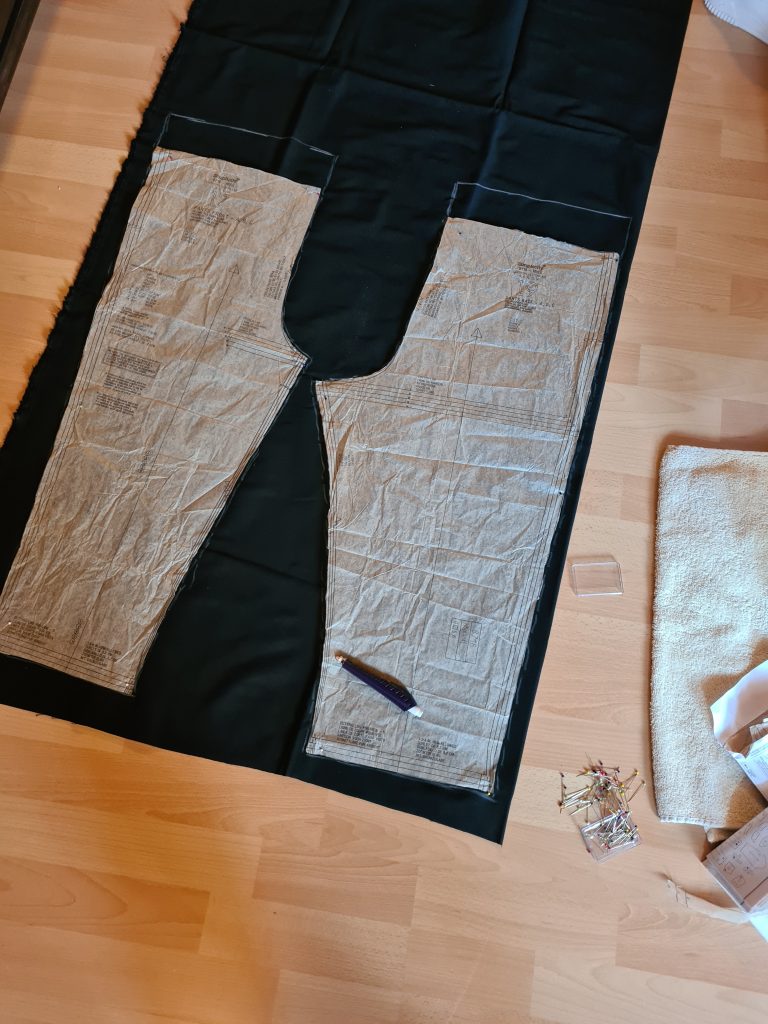
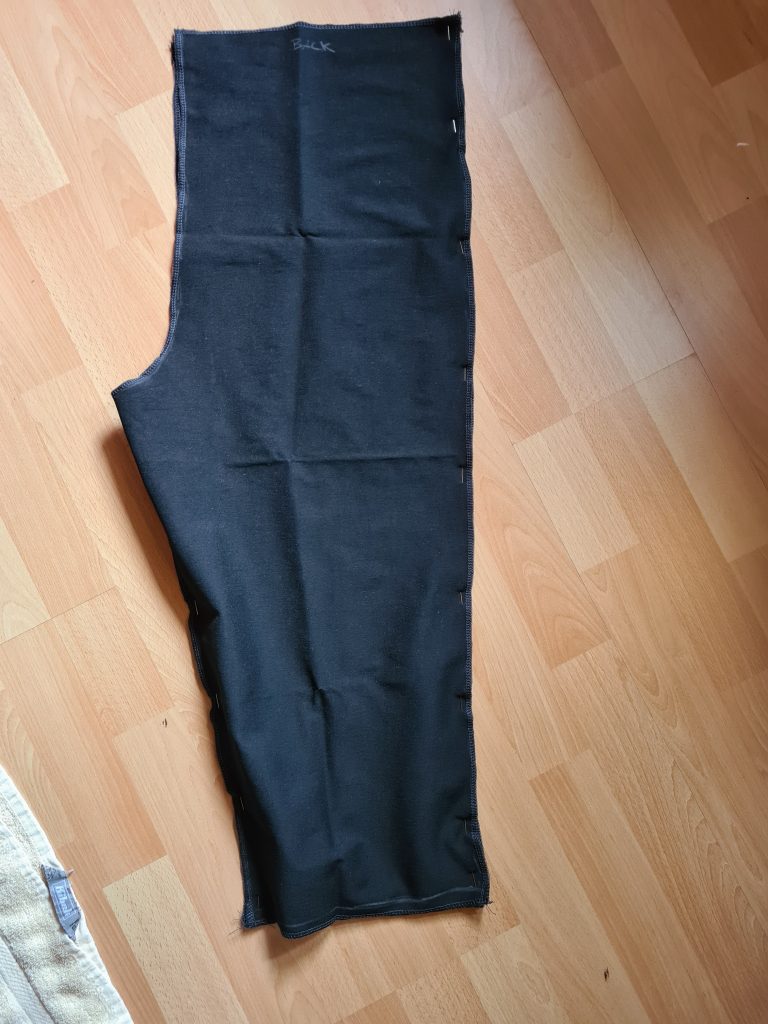
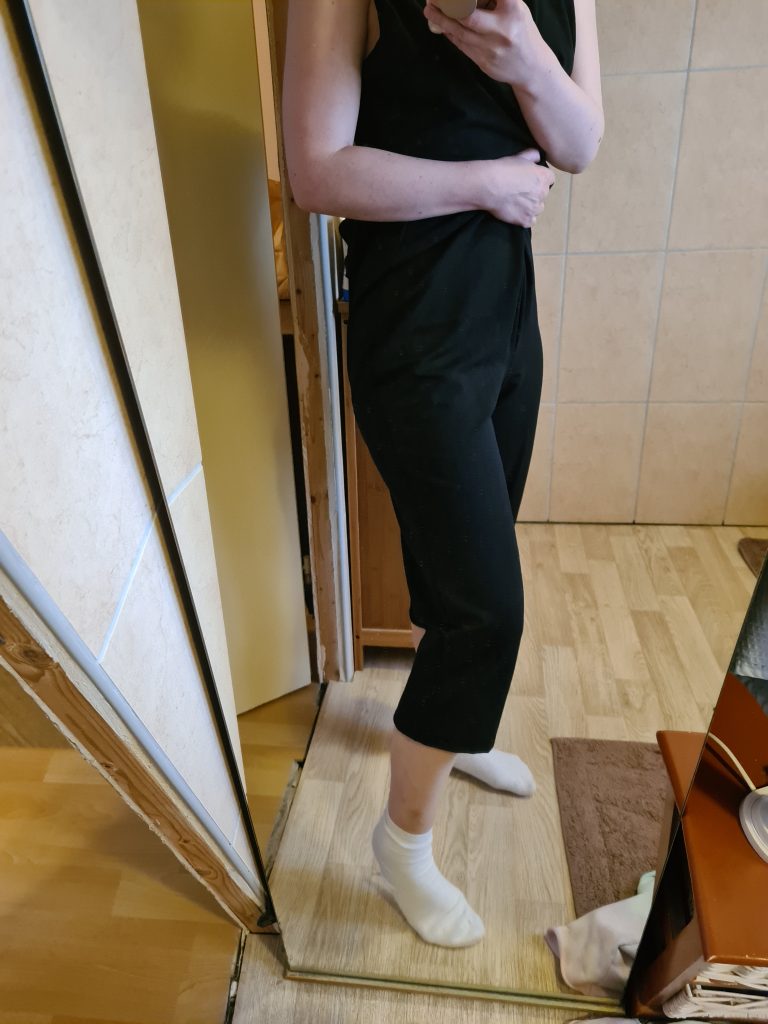
A moment of honesty: I didn’t use the trouser pattern that came with Butterick History 3072 for my Lestat cosplay. I was going to, but at this point, I realised that the trousers were not going to be visible underneath the coat and vest (I even took my first cosplay photos of this outfit wearing joggers and pink Crocs). I wasn’t entirely sure the trousers would fit me and I didn’t want to make a mockup, so I used a pattern I had worked with before that I knew would fit me: Rey’s trousers. That’s right. I’m wearing Rey’s trousers with my Lestat cosplay. No, not entirely, but the length was right for this costume and I left out the patches that go over Rey’s knees, so these are plain black trousers. If you want to know more about how they’re made, check out my Rey progress.
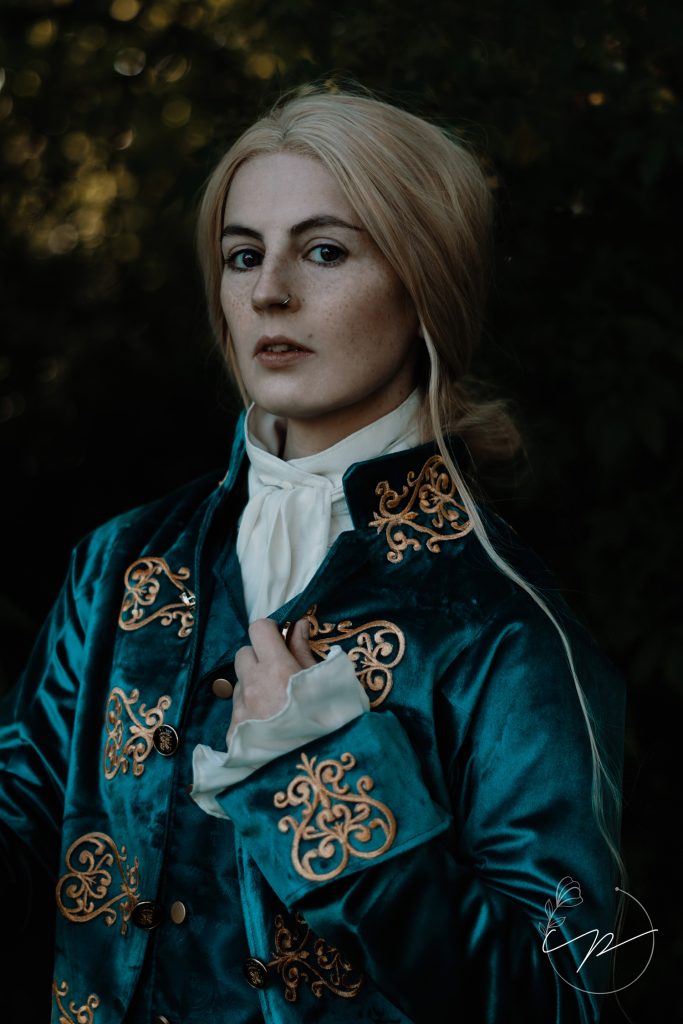
My Lestat Cosplay = My Pride & Joy
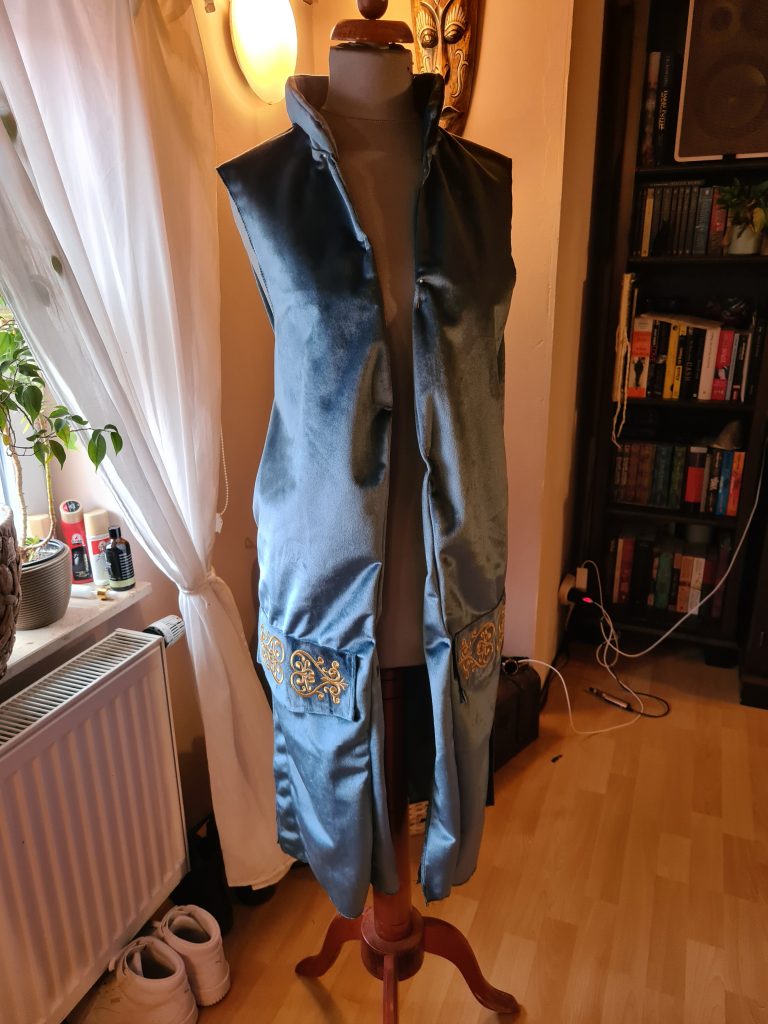
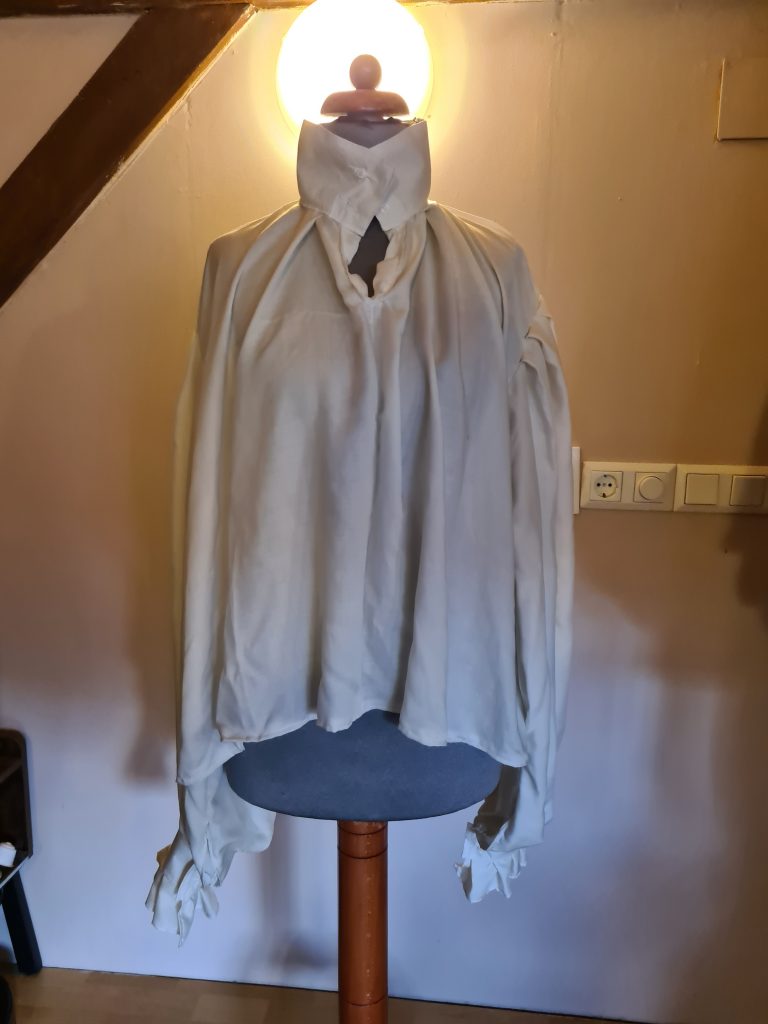
Let me give you a little overview: Lestat’s coat, vest and shirt on my dressform. This costume truly is my baby and I am proud of it 🙂

Finishing My Lestat Cosplay
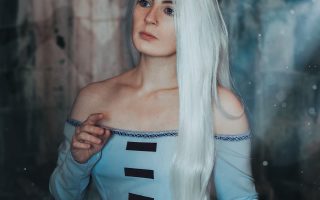
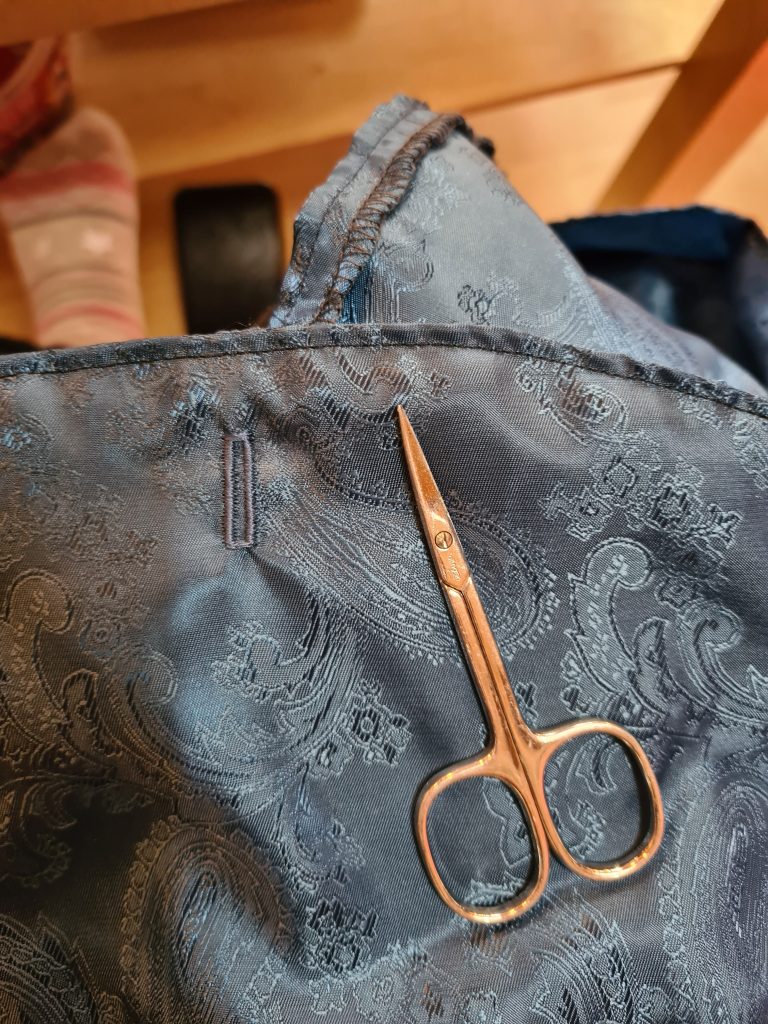
Once the trousers were done, I had officially finished my Lestat de Lioncourt cosplay. I had a wig that I could use at first, but I received the proper one a short while later. It was slightly too long, so I took my newly acquired hair scissors set to it and gave it a proper Lestat haircut. I still have velvet fabric left, so I might make a cute hair bow at some point in the future, but the next project was already waiting for me, so I didn’t want to spend more time on details that weren’t going to be visible in photos. Overall, I am so extremely happy with and proud of my Lestat cosplay and I absolutely love wearing it. I’m already excited for autumn because – since Lestat is a vampire – I don’t want to take photos of it in the full sunlight.
As I’ve said, I’ve been asked by two people to make this exact costume for them. I won’t and they backed out as soon as they heard how much money I spent on the fabric alone, but it confirms that this project is probably one of the best I’ve made so far. It took me 25 1/2 hours to finish and cost me just over 200 Euros in total, which makes it the most expensive and most elaborate cosplay I’ve worked on in recent years. Personally, I think it was worth it.